Epoxy projects usually fail for a few repeat reasons: wrong measuring, poor mixing, bad surface prep, trapped bubbles, leaks, moisture, and moving the piece before it cures. The easiest way to avoid these epoxy mistakes is to follow the product instructions exactly, prep everything before mixing, pour in controlled amounts, and protect the piece while it cures. Whether you are making coasters, jewelry, trays, flower pieces, wood fills, or glitter resin art, success comes from prevention more than repair. Use the checklist below before you start, then follow the steps in order and verify the cure before sanding, demolding, or gifting the piece.
What You Need Before You Start
Set up before opening the bottles. Most epoxy mistakes happen because the resin starts reacting while you are still hunting for cups, tape, or molds.
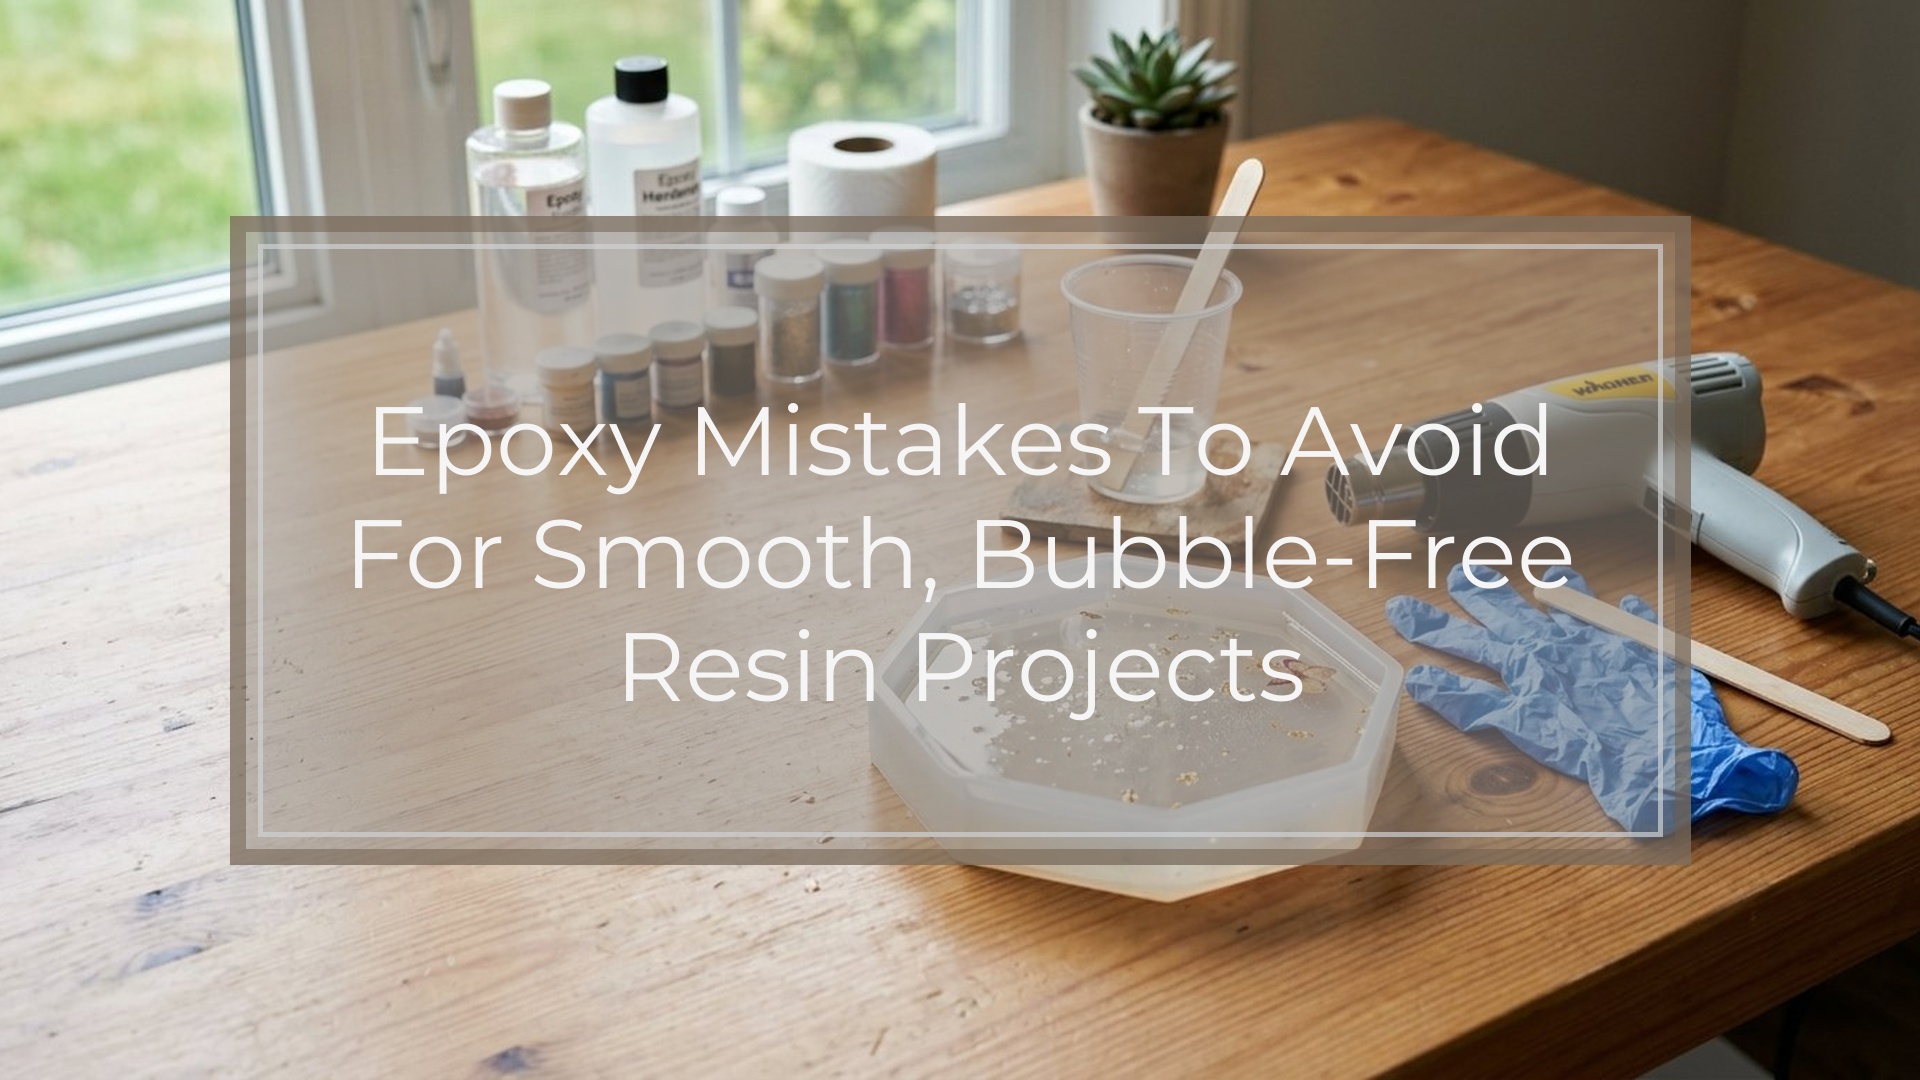
Gather your materials first: resin and hardener, measuring cups, mixing sticks, nitrile gloves, a level work surface, mold or project base, painter’s tape, a heat tool or torch if your product allows it, dust cover, paper towels, and isopropyl alcohol for cleanup. If you are embedding flowers, wood, glitter, or pigments, have those ready and dry.
Check the manufacturer’s instructions for the correct mix method, working time, pour depth, cure time, and whether the resin is meant for casting, coating, jewelry, or doming. Do not assume all epoxies behave the same.
Prepare the environment too. Keep the surface flat, the room stable, and the project away from wind, dust, and humidity spikes. Dry molds, cups, stir sticks, inclusions, and wood thoroughly before use. Moisture causes cloudy spots, foaming, and cure issues.
Finally, pre-test leak points. Tape the back of coaster blanks, seal open wood cracks if needed, and inspect silicone molds for splits. Caution: once resin is mixed, delays create a new mistake chain: rushed pouring, undermixed corners, overheating in the cup, and avoidable spills.
Step 1

- Prep the piece and measure accurately. Clean molds, trays, bezels, and coaster blanks. Remove dust, lint, oil, and fingerprints. If you are working with raw wood, porous flowers, or paper elements, seal them first if your project requires it so they do not release air into the resin later.
- Level the workspace. Put your mold or blank on a truly flat surface before mixing. A tilted table creates thin corners, pooled edges, and uneven doming that cannot be fixed while the resin is half-cured.
- Measure resin and hardener exactly as directed. Use separate clean cups if needed, then combine. Guessing, eyeballing, or “rounding up” is one of the biggest epoxy mistakes. Sticky jewelry, rubbery coaster backs, and soft tray centers often trace back to inaccurate measuring.
- Mix slowly and thoroughly. Scrape the sides, bottom, and stick as you stir. Transfer to a second clean cup and mix again if your process benefits from it. Poor mixing leaves streaks of uncured material that may stay tacky even when the rest hardens.
- Add color and mix-ins carefully. Pigments, glitter, mica, dried flowers, and foil can all change the behavior of resin. Add them in small amounts and stir fully. Heavy glitter loads can trap bubbles; wet botanicals can cloud the piece.
Caution: do not mix aggressively to “save time.” Fast whipping adds bubbles, warms the resin early, and shortens your working window. In a deep cup, that extra heat can build quickly and lead to smoking, cracking, or yellowing.
Step 2
- Pour with control, not speed. For coasters, trays, and art panels, pour steadily and guide the resin to edges with a stick instead of dumping one large mass into the center. For jewelry molds and flower bezels, pour in stages if the design traps air.
- Watch for leaks immediately. Check taped edges, open seams, and mold corners in the first few minutes. If resin starts escaping, reinforce the area right away and collect drips before they cure onto the table or underside. This is especially important for wood river fills and back-taped blanks.
- Remove bubbles without overheating the surface. Pass a heat tool or torch lightly if your product instructions allow it. Short passes are enough. You are trying to release surface bubbles, not cook the top. For deep molds, tap the mold gently and let some bubbles rise naturally before using heat.
- Protect the cure. Cover the piece to keep out dust, pet hair, and glitter fallout. Then leave it alone. Moving a tray to “just check it,” flexing a mold early, or carrying a coaster while it is still soft can create waves, fingerprints, edge dents, and permanent marks.
- Respect the cure schedule. Demold, sand, drill, or top-coat only when the piece has reached the stage your product specifies. A surface that feels dry can still be too soft inside.
Caution: more heat is not a cure for every problem. Over-torching can scorch silicone molds, distort edges, create ripples, and yellow clear resin. Likewise, if resin is sticky because it was measured or mixed wrong, extra heat usually will not fix it.
Common mistake patterns to catch during this step:
- Bubbles keep returning: porous wood, trapped glitter, deep flower petals, or stirring too hard.
- Cloudy or dull finish: moisture, cold materials, or overworked surface.
- Sagging edges or bare corners: unlevel table or too little resin spread too thin.
- Cracks or excessive heat: pour too deep for that formula or too much resin left in the mixing cup.
How to Check the Result

A successful epoxy piece should match the finish your project calls for: clear or intentionally pigmented, fully set, and even across the surface.
Start with touch. The piece should feel firm, not sticky, rubbery, or greasy. Press lightly on an inconspicuous area or the back edge. It should resist pressure without denting. For jewelry, bezels, and small charms, check the edges and corners, because under-mixed resin often shows up there first.
Then inspect the surface under angled light. Look for:
- a level top with no sunken side
- no active leaks or soft drips underneath
- bubbles reduced to a normal, acceptable level for the design
- no cloudy moisture pockets around flowers, glitter, or wood
- clean edges without scorch marks from too much heat
If the piece is not right, match the problem to the likely cause before trying a fix. Soft or sticky usually points to ratio or mixing errors. Dullness points to moisture, surface damage, or improper curing conditions. A few surface imperfections can often be sanded and recoated, but widespread softness usually means the pour was compromised and may need to be removed and redone.
FAQ
Why Is My Epoxy Still Sticky After 24 Hours?
Usually because of inaccurate measuring, incomplete mixing, or curing in poor conditions. Check the product’s full cure time first; some formulas need longer than 24 hours. If only the top is tacky, a recoat may help. If the whole piece is soft, the batch may be unrecoverable.
Can You Fix Epoxy That Was Mixed Wrong?
Sometimes, but only if the mistake is minor. A thin sticky surface can occasionally be sanded or scraped and recoated after proper prep. If the resin is soft throughout, bends easily, or weeps, removal and a fresh pour is usually the most reliable fix.
What Causes Bubbles in Epoxy Resin?
The usual causes are aggressive mixing, porous materials like wood, trapped air in glitter or flowers, and pouring too fast. Warm materials within the product’s allowed range, mix slowly, pour carefully, and use brief heat passes only if your resin instructions permit it.
How Do I Stop Epoxy from Leaking Out of a Mold or Taped Edge?
Test the mold or tape before mixing. Press tape firmly along coaster backs and seams, seal gaps, and set the piece on a protected flat surface. After pouring, inspect edges immediately. Catching a leak in the first minutes is far easier than fixing cured drips later.
Why Did My Epoxy Turn Cloudy or Dull Instead of Clear?
Moisture is a common reason, especially with flowers, wood, and humid workspaces. Cold materials, trapped microbubbles, or overheating the surface can also dull the finish. Keep inclusions dry, follow product instructions, and protect the curing piece from damp or dusty conditions.
How Do I Know When Epoxy Is Fully Cured?
Do not judge by surface feel alone. Fully cured epoxy should be firm, not tacky, and should resist a light fingernail press in a hidden spot. It should also hold shape during demolding without bending or denting. Always compare your result to the product’s stated cure schedule.