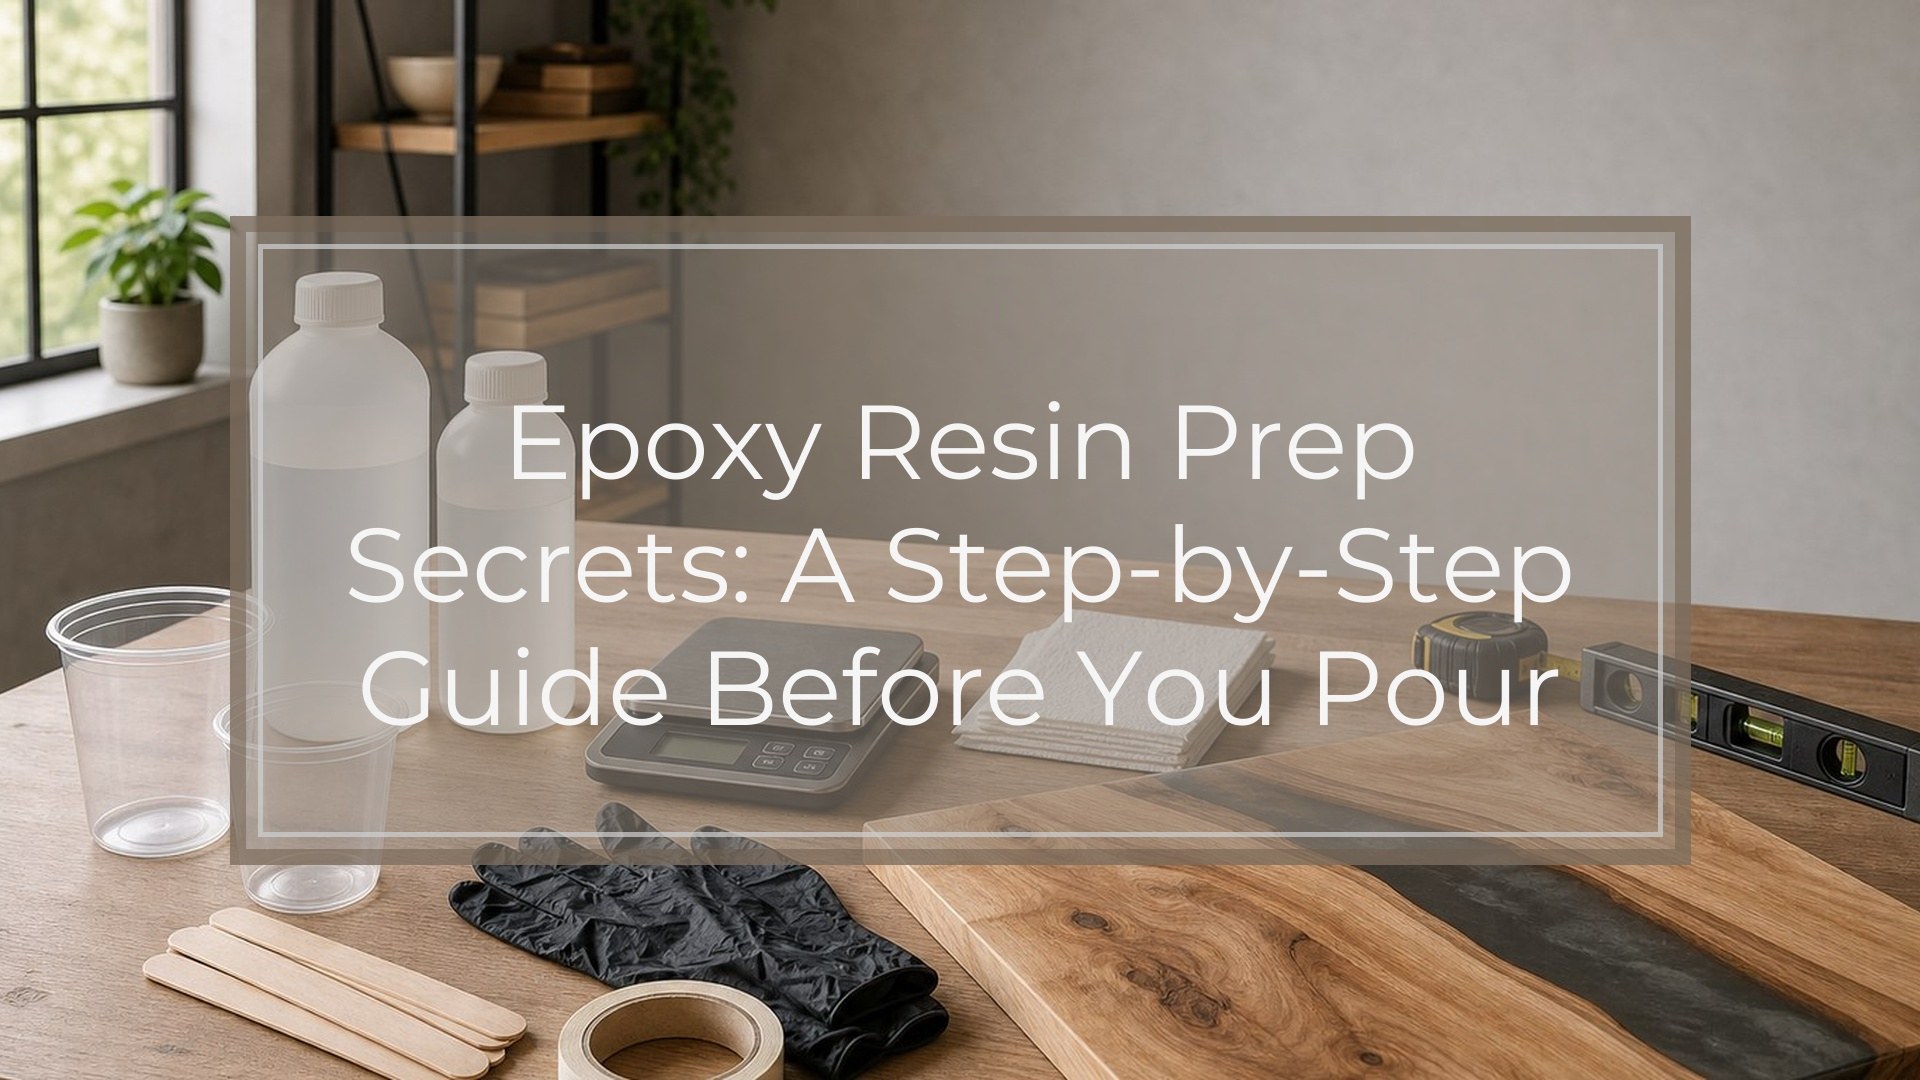
The best epoxy resin prep secrets are simple: read your resin’s instructions, control temperature, protect and level your workspace, clean and seal your project materials, pre-plan pigments, and measure everything before mixing. Once resin and hardener touch, your working time starts, so every mold, tool, color, embed, and safety item should already be in place. A clean pre-pour routine prevents sticky cures, trapped bubbles, tilted layers, contaminated surfaces, and rushed mistakes.
Why Resin Prep Matters More Than the Pour
Pouring resin is the short part. Prep is what decides whether the resin cures clear, level, bubble-light, and firmly attached to the surface. Most “bad resin” problems are actually preparation problems: wrong room temperature, dusty molds, unsealed paper, inaccurate measuring, or a workspace that was not level. When you prepare first, you can pour calmly instead of racing the clock.
Prerequisites: What to Have Ready Before You Start
Before opening your resin bottles, gather:
- Epoxy resin and hardener
- Manufacturer instructions for ratio, working time, cure time, and pour depth
- Nitrile gloves, apron, and eye protection
- Ventilated workspace or respirator if your product requires it
- Level work surface
- Silicone mat, plastic sheeting, or freezer paper
- Mixing cups, stir sticks, and measuring tools
- Molds, bezels, canvas, tray, tumbler, or other project base
- Pigments, glitter, inks, embeds, and sealers
- Paper towels, trash bag, tweezers, toothpicks, and a bubble-removal tool
Also check that pets, kids, dust, and airflow will not disturb the project while it cures.
Epoxy Resin Prep Checklist Before You Pour
Use this as your final bench-side checklist. Do not mix resin until every line is complete.
| Prep item | Ready when… |
|---|---|
| Instructions | Ratio, working time, cure time, and pour depth are confirmed |
| Room | Temperature is within the resin brand’s recommended range |
| Surface | Workbench is covered, stable, and level |
| Molds/project base | Clean, dry, and placed where they will cure |
| Porous items | Paper, wood, flowers, photos, and fabric are sealed |
| Add-ins | Pigments, glitter, and embeds are open and measured nearby |
| Tools | Cups, sticks, gloves, wipes, and bubble tools are within reach |
| Batch size | Resin amount is calculated before mixing |
Step 1: Read the Resin Instructions Like a Recipe
Every epoxy resin has its own rules. Before you prep anything else, read the label for mixing ratio, measuring method, minimum and maximum pour depth, working time, demold time, full cure time, and temperature range.
Do not assume a 1:1 resin works like a 2:1 resin. Do not measure by weight unless the manufacturer says to. If the instructions say mix for three minutes and scrape the cup, treat that as required, not optional.
Step 2: Condition the Room and Resin

Temperature affects resin thickness, bubbles, and curing. Cold resin is thick, hard to mix, and more likely to trap bubbles. A cold room can also leave resin soft or cloudy. Too much heat can shorten working time and make resin cure too fast.
Aim for the temperature range printed on your resin bottle, often around normal room temperature. If bottles are cold, place them sealed in a warm water bath for a few minutes, then dry them completely before opening. Never let water drip into resin.
Step 3: Set up a Level, Protected Work Surface
Cover your table before you pour. Resin can leak through mold seams, drip from tools, and spread farther than expected. Use a silicone mat, plastic sheet, disposable table cover, or freezer paper.
Next, check the surface with a small level. This matters for coasters, trays, dominos, jewelry, and artwork. Even a slight tilt can make one side thin and the other side overflow. Once the resin is poured, moving the project increases the chance of spills, dust, and uneven edges.
Step 4: Prep Molds, Bezels, and Surfaces
Inspect silicone molds for lint, cured resin bits, hair, glitter, or oily residue. Remove debris with tape or a soft cloth. Make sure molds are fully dry before pouring.
For bezels and open-backed frames, check that seams are sealed and the piece is resting flat. For wood, canvas, ceramic, glass, or metal surfaces, remove dust and grease. Lightly scuff very smooth surfaces if your resin brand recommends it. Good adhesion starts with a clean surface, not a thicker pour.
Step 5: Seal Porous Materials and Embeds
Porous materials release air into resin and can discolor when wet. Seal paper, photos, dried flowers, leaves, fabric, cork, unsealed wood, and printed images before embedding them.
Use a compatible sealer such as clear-drying craft glue, spray sealer, or a thin coat of resin, depending on the material. Let the seal coat dry fully. Pay special attention to edges, because bubbles often escape from cut paper, wood grain, and flower centers after the resin is already poured.
Step 6: Plan Pigments, Glitter, and Add-ins Before Mixing
Choose your color plan before combining resin and hardener. Open pigment jars, loosen glitter lids, and set out mixing cups for each color. If you need a specific shade, test it in a small amount first.
Avoid overloading resin with pigment. Too much colorant can interfere with curing, especially with alcohol ink, acrylic paint, or liquid dyes not designed for epoxy. A small amount usually goes far. Keep add-ins dry, clean, and ready to place.
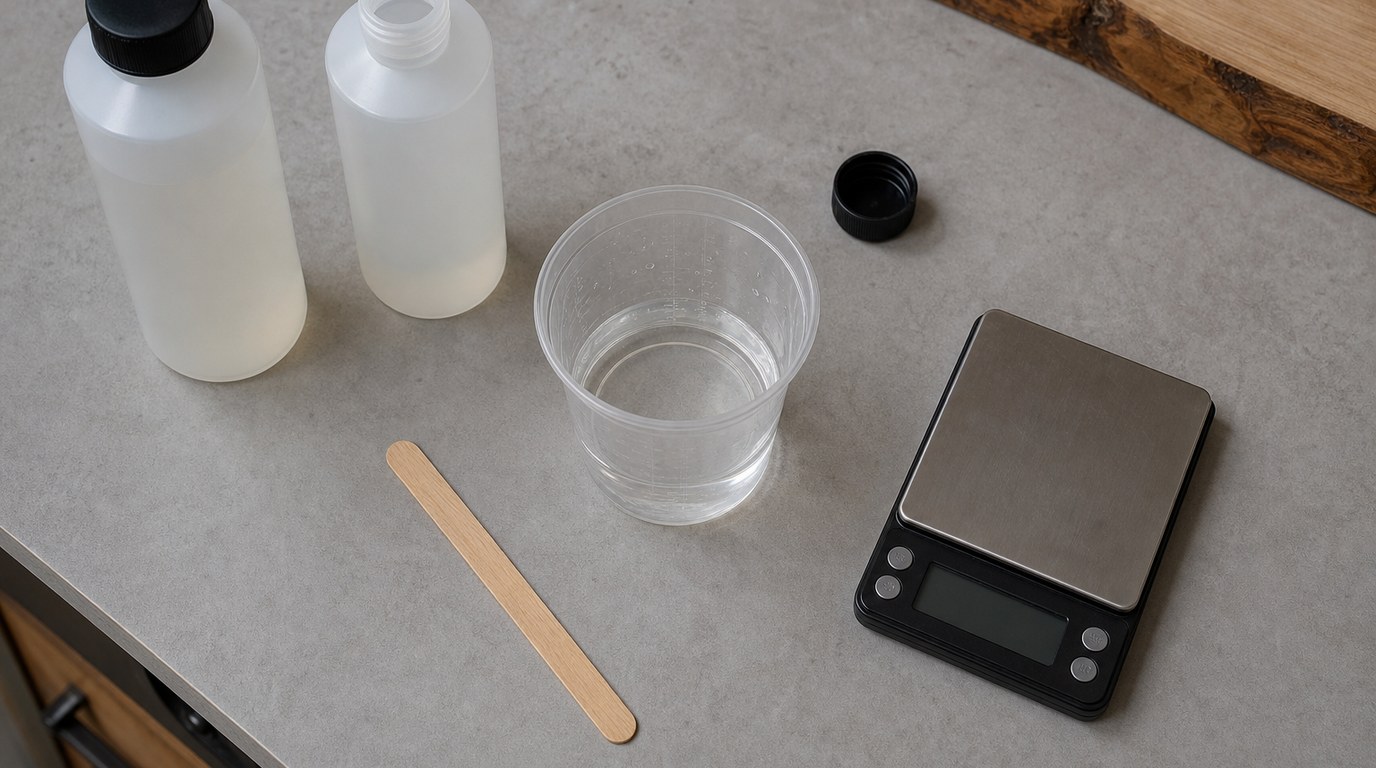
Step 7: Measure Mixing Supplies and Plan Batch Size
Estimate how much resin your mold or surface needs before you mix. Overmixing wastes material and can create excess heat in the cup. Undermixing forces you to rush a second batch and may leave visible lines.
Use marked cups, a calculator, or water-volume testing for molds if needed. Have one clean mixing stick per batch and extra cups for color separation. If your project is deep, confirm the maximum pour depth instead of pouring one thick layer and hoping it cures.
Step 8: Do a Final Dry Run Before You Mix
Now rehearse the pour without resin. Put on gloves. Check that molds are in final curing position, pigments are arranged in order, embeds are beside the correct cavities, and tools are reachable with one hand.
Think through the sequence: mix, divide, color, pour, place embeds, pop bubbles, cover, and leave undisturbed. This dry run catches missing tweezers, closed pigment bottles, unsealed flowers, and tilted molds before the clock starts.
Result Check: How to Know You Are Ready to Pour
You are ready to pour when:
- The resin instructions are open or understood
- The room and resin are within temperature range
- The work surface is protected and level
- Molds and project surfaces are clean and dry
- Porous embeds are sealed and fully dry
- Pigments and tools are pre-positioned
- Batch size is calculated
- You can complete the pour without searching for supplies
If any item is not true, pause. Fixing it now is easier than fixing sticky, bubbly, or uneven resin later.
Common Resin Prep Mistakes and How to Fix Them
Mistake: Starting before reading the ratio.
Fix it by checking the label every time, especially when switching brands.
Mistake: Pouring in a cold room.
Warm the room and sealed bottles first. Do not use open flame or direct heat on resin containers.
Mistake: Using damp molds or embeds.
Dry everything fully. Moisture can cause cloudiness, bubbles, or curing problems.
Mistake: Forgetting to seal paper or flowers.
Seal, dry, then embed. If bubbles appear from an embed during pouring, use a toothpick to release them gently.
Mistake: Mixing too much resin at once.
Use smaller batches for detailed projects or warm conditions. Large volumes can heat quickly and shorten working time.
Quick Pre-pour Routine You Can Repeat Every Time
Use this routine for every resin project:
- Read the resin instructions.
- Set room temperature and warm sealed bottles if needed.
- Cover and level the work surface.
- Clean and position molds or project bases.
- Seal porous items ahead of time.
- Lay out pigments, glitter, embeds, and tools.
- Calculate batch size.
- Put on safety gear.
- Do one dry run.
- Mix only when everything is ready.
FAQ
How Long Should I Let Resin Sit Before Pouring?
After mixing, let resin sit only if your product instructions allow it. Some crafters wait one or two minutes for bubbles to rise, but waiting too long wastes working time. For most projects, mix thoroughly, scrape the cup, then pour while the resin still flows well.
Should I Warm Epoxy Resin Before Using It?
Yes, if the resin is cold or thick, warming the sealed bottles can help reduce bubbles and improve flow. Place closed bottles in warm, not hot, water for a few minutes. Dry them completely before opening. Never microwave resin or add water to the mixture.
What Surfaces Need Sealing Before Epoxy Resin?
Seal porous or absorbent surfaces such as raw wood, paper, photos, fabric, cork, dried flowers, leaves, and some printed materials. These can release bubbles, darken, stain, or absorb resin unevenly. Smooth nonporous surfaces may need cleaning or scuffing instead of sealing.
Can I Clean Resin Molds with Alcohol Before Pouring?
Sometimes, but be careful. Alcohol can help remove residue, but the mold must dry completely before resin is poured. Trapped alcohol may affect the surface finish. For light dust, tape or a lint-free cloth is often safer than adding liquid cleaner.
What Is the Biggest Epoxy Resin Prep Mistake Beginners Make?
The biggest mistake is mixing before everything is ready. Once resin and hardener combine, working time starts. Beginners often then search for pigments, level the table, clean molds, or seal embeds too late. A dry run before mixing prevents most rushed errors.