For most beginner projects, get the right epoxy resin amount by measuring the space you need to fill, then adding a small extra margin for what stays on the cup and stir stick. Check the product label first, because some resins mix 1:1 by volume, while others use 2:1, 3:1, or a weight-based ratio. Measure carefully in separate marked cups or on a scale, combine Part A and Part B in one mixing cup, then stir slowly and thoroughly, scraping the sides and bottom for the full time listed by the manufacturer. If your resin cures hard, clear, and non-sticky, your amount and mixing method were correct.
What You Need Before You Start
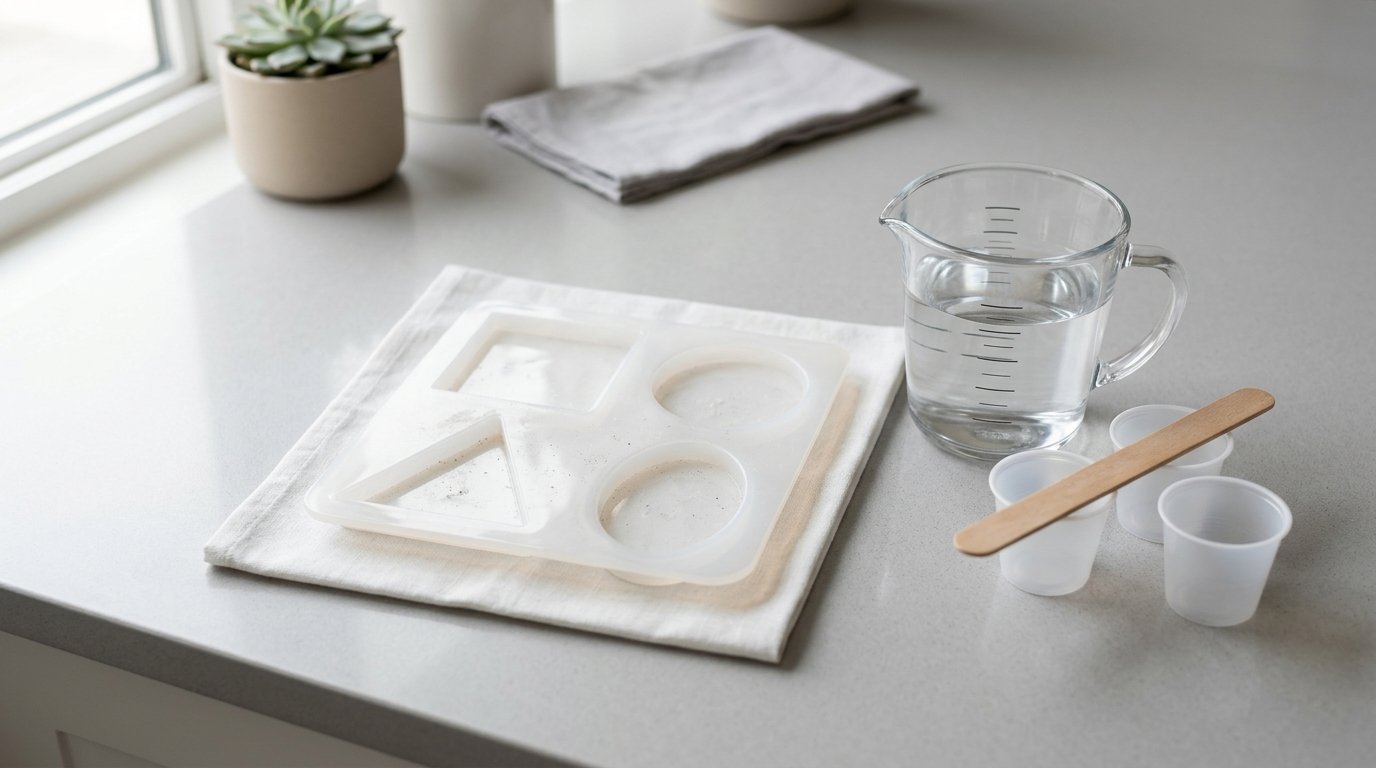
Set up everything before opening the bottles. Epoxy resin has a working time, so delays cause mistakes.
You need:
- Epoxy resin Part A and Part B
- The product label or instruction sheet
- Measuring cups with clear markings, or a digital scale if your resin uses weight
- A mixing cup large enough for the full batch
- Stir sticks
- Gloves
- A level work surface
- Your mold, bezel, tray, or project surface
- Paper towels and isopropyl alcohol for cleanup
- Optional: a second clean cup for double-cup mixing, a heat tool or torch for surface bubbles
Also check these inputs and conditions before you start:
- Mix ratio: Never assume all epoxy is 1:1. Read the label.
- Project volume: Know how much space you need to fill.
- Room temperature: Most resins mix and cure best in a warm room, often around 70 to 75°F.
- Pour depth: Deep pours may need a special casting resin instead of standard craft resin.
- Working time: Small batches are easier for beginners and less likely to overheat.
A fast way to estimate resin is to fill the mold with water, pour that water into a measuring cup, and note the amount. Dry the mold completely before using resin. Then add about 5 to 10 percent extra for mixing loss.
Caution: Moisture, a cold room, or using the wrong resin type can ruin a perfectly measured batch.
Step 1
Measure the correct amount of resin for your project.
Start by figuring out the volume you need to fill. For molds, the water-fill method is the easiest. Fill the mold to the exact level you want with water, pour the water into a measuring cup, and record the amount. If the mold holds 120 ml of water, your project needs about 120 ml of mixed resin total.
Next, add a little extra for resin that clings to the cup and stir stick. For that 120 ml project, prepare about 126 to 132 ml total mixed resin.
Now convert that total mixed amount into Part A and Part B using the ratio on your label.
Worked Example
If your resin is 1:1 by volume and you need 130 ml total mixed resin:
- 65 ml Part A
- 65 ml Part B
If your resin is 2:1 by volume and you need 135 ml total mixed resin:
- 90 ml Part A
- 45 ml Part B
Measure each part accurately. If you are measuring by volume, pour to eye level so the liquid line is not distorted. If you are measuring by weight, place your cup on the scale, tare it, and add each part according to the manufacturer’s weight ratio.
For flat pieces like coasters or trays, you can estimate volume from length × width × depth, then convert cubic volume to milliliters. But for beginners, a test fill with water is usually faster and more reliable.
If you are adding colorants, glitter, dried flowers, or embeds, remember they slightly reduce the amount of resin needed. Still, for small projects, it is safer to mix a little extra than to run short mid-pour.
Verification cue: Before you combine the parts, pause and confirm that your total measured amount matches your project estimate and that the ratio matches the product label.
Step 2
Mix the resin completely, then pour it within the working time.
Pour the measured Part A and Part B into your mixing cup. Use a clean stir stick and stir slowly, not aggressively. Slow mixing reduces trapped air. Scrape the sides, scrape the bottom, and rotate the cup as you go so no unmixed material stays stuck to the edges.
Most craft epoxies need about 3 to 5 minutes of mixing, but the label always wins. If the instructions call for a two-cup method, pour the mixed resin into a second clean cup after the first stir, then stir again briefly. This greatly reduces streaks of unmixed resin.
As you mix, watch for these signs that the blend is improving:
- The liquid looks uniform, not streaky
- Cloudy swirls disappear
- The texture becomes consistent from top to bottom
After mixing, let the cup sit for a minute if your resin allows it. Some bubbles will rise on their own. Then pour into your mold or onto your surface. Pour in a thin stream to help release more bubbles. If needed, pass a heat tool or torch lightly over the surface according to product directions.
This is also the stage where many beginner problems start:
- Sticky spots: Usually caused by wrong ratio or poor scraping while mixing
- Soft cure: Often caused by under-measuring one part or mixing too briefly
- Lots of bubbles: Usually caused by fast stirring, a cold room, or pouring too thickly
- Flash curing or overheating: Often caused by mixing too large a batch in one deep cup
If your project needs a large amount, split it into smaller batches instead of one big cup. Large masses of epoxy heat up faster and can cure too quickly.
Caution: Do not “eyeball” the ratio and do not stop mixing when the resin merely looks combined at the top. Unmixed resin hiding on the sides or bottom can leave wet patches that never cure.
How to Check the Result
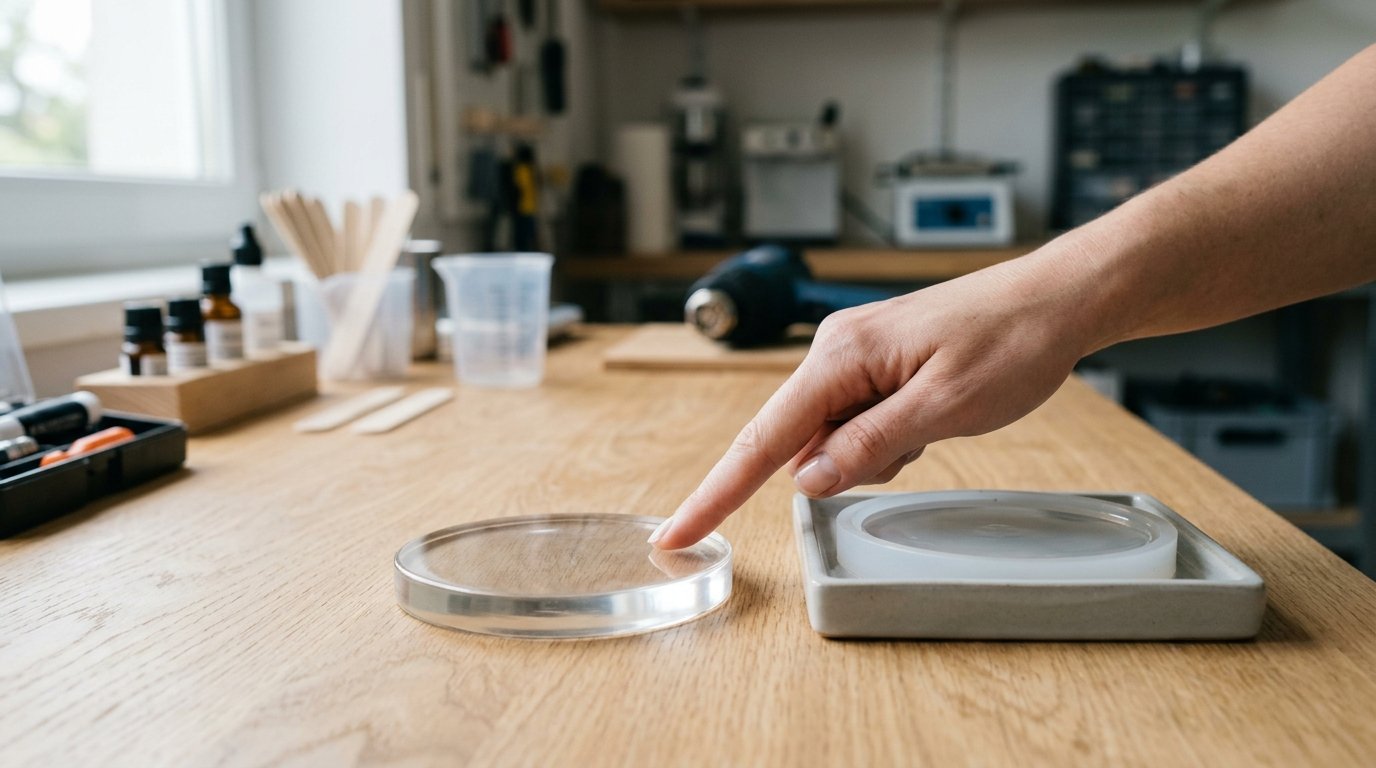
A correctly measured and mixed batch should cure hard within the time range on the label. It should not feel tacky, rubbery, or greasy after full cure time. When you press a fingernail into a fully cured piece, it should resist indentation unless the product is designed to stay somewhat flexible.
Look for these success signs:
- The surface is mostly clear, with only minimal microbubbles
- The resin is evenly cured across the whole piece
- Corners and edges are not sticky
- There are no soft pockets or wavy, oily areas
- The piece releases from the mold cleanly if the cure time is complete
If something went wrong, match the result to the likely cause:
- Sticky overall: wrong ratio
- Sticky patches: incomplete mixing
- Soft piece after full cure window: cold room or inaccurate measuring
- Excess bubbles: stirring too fast or using cold resin
- Yellowing or cracking from heat: batch was too large or too deep
Before changing products, review your notes. Write down the mold volume, mix ratio, room temperature, mix time, and cure result. That record makes the next batch easier and more accurate.
Result check: If the piece cures evenly, feels hard, and matches the expected finish after the listed cure time, your resin amount and mixing method were correct.
FAQ
How Do I Know How Much Epoxy Resin to Mix for a Mold?
Fill the mold with water to the desired level, then pour the water into a measuring cup. That number is your total project volume. Dry the mold fully and mix about 5 to 10 percent extra resin to cover what stays behind in the cup.
Should Epoxy Resin Be Measured by Weight or by Volume?
Use the method listed by the manufacturer. Some epoxy systems are designed for volume ratios, others for weight ratios. Do not switch methods unless the label gives both. The correct ratio matters more than the tool you use to reach it.
How Long Should I Mix Epoxy Resin?
Mix for the full time on the label, usually around 3 to 5 minutes for many craft resins. Stir slowly while scraping the sides and bottom. If the instructions recommend transferring to a second cup, do that and stir again briefly.
Why Is My Epoxy Resin Still Sticky After Mixing?
Sticky resin usually means the ratio was wrong or the resin was not mixed thoroughly. It can also happen in a cold room. Check whether you measured correctly, scraped the cup properly, and allowed the full cure time before judging the result.
Can I Mix a Large Batch of Epoxy Resin at Once?
You can, but large batches heat up quickly and are harder to mix evenly. For beginners, smaller batches are safer and easier to control. If you need a lot of resin, mix multiple smaller amounts instead of one deep, fast-heating cup.