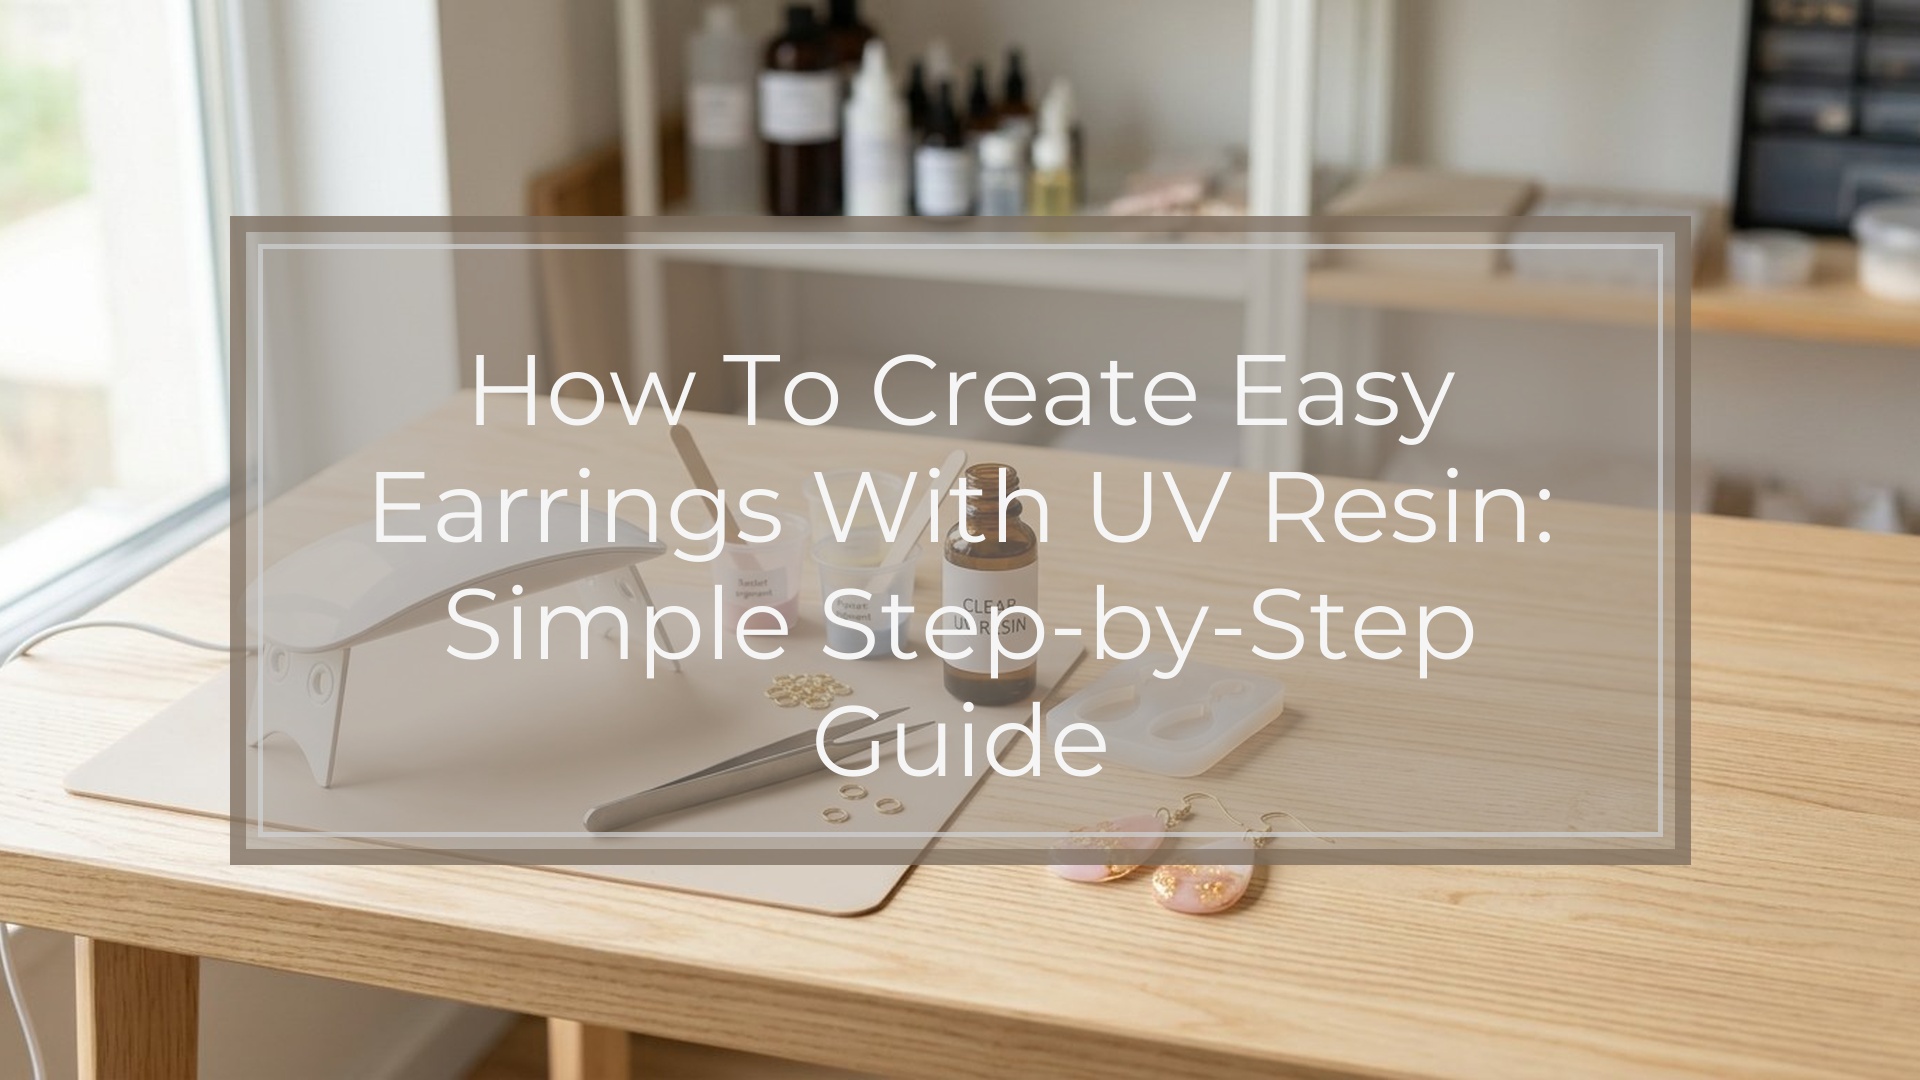
If you want a beginner-friendly way to make resin jewelry, start with flat charm or mold-based earrings. They cure fast, need only a few tools, and are easy to assemble into wearable pairs. The simplest method is: prep a small mold or blank, add a little decoration, cure UV resin in thin layers, attach findings, then check that both earrings are hard, smooth, and balanced.
The same thin-layer curing approach also works well for UV resin jewelry pendants, especially when you want a simple matching piece.
This guide keeps the project simple and low-cost. You will learn what to gather, how to pour and cure without sticky spots, how to attach hardware correctly, and how to tell when your earrings are actually ready to wear.
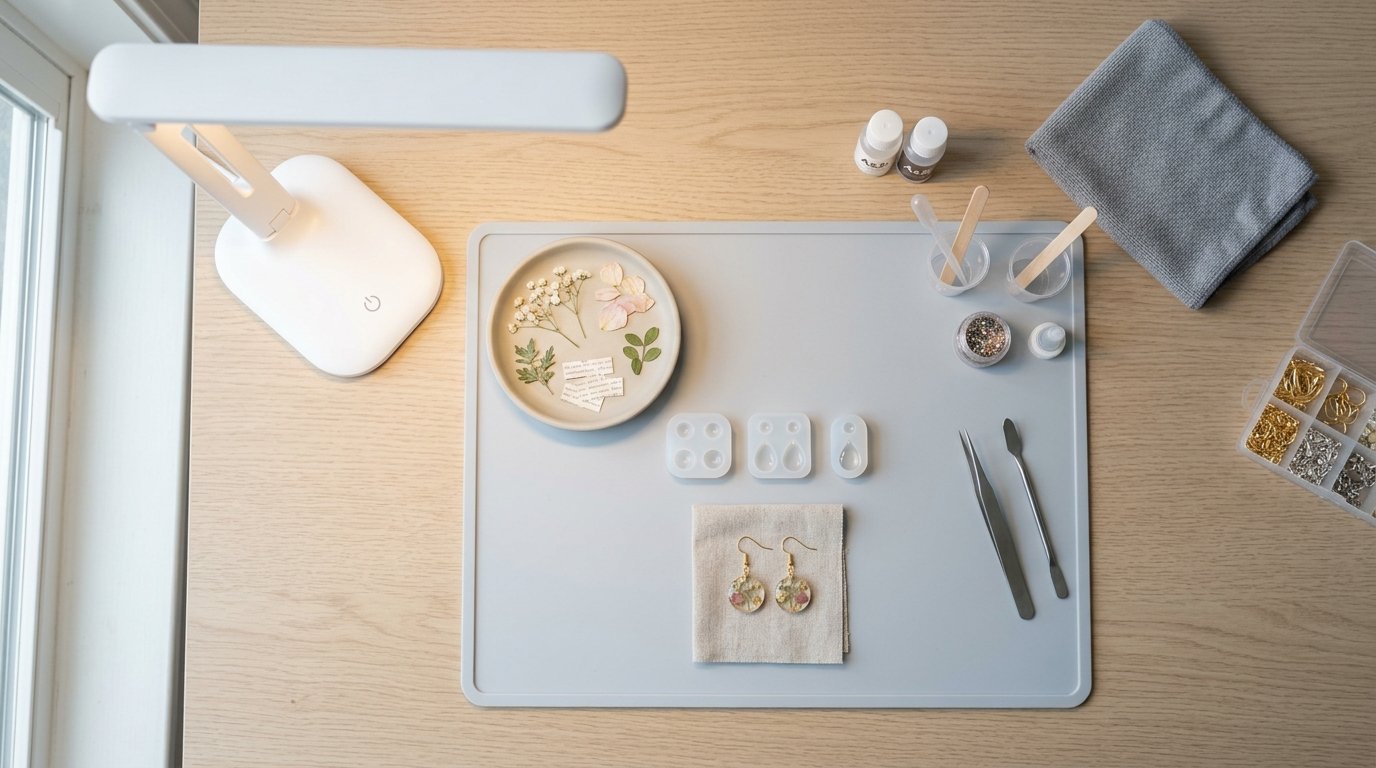
What You Need Before You Start
Gather everything first so you do not rush while resin is open.
You need:
- UV resin
- UV lamp
- Silicone earring mold or flat earring blanks/cabochon settings
- Earring hooks or stud posts
- Jump rings if your design hangs
- Small decorations such as glitter, dried flowers, foil flakes, or tiny charms
- Tweezers
- Silicone mat or nonstick work surface
- Toothpicks or a resin stir stick
- Small scissors if trimming inclusions
- Sanding buffer or fine nail file for edges
- Jewelry glue if attaching posts to cured pieces
- Nitrile gloves
Helpful but optional:
- Rubbing alcohol and lint-free wipes for cleanup
- A dust cover, such as an upside-down plastic container
- Pliers for jump rings
Before starting, check compatibility. UV resin works best in clear or lightly tinted layers. Opaque pigments, thick flower clusters, or deep molds can block light and leave soft centers. If you are making dangling earrings, dry-fit the hardware first so you know where the hole or attachment point should go.
Work in a ventilated area, avoid skin contact, and do not stare at the UV lamp. Keep layers thin and cure each layer fully instead of trying to fill everything at once.
Step 1
1. Prep the Design and Workspace
Lay down a silicone mat, turn on your lamp, and place your mold or blanks within easy reach. Wipe out any dust, because dust gets trapped instantly and shows on clear resin. If you are using dried flowers or paper pieces, trim them small enough to sit flat.
2. Plan the Pair Before Pouring
Set out both earrings side by side and decide how they will match. For a beginner project, mirror-image pairs are easier than two completely different designs. If using a mold, choose shallow shapes like circles, ovals, or hearts. If using blanks, make sure the bezel or pad is clean and dry.
3. Add a Thin Base Layer
Squeeze a small amount of UV resin into the mold or onto the blank. Use a toothpick to spread it into a thin, even layer. This first layer anchors decorations and helps prevent floating or shifting later.
Do not overfill. Resin rises slightly and can spill over the edge, creating sharp rims that need extra sanding.
4. Place Simple Decorations
Use tweezers to add a few lightweight decorations. Good beginner choices are fine glitter, foil flakes, tiny pressed flowers, or one small charm. Press them down gently so they lie flat. If bubbles appear, pop them with a toothpick before curing.
5. Cure the First Layer
Place the piece under the UV lamp and cure according to your resin brand, usually 1 to 3 minutes for a thin layer. If your lamp is weak, add more time rather than assuming the surface is done. Rotate the tray if your lamp cures unevenly.
6. Repeat for Depth If Needed
If you want more sparkle or a domed finish, add another thin layer, then cure again. Build slowly. Two or three thin pours cure more reliably than one thick pour.
Step 2
1. Seal and Fully Cure the Front
Add your final top layer to level the surface and slightly dome it. Guide resin to the edges with a toothpick, but stop before it spills over. Cure again under the lamp. When the front looks set, remove the piece and inspect the edges for wet spots.
Caution: a glossy top does not always mean the inside is cured. Thick pours can look done while staying soft underneath.
2. Cure the Back If Needed
If you used a mold or made a thicker piece, gently pop the piece out once the front is stable. Flip it over and cure the back for another 1 to 2 minutes. This extra cure helps with tacky backs and uncured centers. For flat blanks, you usually only need extra top curing, not flipping.
3. Trim, Smooth, and Clean
If resin overflowed, clip or file sharp edges after the piece is fully cured. Wipe away dust. If the surface is slightly uneven, add one more very thin finishing coat and cure again. Keep that coat thin so it self-levels instead of pooling.
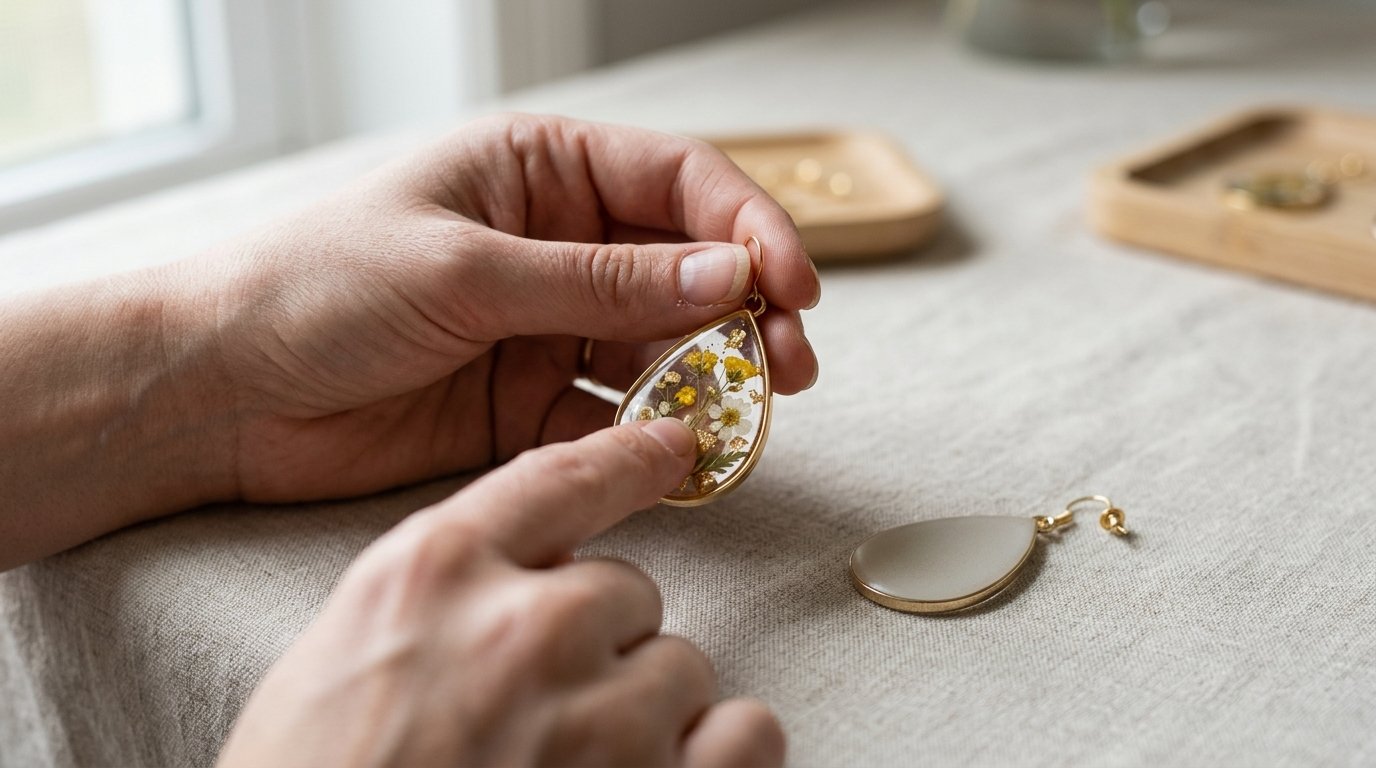
4. Attach the Earring Hardware
Choose the assembly method that fits your design:
- For dangling mold pieces: open a jump ring with pliers, attach the resin charm to the earring hook, then close the ring fully.
- For stud-style pieces: glue a stud post to the back of the cured resin with jewelry glue, then let the glue set as directed.
- For bezel or built-in loop designs: connect findings after confirming the loop is clear and solid.
Check orientation before final assembly. It is easy to glue a stud post at the wrong angle or attach one hook facing backward.
5. Fix Common Beginner Problems
- Sticky surface: cure longer, then flip and cure the back. If still sticky, the layer was too thick or too opaque.
- Bubbles: use thinner layers and press decorations flat before curing.
- Cloudiness: keep water, dust, and fingerprints off the piece.
- Shifting decorations: cure a base layer first, then place decorations on that tacky-but-set surface.
- Uneven pair: compare both earrings after every layer instead of waiting until the end.
How to Check the Result
Your earrings are ready when they pass four quick checks.
1. Hardness Check
Press a fingernail lightly against the thickest area. The resin should feel hard, not rubbery, dentable, or cool-soft in the center. If it gives under pressure, cure longer and flip to cure the back.
2. Surface Check
Look at the front and edges under bright light. The finish should be glossy or evenly matte if sanded, with no wet patches, ripples, or sharp overflow points. Run a fingertip carefully around the edge to catch snags.
3. Wearability Check
Hold each earring by the hook or post and give it a gentle shake. The hardware should stay secure, the jump rings should be closed, and glued posts should not twist. Lightweight earrings are more comfortable, so confirm the pair does not feel overly heavy.
4. Matching-pair Check
Place both earrings side by side. They do not have to be identical, but they should look intentional. Check shape, color balance, decoration placement, and overall length. If one is flatter, add a thin top coat to match the other.
When all four checks pass, let the pair sit a little longer before wearing or packaging, especially if glue was used.
FAQ
What Is the Easiest Type of Earring to Make with Uv Resin?
Flat stud tops or small dangling charms made in shallow silicone molds are the easiest. They use little resin, cure quickly, and are easier to keep even than deep molds or layered statement earrings.
Why Is My Uv Resin Still Sticky After Curing?
Usually the layer is too thick, too dark, or blocked by decorations. Cure in thinner layers, flip the piece to cure the back, and make sure your lamp is strong enough for the resin brand you are using.
Can I Make Uv Resin Earrings Without a Mold?
Yes. You can coat flat charms, fill bezel settings, or dome resin onto small blanks. This is often easier for beginners because you control thickness and do not need to demold the piece.
How Long Should I Cure Uv Resin Earrings Under the Lamp?
Most thin layers cure in about 1 to 3 minutes, but the exact time depends on the lamp and resin brand. Thicker layers, darker colors, and the back side usually need extra curing time.
What Decorations Are Safest for Beginner Uv Resin Earrings?
Use lightweight, flat decorations such as fine glitter, foil flakes, tiny dried flowers, and small sequins. They sit low in the resin, let UV light pass better, and are less likely to trap bubbles.
Are Uv Resin Earrings Durable Enough for Everyday Wear?
Yes, if they are fully cured, not overly heavy, and assembled with secure findings. They hold up well for normal wear, but avoid bending, dropping, or storing them where the surface can get scratched.