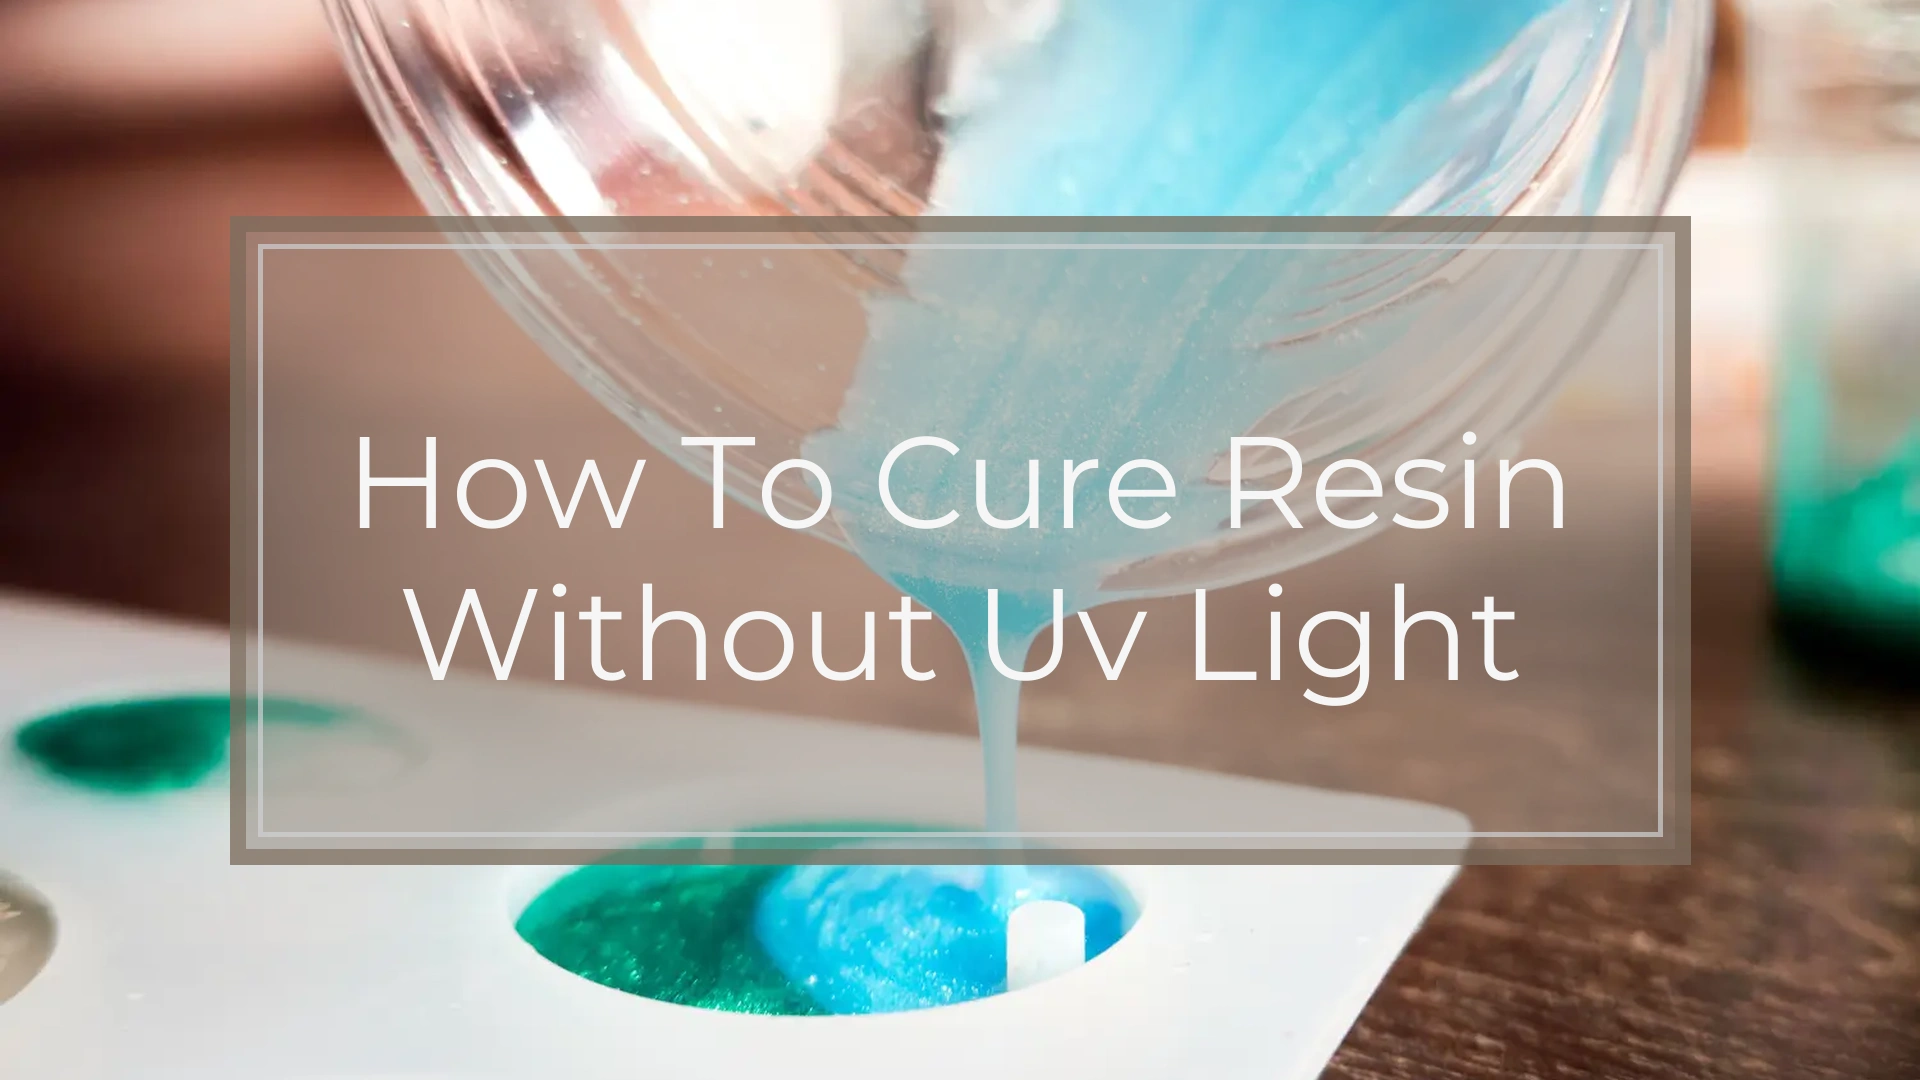
You can cure resin without a UV light by using sunlight, an LED lamp, or by choosing resins that use a hardener instead of UV light. This makes resin projects possible even if you don’t have any special tools at home. For many types of UV resin, a few hours in direct sunlight is enough to cure your piece.
If you’re working with epoxy resin, you don’t need any light at all—just mix in the hardener and let it sit. Trying out these methods lets you be creative with resin without worrying about expensive equipment or complicated steps.
Understanding Resin and Its Curing Process
Resin is a popular material used for making crafts, art, and jewelry because it can form clear or colored shapes when it hardens. The hardening process, called curing, depends on the type of resin you use and the curing method.
Types of Resin
There are different types of resin. The most common are epoxy resin, UV resin, and polyester resin. Each one works in its own way.
Epoxy resin comes in two parts: resin and hardener. When you mix them, they react and harden by themselves.
UV resin cures (or hardens) when exposed to UV light. It is often used for small projects, like jewelry.
Polyester resin also needs a hardener, but it is usually used for bigger projects like casting or making molds.
You should choose the right type of resin for your project based on how you want to cure it and what you are making.
How Resin Hardens
Curing is the process that makes resin go from a liquid to a solid. Some resins use a chemical reaction. For example, when you mix epoxy resin with its hardener, it starts to get warm and then solidifies.
In contrast, UV curing resin stays liquid until you shine UV light on it. The light starts a reaction that hardens the resin fast. Polyester resin needs a chemical called a catalyst to begin curing, and it cures at room temperature.
The speed and strength of the cure can change, depending on room temperature, light, and the mix of resin ingredients. Always read the instructions to avoid sticky or soft results.
Role of UV Light in Curing
UV light is only needed for certain resins. UV resin uses ultraviolet light to cure. For these resins, the resin will not harden unless you expose it to either a UV lamp or sunlight.
For epoxy and polyester resins, you do not need UV light. They use chemicals to cure instead. This makes them a better choice when you don’t have a UV lamp.
If you use UV resin without a light, it may still harden in direct sunlight, but it will take much longer and might not cure all the way.
Common Uses for Resin
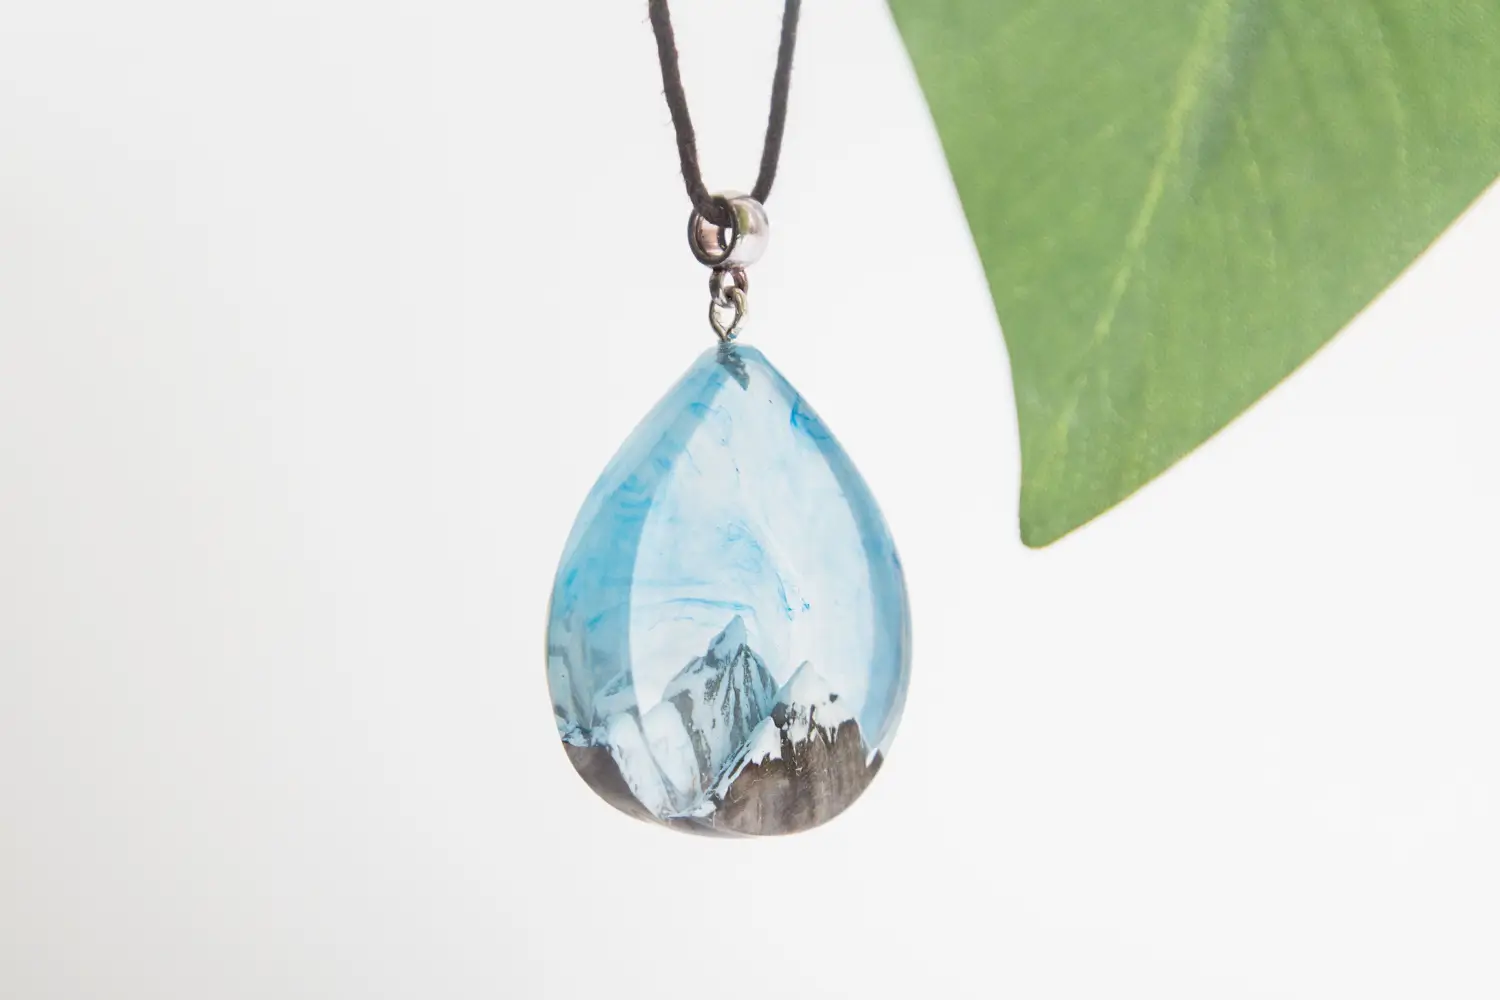
Resin is often used to make jewelry, art pieces, and to fill molds for shapes and decorations. Many people use it for casting, which means pouring it into a shape and letting it harden.
Epoxy resin is great for coating artwork, making tabletops, and jewelry. UV resin works well for tiny charms or when you want to cure things fast.
Polyester resin is more common in boat repairs or larger molds because it’s strong and cheaper, but it has a stronger smell and can be tricky to measure. Using the right resin for your project helps you get the results you want.
Why Cure Resin Without UV Light?
Curing resin without UV light can help you avoid certain problems, save money, and give you more freedom with your projects. It may also open up more options, especially if you are interested in different types of resins or work in places without special equipment.
Limitations of UV Lamps
UV lamps, including UV LED lamps and tube bulbs like the Benwei UV 120cm, are made to cure certain UV resins. They can be expensive if you’re just starting out or only do small projects. These lamps need electricity, which can be a problem if you want to craft outside or if there’s no power source nearby.
Bulbs may burn out or get weaker over time, so you may need to replace them. This adds to long-term costs. Not all UV lamps give off the same strength of light; if the lamp is not strong enough or the resin is thick, curing might take much longer or be uneven.
Some UV lamps also give off heat or very bright light, which can be uncomfortable to use without proper safety gear. You may have to worry about eye protection and keeping the lamp away from kids or pets.
Disadvantages of UV Resin
UV resin has some downsides you might want to consider before starting your project. First, it only cures with UV light or strong sunlight, which can limit when and where you work. If you live somewhere with little sun, sunlight curing may not work for you.
Many UV resins might have stronger smells compared to other kinds, so you’ll need good ventilation. These resins also come in small bottles, so they are not always the best for large projects or pouring thick layers. Using UV resin for thick casts might leave parts sticky or uncured inside.
Some UV resins can yellow over time, especially if left in the sun. You may also have fewer choices in colors or effects than with other types of resin, such as some types of epoxy resin.
Alternatives for Artists and Crafters
If you want to skip UV lamps and UV resin, you have options. Epoxy resin and polyester resin both cure without any special light or lamps. They use two parts (resin and hardener) that start to harden when mixed.
These types let you make larger or thicker objects because they cure all the way through, not just on the surface. Artists also use these resins for jewelry, river tables, and artwork because they often give a clearer, glass-like finish.
Key alternatives include:
- Epoxy resin (mix parts A+B, cures on its own)
- Polyester resin (also a two-part system, widely used in crafts and repairs)
- Air-dry clay (if you want a non-resin option)
These alternatives may take longer to cure, often several hours to days, but you don’t need extra equipment and can work in any environment with decent ventilation. This can add flexibility and let you choose the method that fits your project best.
Alternative Curing Methods for Resin
You can cure resin without a UV light by using different materials and techniques. Alternatives include sunlight, heat, and special hardeners that work for certain resins.
Natural Sunlight Curing
You can use sunlight to cure UV resin if you do not have a UV lamp. Sunlight contains ultraviolet rays, which are enough to start the curing process. Place your project in direct sun. The curing time using the sun is usually longer than with a UV light—often taking an hour or more, depending on the thickness of your resin layer and outdoor conditions.
Keep in mind that cloudy weather, glass windows, or shade will slow down the curing process. Timing and sun position matter, so midday sun works best. Some specific resins, like sun drop resin and star drop resin, are made for sunlight curing, but any UV resin may work.
Always check for full curing by gently pressing the surface. If the resin feels sticky, give it more time. Remember to protect your piece from dust or debris while it sits outside.
Thermal (Heat) Curing
For some types of regular resin, you can use heat to trigger the curing process. Place your resin piece in a warm area, like near a heater or in a low-temperature oven, if the manufacturer says it is safe.
Heat speeds up chemical reactions in the resin, making it harden faster. Be careful to never use temperatures above what your resin can handle, or it may warp or create bubbles. Always check your resin’s instructions before using this method.
Small projects can often fully cure in a few hours at the right temperature. Make sure your curing surface is level and heat-resistant. This method will not work for UV-only resins.
Using Hardener for Epoxy Resin
If you are using epoxy resin, you do not need UV light at all. Epoxy uses a two-part system: resin and hardener. Mix these in the ratio recommended on the packaging.
Once combined, a chemical reaction begins the curing process. Let the mixture sit at room temperature to harden. The curing time depends on the brand and amount used, but most epoxy resins begin to set in 10-20 minutes and reach full cure in 24 hours.
Epoxy resin is popular for crafts, jewelry, and coatings because it does not rely on light for curing. Always follow safety directions when mixing, and wear gloves to avoid skin contact.
Step-By-Step Guide: Curing Resin Without UV Light
Curing resin without UV light is simple, but it takes patience and the right materials. The process uses a chemical reaction, so it’s important to measure, mix, and set up your workspace carefully.
Preparing Your Workspace
Start by choosing a clean, flat surface with good ventilation. Open a window if possible, as resin fumes can be strong.
Lay down wax paper or a silicone mat to protect your work area from spills. Gather everything you need—including gloves, mixing cups, and measuring spoons—before you get started.
If you plan to use molds or add dried flowers, have them ready within arm’s reach. Wearing gloves helps keep your hands safe from sticky resin and prevents skin irritation.
Keep all pets and food away from your workspace to avoid accidents. Good preparation makes the rest of the process much easier.
Mixing and Pouring Resin
Select a resin that does not require UV light, such as a two-part epoxy or polyester resin. These types use a hardener or catalyst to cure.
Read the instructions on your resin package. Measure out the resin and hardener exactly as directed. Use separate cups for each if needed.
Pour both into a larger mixing cup. Stir slowly and evenly for two to three minutes. Make sure to scrape the sides and bottom so everything mixes well.
If you want to add dried flowers or color, mix them in after the resin is blended. Pour the resin gently into your mold. Tap the sides to remove air bubbles, as trapped air can ruin the look.
Ensuring Proper Curing Conditions
Set your filled molds on a flat surface where they won’t get disturbed. Keep the temperature between 70 and 75°F (21–24°C), as resin cures best when it’s not too cold or hot.
If your room is cool, you can place a box or container over the molds to hold in warmth, but make sure there is airflow. Some people use a heat lamp set several inches away, but do not put it too close.
Avoid placing your resin near direct sunlight or drafts. Humidity can also slow curing, so try to keep the air dry if you can.
Curing time varies—most epoxy resins take 24 to 72 hours to harden fully without UV light. Check the packaging for exact times, and don’t touch or move the resin until it is fully set.
Finishing and Demolding
Once curing is finished, wear gloves to protect your hands. Gently flex the mold to release the resin piece. If it resists, let it sit for a few more hours.
Carefully trim away any rough edges with small scissors or fine sandpaper. If your piece feels a little sticky, set it aside to cure longer in a dry, warm place.
You can clean your tools with isopropyl alcohol before the resin hardens. Store finished pieces away from direct sunlight to prevent yellowing.
Adding a clear topcoat or polishing with a soft cloth will help your creation look its best and stay shiny for longer.
Factors Impacting Curing Success
Many things can affect how well your resin cures without UV light. Paying attention to these details helps you get the best results and avoid common problems like sticky or uneven surfaces.
Temperature and Humidity
Temperature plays a big role in curing resin. Warmer temperatures usually help speed up the curing process, while cold air can slow it down or cause the resin to remain tacky.
Humidity is important too. High humidity can cause resin, especially epoxy resins, to cure improperly or develop cloudy spots. Low humidity is better for most resins because it reduces the risk of bubbles and problems on the surface.
Ideal curing conditions are usually:
- Temperature: 70°F to 80°F (21°C to 27°C)
- Humidity: Under 50%
If you are curing in a colder area, consider using a heat lamp or moving your project inside.
Resin Thickness
The thickness of your resin layer affects how well and how fast it cures. Thin layers of resin usually cure faster and more evenly. Thick layers can trap heat or stay sticky for days.
For best results:
- Thin pours (under 1/4 inch) are safer and cure faster.
- Thicker pours might need longer curing time and careful monitoring.
With thicker layers, you risk bubbles, uneven curing, or even cracking if the resin overheats. If you need a deep pour, it’s better to cure in layers. Each layer should be fully cured before adding the next one.
Additives and Dyes
Additives, such as resin dyes, glitter, or other powders, can change how your resin cures. Some colorants may slow down curing time while others can make the resin cloudy.
When you add dyes to your epoxy resin, start with small amounts. Too much dye can keep the resin from setting hard. Some dyes might block heat or light needed for curing, making the process take much longer.
A table for reference when adding dyes:
| Additive Type | Suggested Amount | Effect on Curing |
|---|---|---|
| Liquid dye | 1-2% max | May slow curing |
| Powdered pigment | 2-5% max | Can cause cloudiness |
| Glitter/Metallic | Use sparingly | May trap air or bubbles |
Mix additives and dyes thoroughly and test before using them on big projects. This helps avoid curing problems and ensures your resin piece looks the way you want.
Storage, Lifespan, and Shelf Life of Resin Projects
To keep your resin items looking their best, you need to know how to store them correctly and how long they will last. Taking a few simple steps helps protect your resin’s quality and makes your projects last longer.
Extending Lifespan of Resin Items
Resin projects can last for many years if cared for properly. Direct sunlight is a common cause of yellowing and damage, so keep finished pieces out of UV light as much as possible. Heat can also make resin brittle or change its shape over time.
Regularly dust your items with a soft cloth to prevent scratches. If resin gets dirty, use mild soap and water to clean it, but never use rough pads or harsh chemicals. Taking the time to handle resin gently makes a big difference in how long it lasts.
Optimal Storage Tips
How and where you store both unused resin and finished projects matters a lot. Keep unopened resin bottles in a cool, dark, and dry space. Moisture and heat can shorten shelf life and may even ruin the resin before you use it.
Seal containers tightly after use to prevent air exposure. For finished projects, avoid stacking heavy items on top, and store them in drawers or cabinets away from windows or direct sunlight. If humidity is high in your area, consider storing items with silica gel packets to limit moisture.
| Storage Factor | Why It Matters | Tip |
|---|---|---|
| Temperature | Heat shortens life | Store below 77°F (25°C) |
| Sunlight | Causes yellowing | Use dark or covered spaces |
| Moisture | Can cause damage | Keep in dry environments |
Monitoring Shelf Life
Epoxy and other resins have a limited shelf life even if not opened. Most liquid resin products last 1-2 years from the date of purchase if stored correctly. Past this time, resin may not mix well or may cure with problems like cloudiness or stickiness.
Check resin containers before use for weird smells, color changes, or thickening. These are signs that the resin may be expired. Always write the purchase date on bottles so it’s easy to track.
Once cured, resin items last much longer than the raw product, but their appearance and strength depend on storage and protection from light and heat. Keep an eye on your oldest pieces for fading, cracking, or other signs of wear.
Choosing the Best Resin for Non-UV Methods
Finding the right resin is important when you cannot use UV light for curing. Understanding the differences between resin types, knowing trusted brands, and looking into warranty or support all make the process smoother.
Epoxy vs. UV Resin
Epoxy resin is the most popular choice for non-UV curing because it hardens with a chemical reaction between two mixed parts: resin and hardener. It does not require any light source and usually cures at room temperature in a few hours.
UV resin needs a UV light source to cure quickly. Some brands say sunlight works, but this process is slow and may not cure fully. If you want to avoid UV light completely, UV resin is not your best option.
People often confuse these two, but their curing needs are very different. If you plan to work indoors or do not have access to sunlight or UV lamps, epoxy resin will be much easier for you to use.
Recommended Brands
There are many brands offering epoxy resin. Some popular and reliable ones include:
- ArtResin: Known for clear finishes and low odor.
- EnviroTex Lite: Good for coatings and crafts.
- Pro Marine Supplies: Durable and popular for tabletops.
For UV resins, Padico UV Resin is a well-known brand, but remember, you need a UV light for this type. Stick with epoxy resins when you do not want to use any light source at all.
Most trusted brands make it easy to find mixing instructions and safety tips. Always follow the directions for the best results.
Warranty and Customer Service Considerations
When you buy resin, check the warranty and customer service policies. Brands with good support can answer questions and help if you get a bad or damaged batch.
Look for companies that offer clear return policies, fast replies to emails, and information about product safety. You might find this info on the company’s website or by reading customer reviews.
A brand with strong customer service, like ArtResin, can make it easier for you to solve any problems. If you are just starting with resin, choose a company known for helping beginners.