
Working with resin and flowers can be so fun, but it’s frustrating when those beautiful blooms start floating to the top of your creation! Many crafters face this common problem when making pressed flower jewelry, coasters, or decorative pieces.
To keep flowers from floating in resin, first pour a thin base layer of resin and let it partially cure, then place your dried flowers on top and cover with more resin. This simple technique creates a sticky foundation that helps your flowers stay exactly where you want them. You can also try sealing your dried flowers with a thin layer of resin or mod podge before embedding them in your main project.
If you’re embedding other items too, these same steps can help you keep things from floating in resin.
If you’re working on DIY resin art with pressed or dried flowers, remember that proper preparation makes all the difference. Make sure your flowers are completely dry before using them in resin projects, as moisture can cause bubbling and floating issues. With these tips, you’ll be able to create stunning floral resin pieces where everything stays perfectly in place!
Preparing Your Flowers for Resin
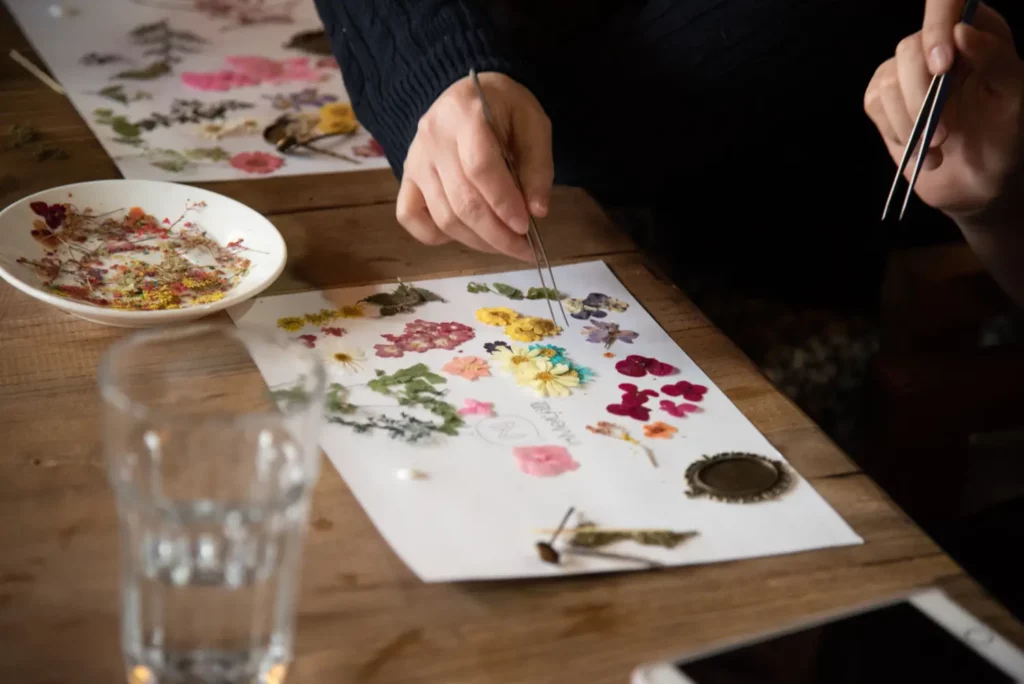
Before adding flowers to resin, you need to prepare them properly. The right preparation prevents floating and helps preserve their color and shape once they’re sealed in your project.
Choosing the Right Flowers
Pick flowers with flat shapes and lower moisture content for best results. Pansies, daisies, and forget-me-nots work really well in resin projects. Avoid thick flowers like roses unless you plan to press them first.
Fresh flowers often contain too much moisture, which causes problems when sealed in resin. Moisture can create bubbles or make your flowers turn brown over time. Thinner flowers will dry faster and maintain their shape better.
Consider color when selecting flowers – bright colors tend to hold up better in resin. Dark purple and blue flowers often keep their vibrant appearance, while white flowers might become transparent.
Drying and Pressing Flowers
Completely dry your flowers before placing them in resin. Fresh flowers will release moisture and cause bubbles.
Silica gel method: Place flowers in a sealed container with silica gel desiccant for 3-7 days. This helps maintain the flower’s 3D shape while removing moisture.
Traditional pressing: Place flowers between absorbent paper in a heavy book for 1-2 weeks. This works great for making flat dried flowers perfect for pendants.
You can also use a laminator to quickly press thin flowers. Put the flower between two pieces of paper and run it through the laminator. This creates perfectly flat pressed flowers in minutes!
Sealing Flowers with Mod Podge
Apply a thin layer of Mod Podge to your dried flowers before adding them to resin. This creates a protective barrier that prevents resin from soaking into the flowers.
Use a small paintbrush to gently coat both sides of each flower. Let the first layer dry completely before adding a second coat if needed. Tacky glue works as an alternative if you don’t have Mod Podge.
This sealing step is super important! It stops air bubbles from forming around your flowers and prevents them from floating to the top of your resin. The seal also helps preserve the flower’s color over time.
Wait at least 24 hours for the sealant to fully dry before placing your flowers in resin. Rushing this step might lead to bubbles or floating issues.
Setting Up Your Workspace
Before diving into your flower resin project, you need a proper workspace to prevent your blooms from floating. A well-organized area helps you work efficiently and avoid common mistakes that lead to floating flowers.
Selection of Molds and Mats
Choose silicone molds for your resin projects as they release finished pieces easily without sticking. Make sure your molds are clean and free from dust or previous resin residue.
Place a silicone mat under your work area to catch any drips or spills. This makes cleanup much easier and protects your furniture from permanent damage.
Keep your molds on a level surface to ensure even curing. If your surface isn’t perfectly flat, use a small level tool to check, and adjust with thin shims if needed.
Store unused molds upside down to prevent dust collection. This small step saves you cleaning time before your next project.
Mixing Epoxy Resin
Always mix your epoxy resin in a well-ventilated area. Open windows or use a fan to keep air flowing while you work.
Measure your resin and hardener precisely according to package instructions. Even small measurement errors can affect how quickly the resin thickens.
Use separate mixing tools for each component to avoid contamination. Stir slowly to minimize air bubbles that can cause your flowers to float.
Watch for the right consistency before adding flowers. The resin should be slightly thickened like honey but still pourable.
A small kitchen scale helps you get exact measurements. This precision makes your resin projects more consistent and professional-looking.
The Art of Casting Resin
Working with resin requires careful technique and attention to detail. Getting great results means understanding how resin behaves during different stages of the process.
Layering Technique
When casting resin with flowers, working in layers is your best approach. Pour a thin base layer of clear resin first and let it partially cure until it’s tacky but not fully hardened. This creates a sticky surface that helps hold your flowers in place.
Once your flowers are positioned, carefully pour a very small amount of resin over them. Just enough to cover them slightly. This helps “lock” them in position before they can float.
Allow this layer to partially set before adding your next layer of resin. Continue with thin layers rather than one thick pour. This method gives you more control and prevents flowers from drifting upward while the resin cures.
Some crafters also use a tiny drop of clear-drying glue on the flowers first to help anchor them.
Reducing Bubbles in Resin
Bubbles can ruin your resin piece, so working to eliminate them is crucial. Before mixing, warm your resin bottles in warm water (not hot) for about 10 minutes. This makes the resin less viscous and reduces bubbles.
Mix your resin slowly and deliberately. Rapid stirring introduces more air. Use a wooden stick and stir in one direction with a gentle “folding” motion.
After pouring each layer, use a heat gun or torch held 6-8 inches away to pop surface bubbles. Move it quickly across the surface—too much heat can damage your flowers.
For stubborn bubbles, try using a toothpick to gently guide them to the surface. Working in a warm room (around 75°F) also helps bubbles rise more easily.
Curing Process Insight
The curing process greatly affects how your flowers behave in resin. Most resins go through stages: liquid, gel, and solid. The gel stage is crucial—this is when flowers are most likely to shift.
Monitor your resin during the first few hours of curing. If you see flowers starting to move, you can gently push them back into place with a toothpick until the resin becomes firm enough to hold them.
Temperature affects curing speed. Warmer environments speed up curing, while cooler rooms slow it down. A moderate room temperature of 70-75°F usually works best.
Don’t disturb your piece while it’s curing. Even small movements can cause flowers to shift. Place your mold on a level surface away from vibrations, fans, or air vents.
Finishing Touches on Resin Creations
Once your flowers are properly secured in your resin, you’ll need to add some finishing touches to make your creation shine. These final steps can transform your project from good to amazing.
Polishing the Final Product
After your resin has fully cured, you might notice some imperfections on the surface. Don’t worry! You can easily fix this with some sandpaper. Start with a coarse grit (around 400) and work your way up to finer grits (2000+).
Sand in small circular motions, rinsing the piece often. Be patient with this process – rushing can scratch your beautiful work.
For EasyCast resin projects, you can apply a thin final coat of resin to create a glass-like finish. This self-leveling layer will hide minor imperfections without additional polishing.
Finally, use a specialized resin polish or regular car polish to bring out that gorgeous shine. Apply with a soft cloth and buff gently.
Adding Backings to Resin Jewelry
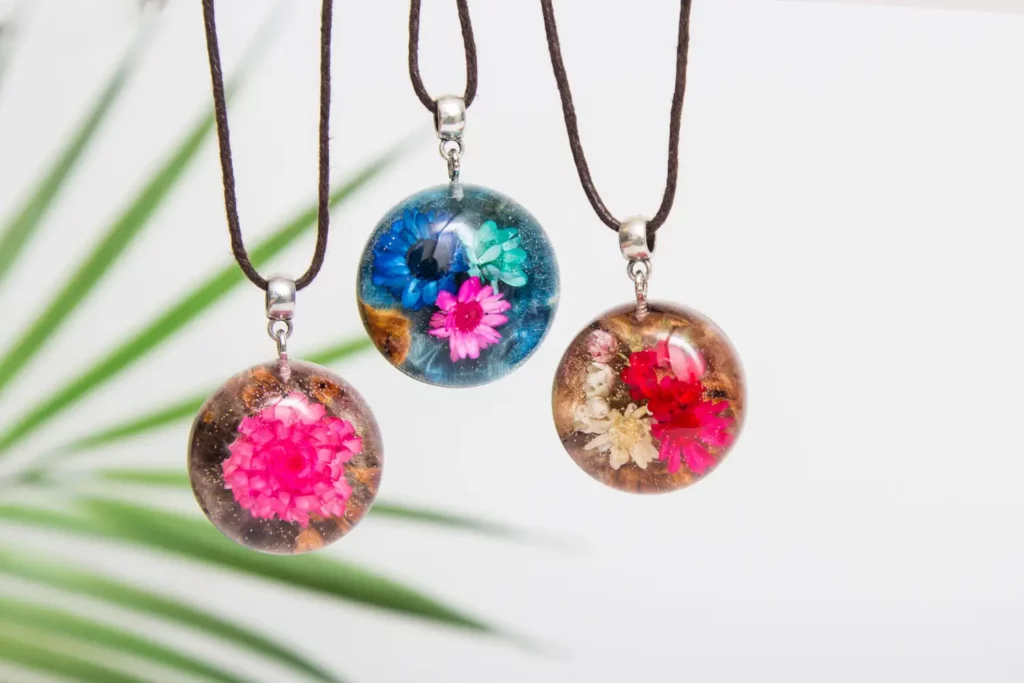
For resin jewelry pieces, adding proper backings transforms them into wearable art. Choose backings that complement your design – silver for cool tones, gold for warm-colored flowers.
Attach pin backs, earring posts, or necklace bails using a strong jewelry adhesive like E6000. Apply a small amount to the metal finding and press firmly against your resin piece.
For pendants, consider adding a jump ring embedded directly into the resin during casting. This creates a more secure attachment point than glued-on bails.
Let adhesive cure completely (usually 24 hours) before wearing your resin crafts. This patience ensures your backing stays secure and your beautiful flower-embedded jewelry lasts longer.
Troubleshooting Common Resin Issues
Even careful crafters run into problems with resin projects. Let’s tackle some common issues you might face when working with flowers in resin.
Floating flowers can ruin your design. Try using a thicker resin for your first layer and let it become tacky before adding flowers. You can also try a “sandwich method” – pour a thin base layer, add flowers once it’s tacky, then cover with more resin.
Bubbles are another frustrating problem. Use a heat gun or torch to pop surface bubbles, but be careful not to burn your flowers! Moving the flame quickly across the surface works best.
Air bubbles can also get trapped in flowers. Try sealing dried flowers with a thin layer of resin or mod podge before the main pour.
Slow cure times might mean your mixing ratio is off. Always measure carefully! Room temperature also affects curing – too cold and your resin will take longer to harden.
If your epoxy resin turns yellow over time, it might be due to UV exposure. Look for UV-resistant formulas for the clearest results.
Sticky spots after curing usually mean the resin didn’t mix properly. Be thorough when combining parts A and B – stir for at least 3 minutes, scraping the sides and bottom of your mixing container.
Remember to work in a warm, dust-free area for best results with your flower resin projects!