A swirling rose texture resin tray uses controlled color placement and light surface dragging to create petal-like spirals instead of random marbling. The effect depends on three basics: a properly mixed resin, a rose-inspired palette with contrast, and gentle swirl motions that stay near the top of the pour. This is a good beginner-to-early-intermediate project if you can measure two-part resin accurately and work within pot life. You’ll prep a level, dust-free space, tint several small resin portions, pour them into deliberate clusters, then pull those clusters into loose rose shapes before curing.
Before You Start: Project Setup and Skill Level
This tutorial assumes a small or medium silicone tray mold, about 8 to 12 inches wide and 0.3 to 0.6 inches deep. Exact resin quantity and cure time depend on your mold, room temperature, and brand instructions. Expect one active crafting session plus curing time, usually at least 12 to 24 hours before demolding and longer for full hardness. Skill-wise, this project is approachable, but it goes best if you already know basic resin measuring and mixing.
Tools and Materials You’ll Need
Gather everything before you begin:
- Two-part epoxy resin
- Silicone tray mold
- Mixing cups and small color cups
- Stir sticks or silicone spatulas
- Resin-safe pigments in white, blush, pink, dusty rose, and deep berry or red
- Optional gold or pearl accent pigment
- Toothpick, skewer, or silicone detail tool
- Heat gun or small torch
- Nitrile gloves, apron, and table covering
- Level
- Isopropyl alcohol and paper towels
- Fine sandpaper or buffing block
- Optional clear topcoat resin and tray handles
Opaque and semi-opaque pigments usually give the clearest floral definition.
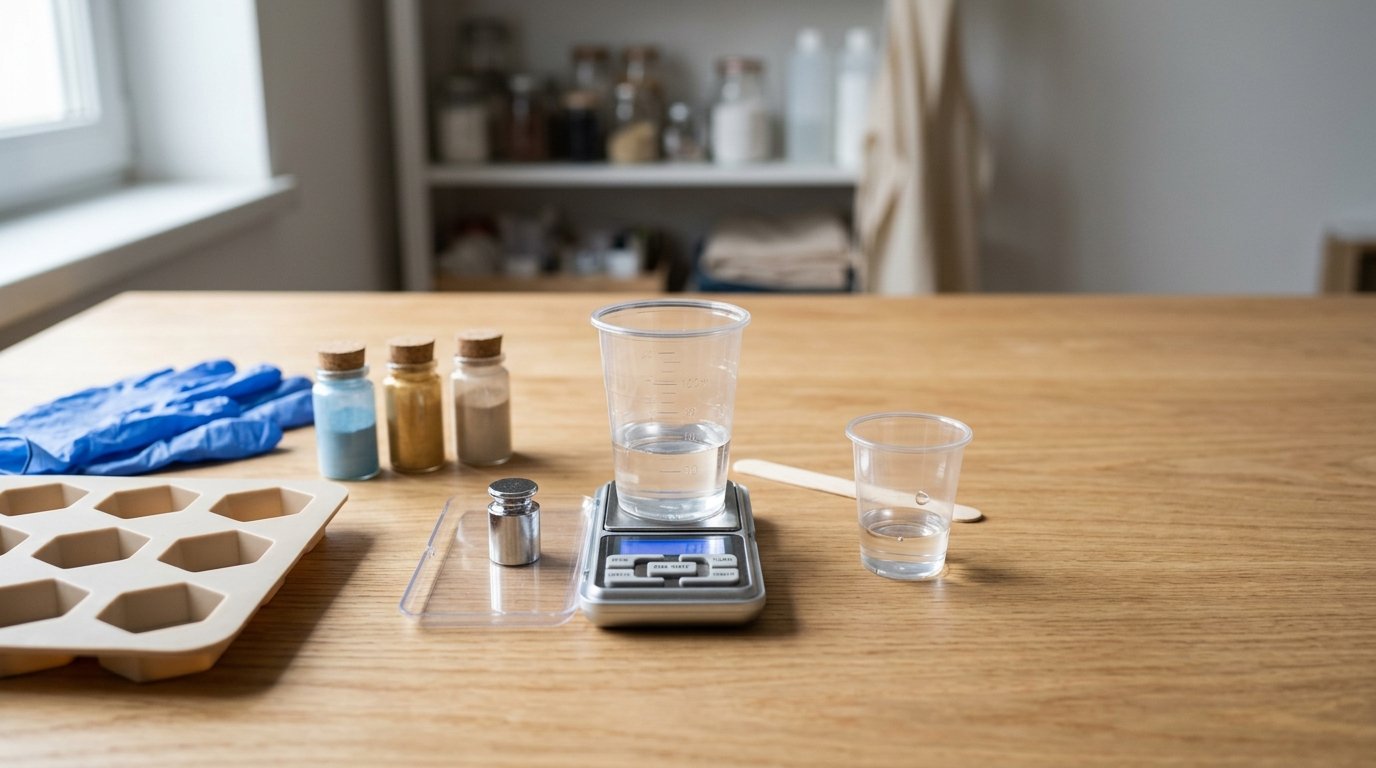
Prerequisites: Workspace, Safety, and Resin Prep
Work in a clean, ventilated room around 70 to 75°F if possible. Protect your table, wear gloves, and keep dust, lint, and pets away from the curing area. Set the mold on a level surface before you mix anything. Read the resin label for mix ratio, working time, and maximum pour depth. If your resin is thick, warm the sealed bottles briefly in lukewarm water, then dry them fully. Open pigments and lay out tools in advance so you can move quickly once the resin is mixed.
Step 1: Measure and Mix the Resin Correctly
Measure resin and hardener exactly as your brand directs, by volume or weight. Mix only what the tray needs, plus a little extra for color accents. Large batches heat faster and shorten your working time. Stir slowly for about three minutes, scraping the sides and bottom of the cup, then transfer to a clean cup and stir again for another minute. This double-cup method helps prevent sticky unmixed spots. Avoid whipping air into the resin. If you still see cloudy streaks, keep mixing until the batch looks fully uniform.
Step 2: Divide and Tint the Resin for a Rose Palette
Keep most of the resin for the base color and divide the rest into three to five small cups for accents. A reliable palette is a white or blush base, then medium pink, dusty rose, and a darker berry tone. Gold should stay minimal. Add pigment gradually and mix each cup well. Too much pigment can interfere with curing and make the design heavy. The best rose effect usually comes from contrast, so include at least one lighter shade and one darker accent rather than several similar mid-tones.
Step 3: Pour the Base Layer Into the Tray Mold
Pour the base color into the mold first and guide it gently to the edges and corners. Fill roughly two-thirds to three-quarters of the final depth so the accent colors can sit near the surface instead of disappearing downward. Tap the mold lightly to level the resin, but do not shake it. If obvious bubbles appear, pass a heat gun quickly over the surface. Check the rim and corners before continuing; dry spots now can leave thin edges later.
Step 4: Add Accent Colors in Rings, Curves, or Rosette Clusters
Place your colors intentionally. Instead of drizzling at random, pour small puddles in loose circles, crescents, or grouped comma shapes where you want the rose blooms to appear. Leave visible base color between clusters so the tray does not turn into one solid field of pigment. Three larger rosettes with a few smaller supporting swirls usually look balanced in a medium tray. Use the darkest color sparingly at the center or one side of each cluster to create depth. If you use gold, keep it to thin lines or tiny drops.
Step 5: Create the Swirling Rose Texture
Use a toothpick, skewer, or silicone detail tool and work only near the top of the pour. Start in the center of one cluster and draw a small spiral outward to suggest the opening of a rose. Then pull a few short curved lines from the outer edge inward or around the spiral to mimic petal folds. Wipe the tool between blooms so colors stay cleaner. Keep each bloom simple: usually one spiral and a couple of petal pulls are enough. Too many passes, or dragging too deep into the resin, will turn the bloom into muddy marbling. For a natural floral look, vary bloom size and let some edges stay slightly imperfect.
Step 6: Remove Bubbles and Refine the Surface
After swirling, clear bubbles carefully. Use a heat gun or torch in quick, light passes and keep it moving. Too much heat can flatten the petal detail, over-thin the resin, or push colors together. Pop stubborn bubbles with a toothpick. If one area already looks overworked, leave it alone and refine only nearby base resin if needed. Before curing, make one final check that the resin still reaches all corners evenly and that no heavy pigment pool is forming on one side.
Step 7: Let the Tray Cure Without Disturbance
Cover the mold with a dust cover, clean box, or plastic tub that will not touch the resin surface. Leave the tray on the same level surface for the full initial cure. Do not move it to inspect the design; even a small shift can blur the roses before the resin sets. Keep the room temperature steady and avoid direct airflow from fans or vents. Many trays are ready to demold after 12 to 24 hours, but cooler rooms or deeper pours may need more time.
Step 8: Demold, Finish the Edges, and Add Optional Topcoat Details
Demold only when the tray feels firm enough to release cleanly. Peel the silicone mold away from the resin rather than pulling hard on the tray itself. Trim or sand any thin flashing and smooth rough edges with fine-grit sandpaper. If sanding dulls the finish, add a thin clear topcoat after removing dust. You can also add metallic edge details or install handles if the tray design supports it. Let any topcoat or hardware adhesive cure fully before use.
How to Check If Your Swirling Rose Texture Tray Turned Out Right
A successful tray should be cured, balanced, and readable as a floral design. The surface should feel hard and non-tacky, with no soft patches along the rim or center. The pattern should show rose-like spirals or layered petal clusters instead of fully blended marbling. Colors should transition softly while still keeping some contrast. The tray should sit flat, with filled corners and reasonably even thickness. Slight asymmetry is normal and often makes the roses look more natural.
Common Mistakes and Troubleshooting

If the design looks muddy, you likely used too many colors in one bloom or dragged too deeply and too often. If the petals disappeared, the base may have been too thin or the resin too warm and runny. If accent colors sank, your pour was probably too deep or too fluid; next time, let the base settle briefly if your resin allows it. Repeated bubbles usually come from cold resin or aggressive stirring. A tacky cure usually points to a bad mix ratio, incomplete mixing, or too much pigment paste.
Care and Use Tips for a Finished Resin Tray
Use the tray for decorative items such as jewelry, candles, perfume, keys, or other dry goods. Avoid setting very hot mugs, pans, or heated styling tools on it unless your resin is specifically rated for heat resistance. Clean with a soft damp cloth and mild soap. Do not use harsh scrubbers, acetone, or strong solvents. To reduce yellowing, keep the tray out of long direct sun exposure. If it has handles, lift it evenly rather than by one side.
FAQ
What colors work best for a swirling rose texture tray?
White, blush, soft pink, dusty rose, and a deeper berry shade work especially well because they create visible petal contrast. A small touch of gold can add elegance, but too much can overpower the floral effect.
Why did my rose swirl turn into muddy marbling?
Usually because the resin was overworked. Too many tool passes, dragging too deep, or crowding several colors together causes full blending. Keep the swirl shallow, use fewer passes, and stop as soon as petal shapes appear.
Can I make this tray with leftover resin?
Yes, if the leftover resin is freshly mixed, still within pot life, and enough to create both a base layer and accent colors. Random leftover cups from older pours often create muddy results, so planned leftovers work better than mixed scraps.
Do I need a topcoat on the tray?
Not always. If the tray demolds glossy and smooth, a topcoat is optional. Add one if you sanded the edges, want extra shine, or want to slightly deepen the look of the pattern.
How long should I wait before using the tray?
Wait for full cure, not just demold time. Many trays release in 12 to 24 hours, but full hardness often takes 48 to 72 hours. Follow your resin label and wait longer if the room was cool.