To make a table with dried flowers, you build or prep a tabletop, seal both the wood and the flowers, pour resin in controlled layers, place the flowers so they stay flat, then let the top cure fully before sanding and finishing. The keys are dryness, accurate mixing, thin pours, and patience. If you rush the embed stage or pour too deep too fast, you can trap bubbles, scorch the resin, or make the flowers float. Follow the steps below and you can get a clear, durable tabletop with flowers suspended cleanly inside.
What You Need Before You Start
Gather everything before mixing resin, because once the timer starts you need to work steadily.
Materials
- Tabletop base or mold: wood slab, plywood top, or prebuilt table surface
- Casting or deep-pour epoxy resin suited to tabletop thickness
- Matching hardener
- Fully dried flowers and leaves
- Flower sealant: clear acrylic spray, Mod Podge, or resin-safe floral sealer
- Wood sealer or thin epoxy coat for porous wood
- Painter’s tape or sheathing tape for edges and undersides
- Silicone caulk or mold sealant if you are building a dam
- Table legs or base if not already attached
Tools
- Graduated mixing buckets
- Stir sticks
- Digital scale if your resin uses weight ratios
- Nitrile gloves
- Respirator rated for organic vapors if required by the resin label
- Level
- Heat gun or small torch for surface bubbles
- Tweezers
- Toothpicks or craft sticks
- Orbital sander and sandpaper from about 120 to 3000 grit
- Polishing compound or tabletop topcoat
Conditions
- Work in a dust-free area around the resin maker’s recommended temperature, usually 70 to 75°F
- Keep humidity low
- Place the tabletop on a dead-level work surface
Important prerequisite
Your flowers must be completely dry. Pressed flowers or silica-dried blooms work best. If they still hold moisture, they can brown, release bubbles, or create cloudy spots later.
Step 1
1. Prep, Seal, and Dry-fit the Tabletop Design
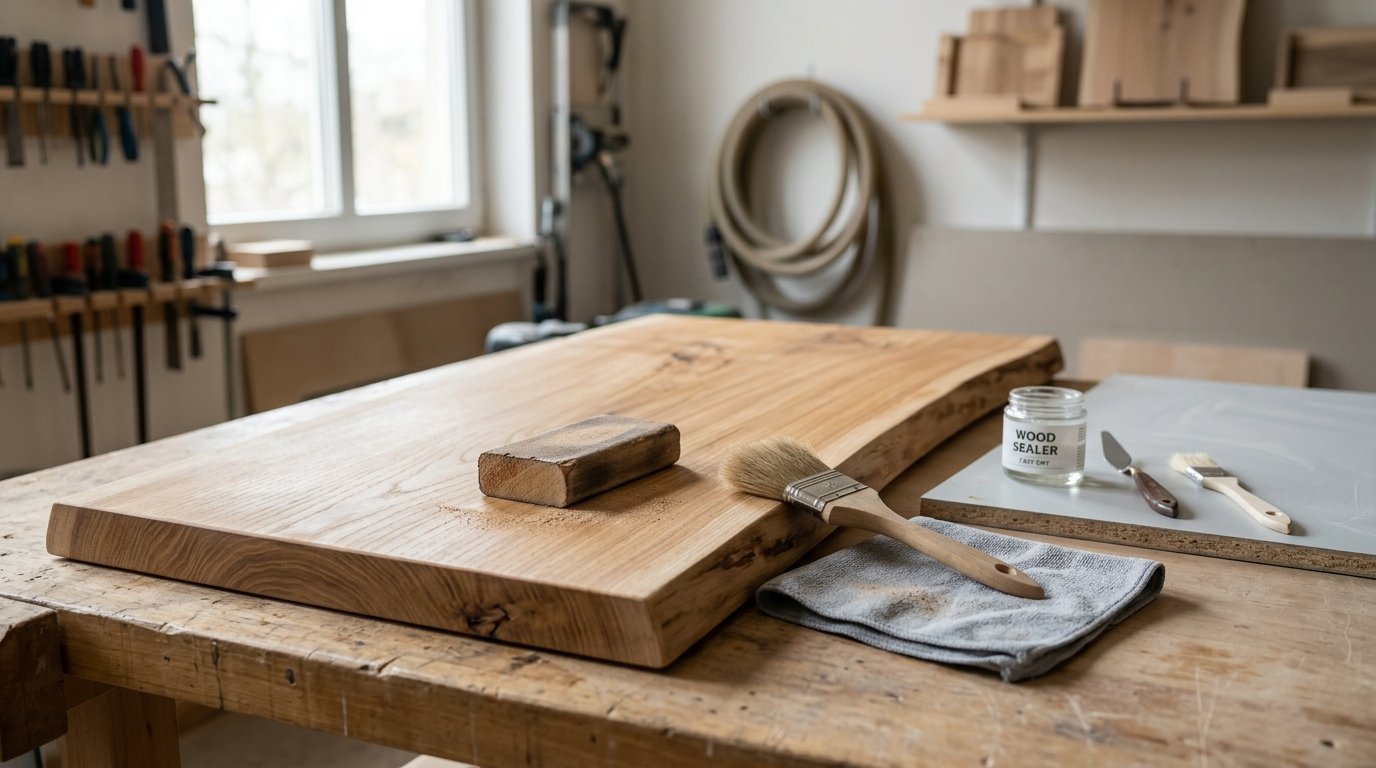
Start by preparing the table surface. If you are using wood, sand it smooth, remove dust, and seal the face, edges, and any cracks with a thin coat of epoxy or a compatible wood sealer. Let that seal coat cure as directed. This prevents the wood from releasing air into your main pour.
If your tabletop needs a resin dam, tape or build the perimeter now. Seal every seam with silicone or resin-safe tape. Even a pinhole leak can drain expensive resin onto the floor.
Next, seal the dried flowers. Spray both sides lightly with clear acrylic sealer, or brush on a very thin layer of Mod Podge. Let them dry flat. This step helps preserve color and reduces tiny air bubbles around petals.
Now dry-fit the layout before mixing anything. Arrange the flowers on the tabletop and test spacing, color balance, and edge clearance. Take a photo so you can rebuild the design quickly during the pour.
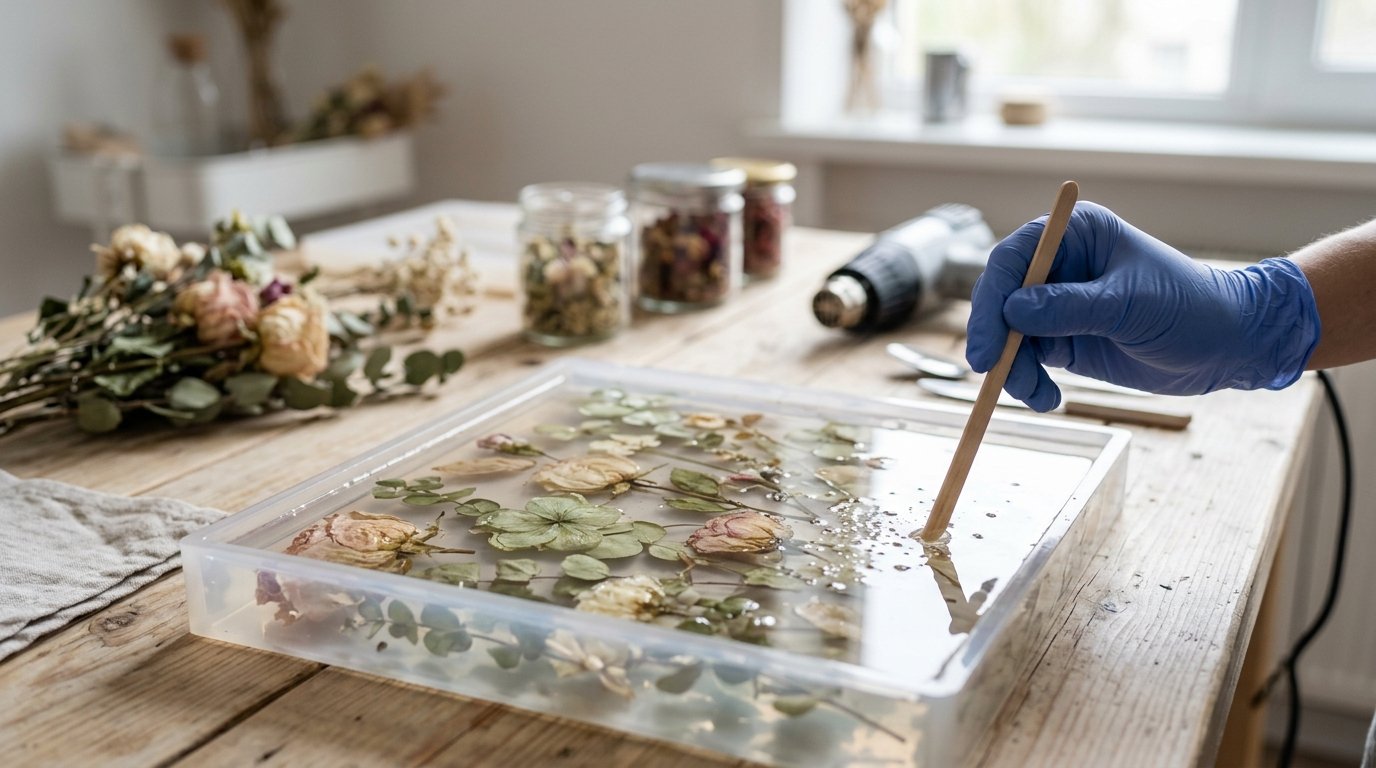
Then pour a base layer of resin. Mix strictly according to the manufacturer’s ratio, scraping the sides and bottom of the cup as you stir slowly for the full mixing time. Pour a thin flood coat or shallow embed layer across the tabletop and spread it evenly.
Wait until the resin reaches the right stage: usually slightly thick but still tacky, not fully hard. At that point, place the flowers with tweezers and press them gently into position.
Caution: Do not place unsealed flowers into a deep fresh pour right away. They often trap air, darken, or drift upward before the resin begins to set.
Step 2
2. Embed the Flowers, Pour in Layers, Cure, and Finish
Once the flowers are sitting in the tacky base layer, add a very thin lock-in coat over the top. Use a stir stick or gloved finger to wet the petals completely. This first cover coat matters more than speed. If a petal edge stays dry, it can lift and trap bubbles later.
Remove surface bubbles with a quick pass of a heat gun or torch, keeping it moving. Too much direct heat can scorch petals or overheat the epoxy.
After that lock-in coat begins to gel, mix the next batch and continue building thickness in layers based on your resin’s depth limit. Many tabletop epoxies want thin pours, while deep-pour resins can go thicker. Follow the label, not guesswork. If you exceed the safe pour depth, the resin can overheat, crack, yellow, or distort the flower placement.
Repeat this sequence until the flowers are fully buried and the tabletop reaches the thickness you want:
- Mix accurately.
- Pour evenly.
- Check level.
- Remove bubbles.
- Watch for floating pieces and press them back down with a stick or tweezers.
Cover the project while it cures so dust does not settle into the glossy surface. Let it cure for the full recommended time, often 24 to 72 hours for handling and longer for full hardness.
When fully cured, remove tape or dams. If the surface has ridges, drips, or slight unevenness, sand progressively from lower grit to higher grit. Wet sanding helps on finer grits. Then either polish the surface to clarity or apply a final flood coat or tabletop finish for a glass-like look.
Attach the legs or base only after the top is hard enough to move safely.
Caution: Do not sand early. Resin that feels firm on top can still be soft underneath, and premature sanding gums up paper and leaves permanent surface waves.
How to Check the Result
A finished dried flower resin table should look clear, level, and fully cured.
Use this quick result check:
- Surface clarity: The top should be glossy or evenly sanded for your planned finish, without milky patches.
- Flower position: Flowers should lie flat or exactly where you intended, not bunched, wrinkled, or half-floating near the top.
- Bubble check: A few tiny decorative bubbles may be acceptable, but there should be no large trapped pockets around petals or stems.
- Cure check: Press a fingernail into an inconspicuous edge. It should not dent. The surface should feel hard, not rubbery.
- Level check: Set a straightedge across the table. The resin should not have deep dips, crowns, or sagging corners.
- Edge quality: Sides should be sealed, smooth, and free from sticky drips.
- Color check: Flowers should still look dry and defined, not mushy, brown from moisture, or faded from overheating.
If the table passes most of these checks, it is ready for light use. For heavy daily use, wait until the resin reaches full cure per the product instructions.
FAQ
Can You Put Real Dried Flowers in a Resin Table?
Yes. Real dried flowers work very well in resin as long as they are fully dry and preferably sealed first. Pressed flowers are easiest because they sit flat, trap fewer bubbles, and are less likely to float than thick blooms.
Do I Need to Seal Dried Flowers Before Putting Them in Resin?
It is strongly recommended. Sealing helps preserve color, reduces bubbling, and keeps delicate petals from going translucent too fast. A light acrylic spray or thin brush-on sealer usually works well as long as it dries completely before embedding.
Why Did My Flowers Float in the Resin?
Flowers usually float because the resin layer was too deep or too fresh when you placed them, or because the blooms were bulky and still held air. Use a tacky base layer, press pieces down, and lock them in with a thin cover coat first.
What Resin Is Best for a Dried Flower Table?
Use an epoxy designed for tabletops or deep pours, depending on your planned thickness. For shallow decorative layers, tabletop epoxy works well. For thicker builds, choose a deep-pour casting epoxy that cures cooler and is rated for larger volume pours.
How Long Should a Resin Flower Table Cure Before Use?
Most resin tables can be handled in 24 to 72 hours, but full cure often takes several days to a week or more. Light touch is not the same as full hardness, so always follow the product’s cure schedule before regular use.
Will Dried Flowers Stay Colorful in Resin?
They can stay attractive for a long time, but some natural fading is normal. Sealing the flowers, avoiding moisture, and using a UV-resistant epoxy help preserve color better. Keep the finished table out of strong direct sunlight for best long-term results.