A good resin tarot card storage box needs to do three things well: fit your deck, cure hard without staying tacky, and protect the card edges from scratches. The simplest build is a two-part box made with silicone molds: one resin tray for the base and one slightly larger lid. You can keep it clear, tint it, or add pressed flowers, foil, or mica for decoration.
This tutorial walks you through the practical version: measure your deck first, choose molds with enough clearance, pour in controlled layers, then sand and line the interior so the cards slide in safely. If you work in the right temperature, measure resin accurately, and let it cure fully, you can make a box that looks polished and is sturdy enough for regular use.
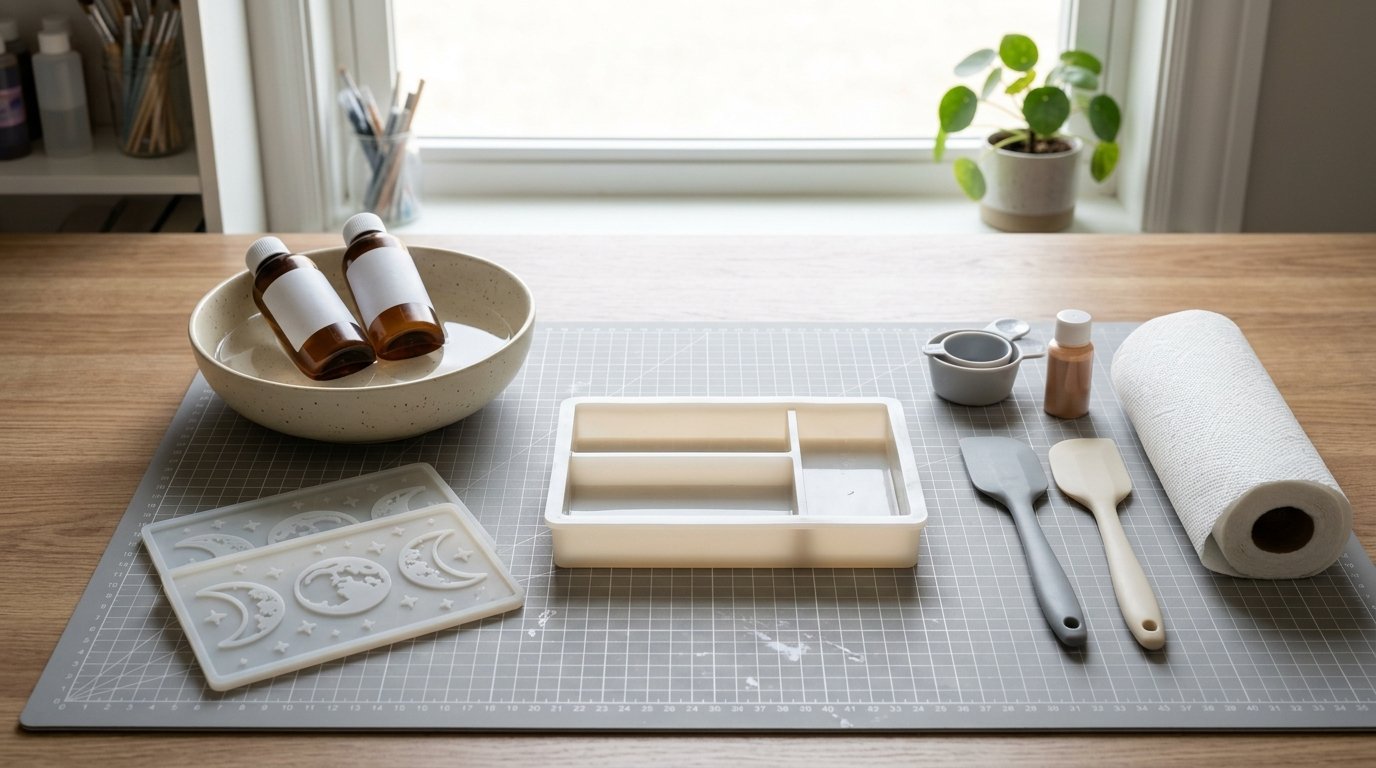
What You Need Before You Start
Gather everything before you mix resin, because once mixed, your working time is limited.
You will need:
- A tarot deck to measure, ideally the one the box will store
- Two silicone molds: one for the box base and one for the lid, or a matched box-and-lid mold set
- Epoxy resin rated for casting or deep pours if your mold walls are thick
- Mixing cups and stir sticks
- Digital scale or marked measuring cups, depending on the resin’s instructions
- Nitrile gloves
- Respirator rated for resin fumes if your product requires it
- Protective surface cover
- Mica powder, resin dye, glitter, foil, dried flowers, or labels if decorating
- Heat gun or small torch for bubbles, if your resin brand allows it
- Fine sandpaper in several grits, such as 400 to 2000
- Microfiber cloth
- Self-adhesive felt, velvet lining, or soft cork sheet for the inside
- Craft glue or thin double-sided adhesive for lining
- Optional mold release, if recommended by the mold maker
Check your resin label for mix ratio, pot life, pour depth, cure time, and ideal room temperature. Most epoxy resins behave best around 70 to 75°F (21 to 24°C) in a dry room. If the room is too cold, resin thickens, traps bubbles, and may cure soft.
Before you start, measure your deck. Standard tarot cards are often around 2.75 x 4.75 inches, but boxed decks vary. Add about 1/8 to 1/4 inch clearance on length and width, plus enough height for the full stack and any guidebook you want stored separately. Too-tight boxes scrape card edges; oversized boxes let the deck rattle around.
Step 1
Measure, Plan, and Pour the Base and Lid
- Measure the deck stack, not just one card. Wrap the full deck with a paper strip and note the exact length, width, and thickness. Add clearance: about 3 to 6 mm per side is enough for easy removal without a sloppy fit.
- Choose your mold set based on those measurements. The base interior should exceed the deck dimensions by that clearance. The lid must fit over the base without pinching. If you are between sizes, go slightly larger and use lining later to fine-tune the fit.
- Clean the molds. Wipe out dust, lint, and stray glitter with a lint-free cloth or tape. Any speck left in the mold becomes part of the final surface.
- Clear resin for a glass-like look
- Opaque pigment to hide minor bubble lines
- Embedded decorations like foil or flowers in a top layer only
- Plan your design before mixing. Decide whether you want:
If you want readable labels, symbols, or a moon-phase insert, place them where they will sit flat and not interfere with the deck cavity.
- Protect your workspace and wear safety gear. Put on gloves, ventilate the room, and keep food and drinks away from the resin area.
- Measure and mix the resin exactly as directed. Scrape the sides and bottom of the cup while stirring slowly for the full time listed by the manufacturer. Fast stirring whips in bubbles. Inaccurate ratios cause sticky cures.
- Pour a thin first layer into the base mold and lid mold. This initial layer helps control decoration placement and reduces floating. Pass a heat gun quickly over the surface if your resin brand permits it.
- Add decorative elements carefully. Press flowers, foil flakes, or glitter into the thin layer. Keep bulky pieces away from the inner walls and bottom where the cards will rest.
- Top up the molds in stages if needed. For deeper molds, pour in multiple layers within the product’s safe pour depth.
If you notice heavy bubbling early, stop and warm the resin bottles slightly in warm water before your next batch. Cold resin is a common cause.
Step 2
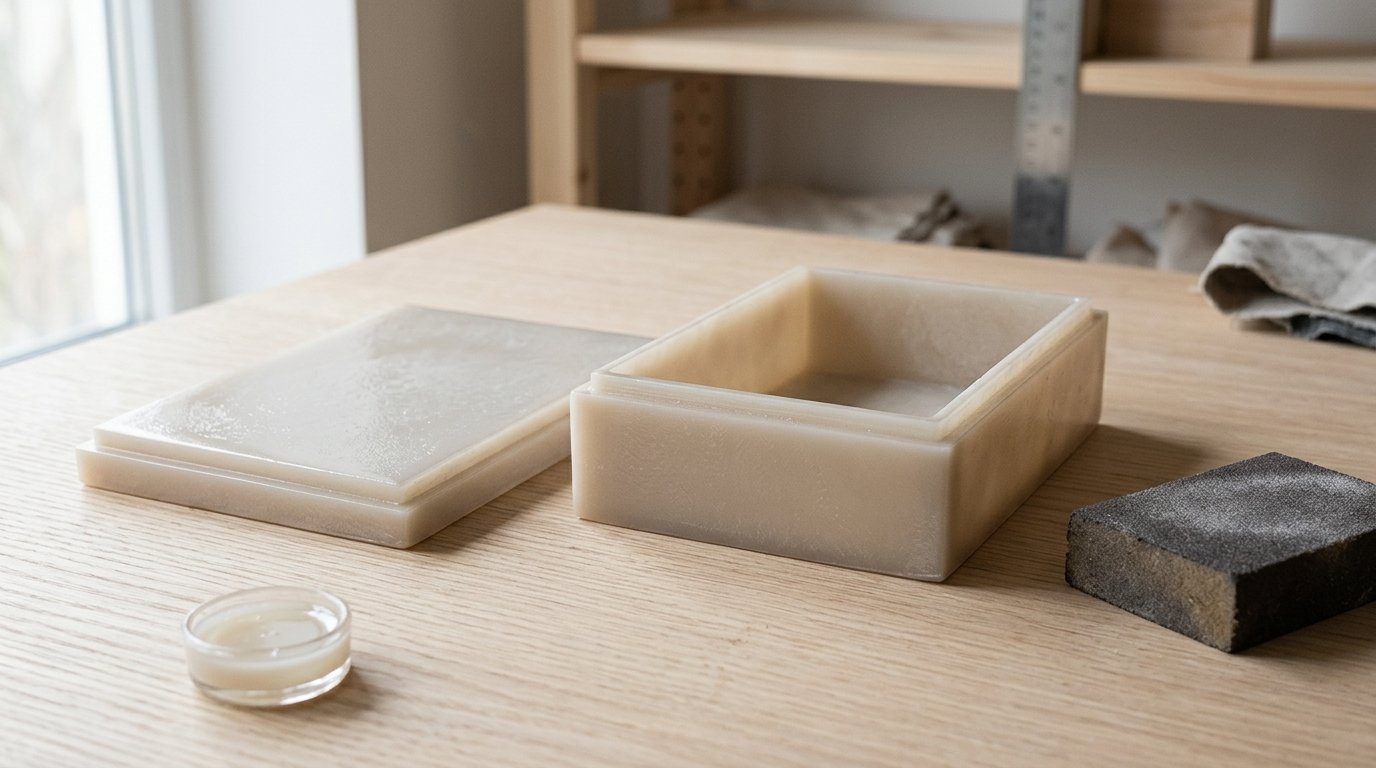
Cure, Demold, Finish, and Line the Box
- Cover the molds and let them cure undisturbed. Use a clean box or dust cover. Leave them on a level surface for the full initial cure time. Moving the mold too soon can tilt the walls or create a slanted lid fit.
- Check firmness before demolding. The resin should feel hard and no longer dent with a fingernail. If it still feels rubbery, wait longer. Some pieces need 24 hours to demold and several days to reach full hardness.
- Demold slowly. Peel the silicone away from the resin rather than pulling the resin out aggressively. This lowers the chance of chipping corners or stressing thin edges.
- Test the lid fit immediately. Set the lid on the base without forcing it. A good fit should sit evenly and lift off with light pressure.
Caution: Do not sand the mating edges until the resin is near full cure. If you sand soft resin, you can tear the edge, cloud the surface, and make the lid fit worse.
- Sand rough edges and flashing. Start with a fine grit like 400 or 600 and work upward if needed. Wet sanding usually gives a cleaner finish and keeps dust down. Focus on the rim, corners, and any sharp spots that could catch the cards or your hands.
- Polish or leave matte, depending on your preference. If the sanding created haze on visible edges, continue with finer grits and buff with a soft cloth. If the mold surface came out glossy, keep sanding limited to problem areas.
- Line the inside. Cut felt, velvet, or thin cork to fit the bottom and, if needed, the side walls. Dry-fit first. Then attach with a thin, even adhesive layer. The lining serves two jobs: it protects the tarot card edges and also tightens a slightly oversized fit.
- Do a deck fit test. Slide the cards in and out several times. They should move smoothly without scraping or tipping. If the fit is too tight, trim the lining. If too loose, add a second bottom layer or a narrow side strip.
- Sticky surface: likely wrong ratio, under-mixing, or low temperature; move the piece to a warmer room and allow more cure time, but severely tacky resin often needs recoating or remaking.
- Warped lid or base: usually cured on an uneven surface or demolded too soon; mild warping can sometimes be corrected with gentle warming, but severe distortion means recasting.
- Too many bubbles: caused by cold resin, fast mixing, or overworking with heat; use warmed bottles, slower stirring, and thinner pours next time.
- Scratching risk inside: fix with additional sanding and a soft lining before storing cards.
- Handle common problems before calling it done:
How to Check the Result
A finished resin tarot card storage box is usable when it passes four simple checks.
1. Fit check: The full deck goes in without force, and you can remove it without bending corners. The cards should not snag on seams, embedded décor, or rough edges.
2. Cure check: Press a fingernail into an unseen area. It should not leave a mark. The box should feel hard, not rubbery, and should not smell strongly of uncured resin. If it still smells sharp or feels soft, wait longer before use.
3. Surface check: Run a fingertip around the rim, corners, and interior. You want no burrs, flakes, or sharp ridges. If you find any, sand again and wipe clean before lining or storing cards.
4. Lid check: The lid sits level, does not rock badly, and lifts off without sticking. Slight friction is fine; binding is not. If the deck rattles, add lining. If the lid pinches, lightly sand only the fully cured contact points.
If your box passes those checks, it is ready for regular storage.
FAQ
What Size Should a Tarot Card Storage Box Be?
Measure your actual deck stack. Add about 1/8 to 1/4 inch of clearance to the interior length and width, plus enough height for the full deck. A slightly oversized box is easier to fix with lining than a box that is too tight.
Can I Make a Tarot Card Box Entirely from Epoxy Resin?
Yes, if you use a box-and-lid mold or separate molds for the base and lid. Just make sure the walls are thick enough to stay rigid. For everyday use, line the interior so the resin does not rub directly against the card edges.
How Long Should Resin Cure Before I Store Tarot Cards in the Box?
Wait until the resin reaches full cure, not just demold time. For many epoxies, that means 48 hours to 7 days depending on temperature and brand. Store cards only when the box feels hard, non-tacky, and has little to no uncured resin odor.
How Do I Keep Resin from Scratching My Tarot Cards?
Sand all interior edges smooth and add a soft lining such as felt or velvet. Also avoid placing chunky decorations inside the card cavity. The safest setup is a polished rim with a lined bottom where the deck rests.
What Decorations Are Safe to Embed in a Resin Tarot Box?
Use dry, non-porous, lightweight additions like mica, foil, fine glitter, pressed flowers, or thin paper labels sealed first if needed. Avoid damp botanicals, bulky objects, or anything sharp, because they can cloud the resin, trap bubbles, or create interior snags.