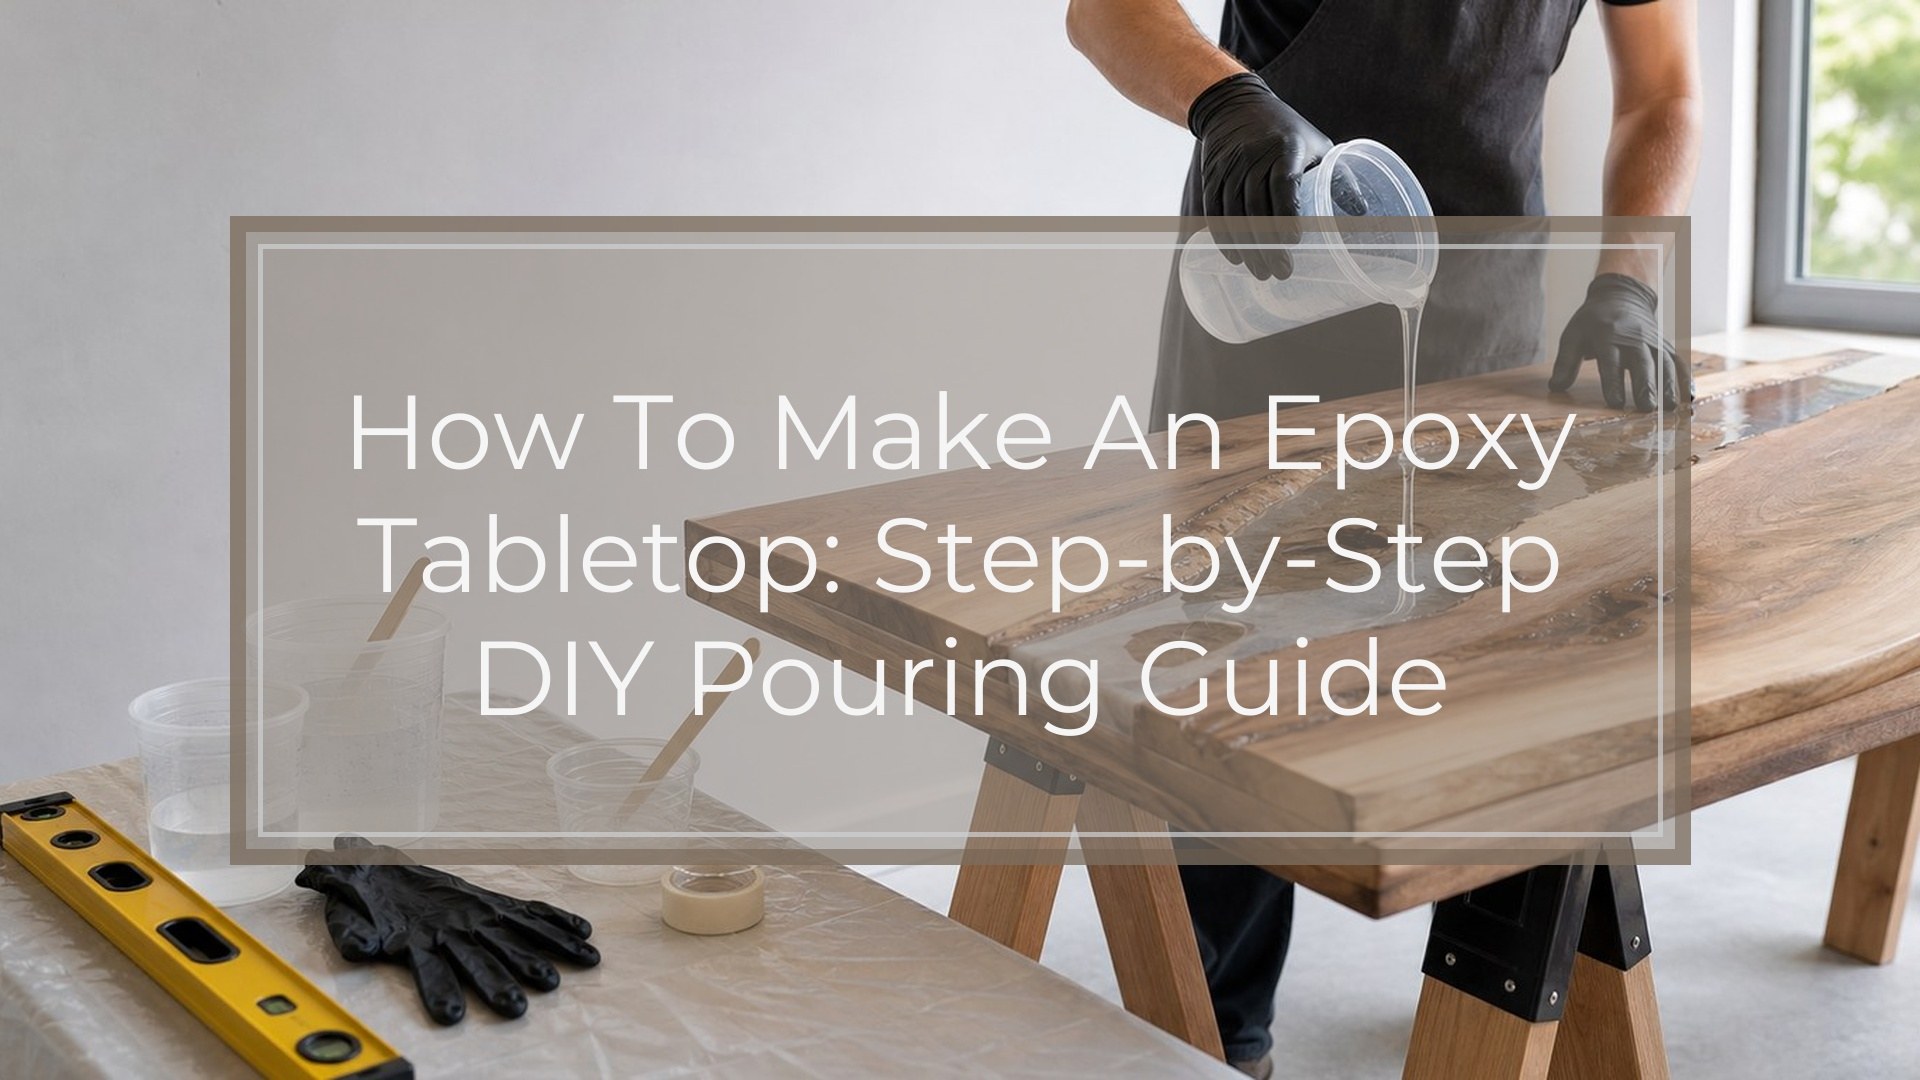
To make an epoxy tabletop, prepare a clean, level surface, seal porous materials like wood, mix the epoxy resin and hardener exactly to the manufacturer’s ratio, then pour a thin seal coat followed by a thicker flood coat. Remove bubbles with gentle heat or a bubble-release method, protect the surface from dust, and let it cure fully before trimming drips and finishing the edges. The biggest keys are accurate measuring, thorough mixing, controlled temperature, and patience during curing. Rushing any of those steps can leave soft spots, bubbles, cloudy areas, or uneven coverage.
Because wood can absorb resin unevenly, the same careful prep matters when using epoxy for wood beyond a tabletop pour.
Before You Start: Choose the Right Epoxy Tabletop Project
Before buying resin, decide what kind of tabletop you are making. A clear coating over wood usually needs a tabletop epoxy designed for thin flood coats. A deep river table or thick embedded design needs deep-pour epoxy instead. Do not use deep-pour resin as a thin coating unless the product allows it, and do not pour tabletop epoxy too thick in one layer. Match the epoxy to the pour depth, working time, UV resistance, and final use of the table.
Prerequisites: Workspace, Safety, and Surface Conditions
Set up before opening the resin bottles. Work in a dust-free, well-ventilated area with a stable temperature, usually around 70–75°F unless your epoxy label says otherwise. Cold rooms make epoxy thick and bubbly; hot rooms shorten working time.
Wear nitrile gloves, eye protection, and long sleeves. Use a respirator if the product or ventilation conditions require it. Cover the floor, because epoxy drips are difficult to remove.
Your tabletop must be level in every direction. Use a spirit level and shim the table or workbench before pouring. The surface should also be dry, clean, and secure. If the table rocks, flexes, or contains trapped moisture, fix that before starting.
Step 1: Prepare the Tabletop Surface
Start by removing hardware, legs if needed, wax, oil, grease, peeling finish, and dust. Sand the tabletop so the epoxy has a clean mechanical bond. For bare wood, sand to about 120–180 grit; going too smooth can reduce adhesion. For an existing laminate or sealed surface, scuff-sand thoroughly and confirm the epoxy is compatible with that material.
Vacuum the surface, then wipe with a lint-free cloth. Use denatured alcohol or the cleaner recommended by your epoxy brand, and let it evaporate completely. Do not leave water, solvents, or sanding dust behind. Fill cracks, knots, and gaps if you do not want epoxy draining into them during the pour.
Step 2: Tape, Seal, and Protect the Edges
Apply high-quality painter’s tape or sheathing tape under the tabletop edges to catch drips. If you want a clean vertical edge, tape the sides carefully and press the tape down firmly. For a free-flowing coating, leave the sides exposed and protect the floor below.
Check corners, screw holes, seams, and cracks for possible leaks. Epoxy finds tiny openings. Seal gaps with hot glue, silicone, or tape where appropriate, especially if the tabletop has voids or live edges.
Step 3: Measure and Mix the Epoxy Correctly
Read the epoxy instructions before mixing. Resin systems vary: some are measured by volume, others by weight. Use clean graduated containers or a digital scale, and measure the resin and hardener exactly. Guessing is one of the fastest ways to create sticky or uncured epoxy.
Mix slowly but thoroughly, scraping the sides and bottom of the cup. Avoid whipping air into the mixture. Many makers use the “double-cup” method: mix in one cup, pour into a second clean cup, then mix again. This reduces unmixed streaks stuck to the container walls.
Only mix what you can pour within the working time. Large batches can heat up quickly in the cup.
Step 4: Apply a Seal Coat
For wood, a seal coat helps prevent air bubbles from escaping into the final flood coat. Mix a small batch and spread a thin layer over the surface with a foam brush, squeegee, or gloved hand. Push epoxy into knots, end grain, cracks, and live edges.
The goal is not thickness; it is sealing pores. Remove obvious bubbles and let the seal coat become tacky or cure according to the product instructions. If it fully cures, you may need to scuff-sand before the next coat.
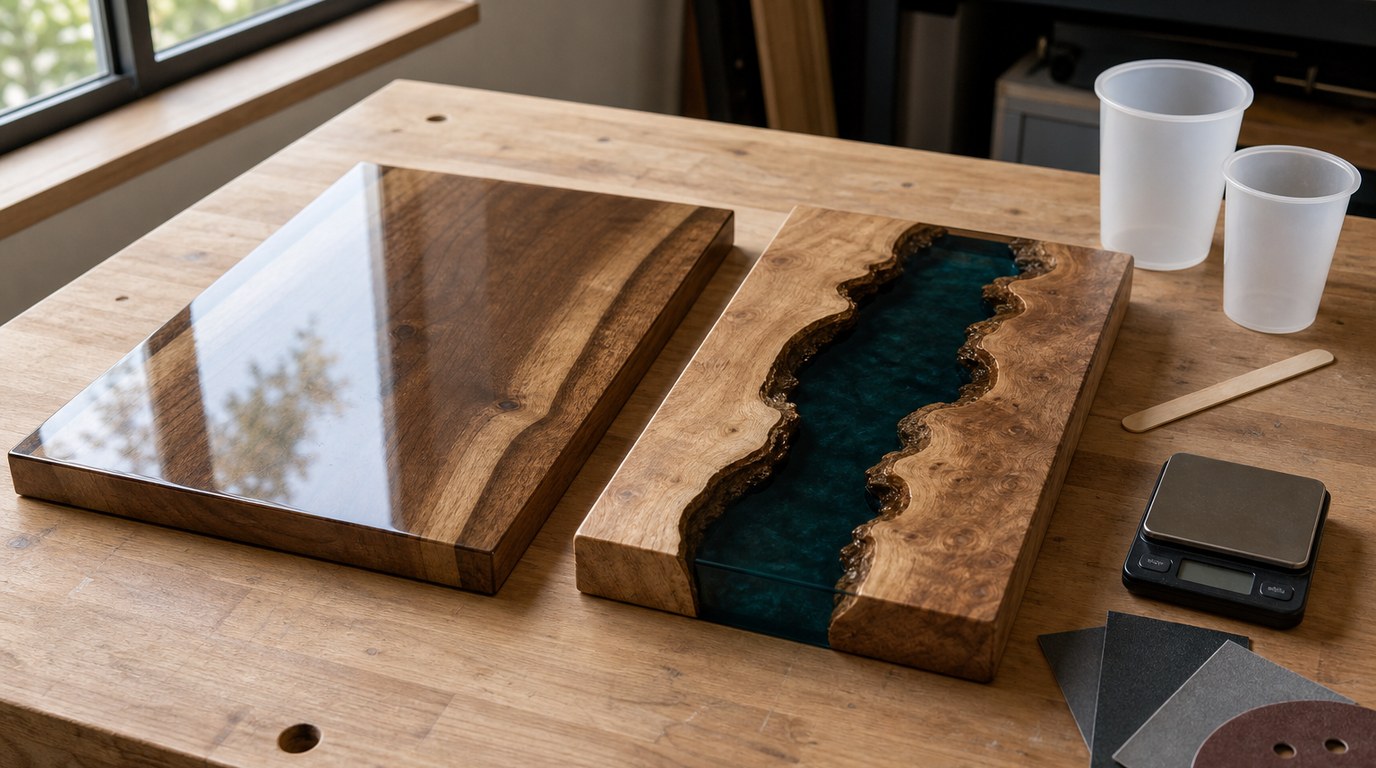
Step 5: Pour the Flood Coat
Mix enough epoxy for the flood coat based on your tabletop size and the manufacturer’s coverage chart. Pour in a ribbon or spiral pattern across the surface rather than dumping it all in one spot. Use a notched spreader, plastic squeegee, or gloved hand to move the epoxy evenly to the edges.
Let the resin self-level, but guide it where needed. If coating the sides, gently push epoxy over the edges and smooth the vertical surfaces. Keep checking for thin spots, dry edges, and pooling. Work calmly; aggressive spreading can create extra bubbles and uneven waves.
Step 6: Remove Bubbles and Watch the Surface
After pouring, bubbles will rise. Use a heat gun or torch lightly and keep it moving several inches above the surface. Do not hold heat in one place, or you can scorch the epoxy, create ripples, or damage the finish.
If you do not want to use flame, try a heat gun, gentle exhale through a straw, or a bubble-release spray approved for epoxy. Recheck the surface during the first 20–45 minutes, depending on working time. Remove hairs, dust, or insects with a toothpick before the resin thickens.
Step 7: Let the Epoxy Cure Undisturbed
Cover the tabletop with a clean dust tent, box, or plastic sheet supported above the surface. Do not let the cover touch the epoxy. Keep the room temperature steady and avoid fans blowing directly across the pour.
Most tabletop epoxies are dry to the touch within a day, but full cure can take several days to a week. Do not place objects on the surface, install hardware, or move the tabletop too early. A surface that feels firm may still dent.
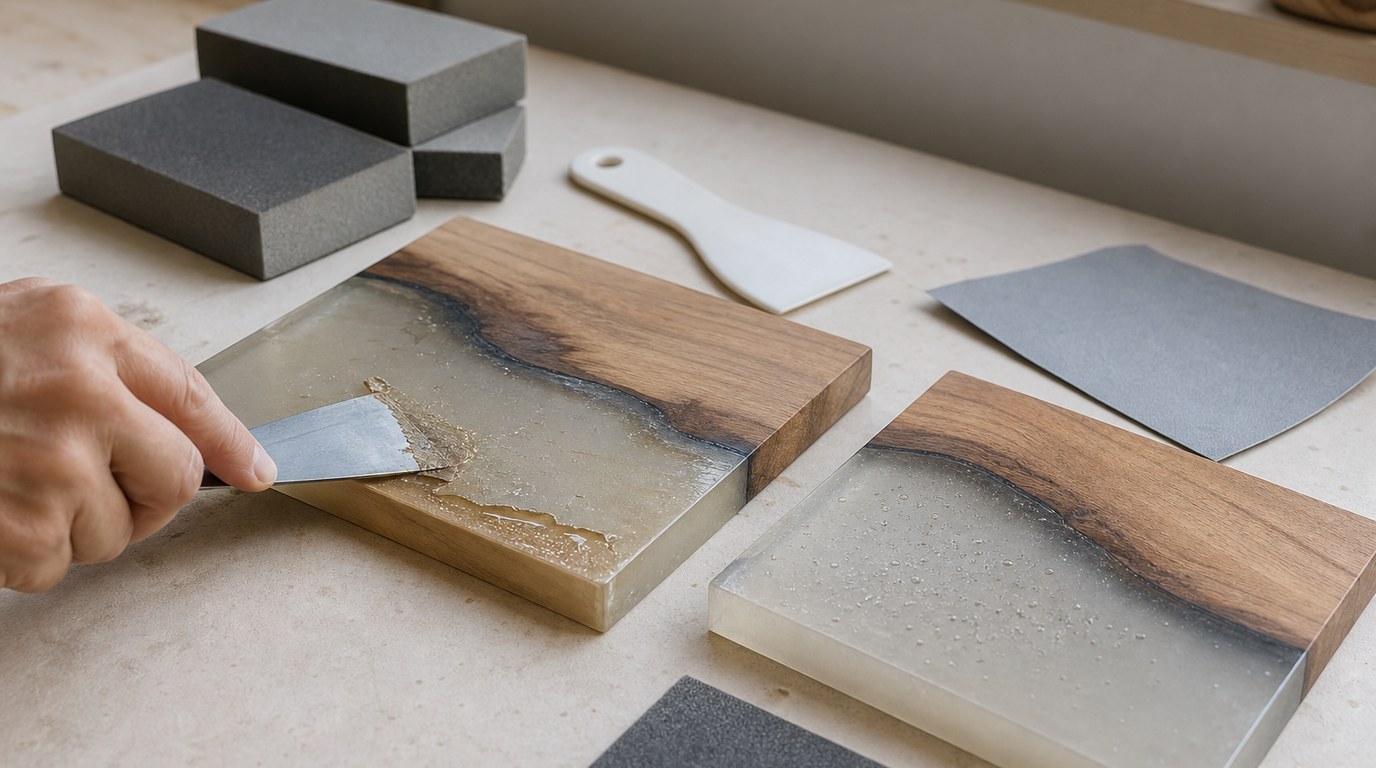
Step 8: Remove Tape, Trim Drips, and Finish the Edges
Remove edge tape when the epoxy is firm but not rock-hard if your product allows it. This often makes cleanup easier. If drips have fully cured, trim them with a sharp scraper, chisel, razor, or sandpaper.
Sand rough edges carefully, starting with a grit suited to the drip size and progressing finer. If the tabletop sides look dull after sanding, apply a small finishing coat to the edges or polish them according to the look you want. Reattach hardware only after the epoxy has cured enough to handle safely.
Result Check: How to Know Your Epoxy Tabletop Turned Out Right
A successful epoxy tabletop should be hard, clear or evenly colored, level, and firmly bonded to the surface. Press a fingernail in an inconspicuous area; it should not leave a mark after the full cure period. Look across the surface under angled light for waves, dry spots, dust, or craters. Check the edges for sharp drips and confirm the finish is smooth enough for daily use. If the epoxy is sticky, soft, cloudy, or separating, troubleshoot before adding another coat.
Common Mistakes and Troubleshooting
If the epoxy stays sticky, the resin and hardener were likely mismeasured, under-mixed, or poured in poor temperature conditions. Scrape off uncured material before recoating; do not seal wet, bad epoxy under a new layer.
If bubbles keep appearing, the wood may not have been sealed well enough. Sand lightly, clean, and apply another coat once cured.
If you see fisheyes or craters, contamination from oil, wax, silicone, or dust is likely. Sand the cured surface, clean thoroughly, and recoat.
If the surface is wavy, the tabletop may not have been level or the epoxy was overworked while thickening. Minor waves can often be sanded and recoated.
If the epoxy yellowed, the product may have low UV resistance or too much heat exposure.
FAQ
How Thick Should an Epoxy Tabletop Be?
For a standard clear tabletop coating, many flood coats are about 1/8 inch thick, but always follow the epoxy manufacturer’s maximum pour depth. Deep river-style tables need deep-pour epoxy, which is formulated for thicker layers and slower curing.
Do I Need to Seal Wood Before Pouring Epoxy?
Yes, sealing wood is strongly recommended. Wood releases trapped air into epoxy, especially through end grain, knots, cracks, and live edges. A thin seal coat fills those pores first, reducing bubbles in the final flood coat and improving the overall finish.
How Long Does an Epoxy Tabletop Take to Cure?
Many tabletop epoxies become tack-free within 12–24 hours, but full cure often takes several days to a week. Temperature, humidity, pour thickness, and resin formula all affect cure time. Wait for full cure before heavy use or placing objects on the surface.
Can I Make an Epoxy Tabletop Without a Torch?
Yes. A heat gun, careful mixing, a good seal coat, and patient bubble monitoring can work well. Some makers also use approved bubble-release sprays. Avoid open flame if you are uncomfortable with it or if your workspace has flammable materials nearby.
Is an Epoxy Tabletop Heat Resistant?
Epoxy is heat resistant, not heatproof. Many cured tabletop epoxies can handle warm dishes briefly, but hot pans, mugs, or appliances may leave marks or soften the surface. Use coasters, trivets, and placemats to protect the finish.