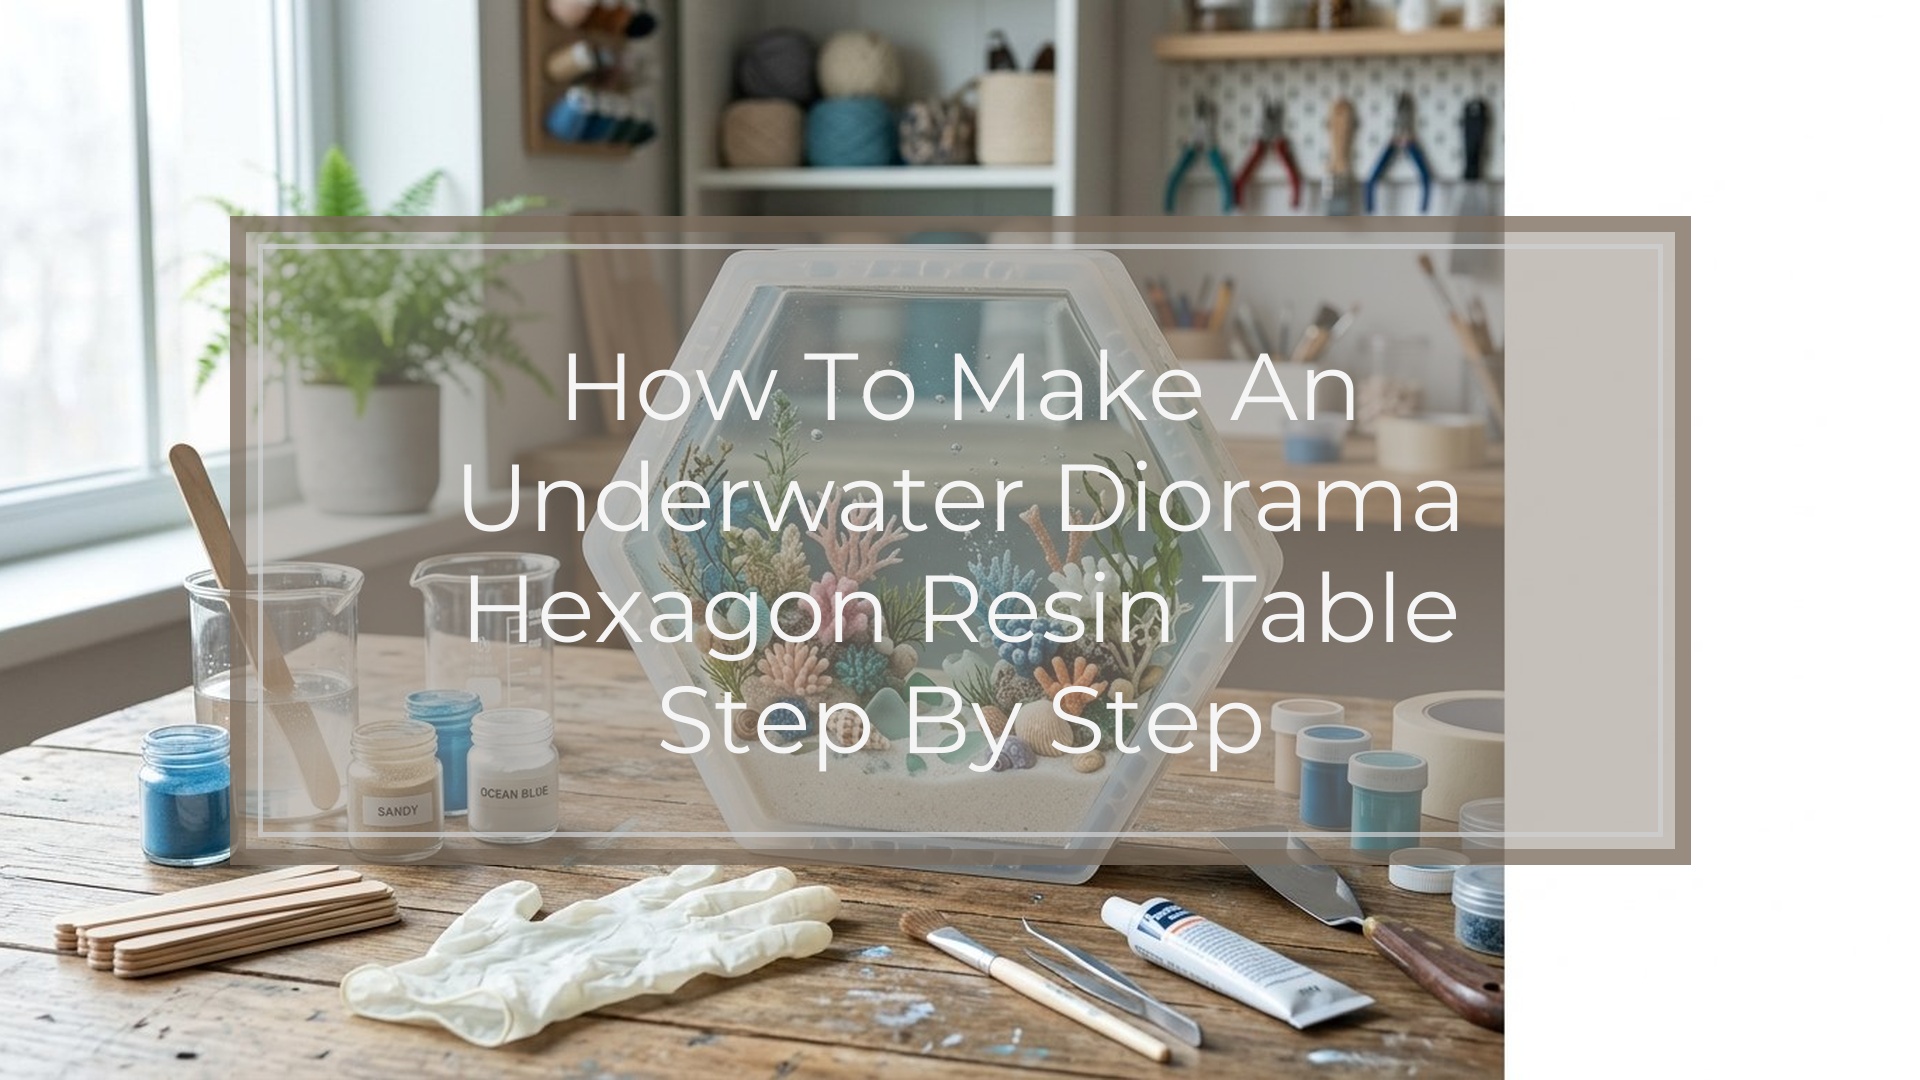
This project is a medium-to-advanced resin build: you make a sealed hexagon mold, build the underwater scene in layers, pour deep-pour resin in controlled lifts, then flatten, sand, topcoat, and mount the tabletop to a base. The key skills are accurate mold building, patience between pours, and controlling bubbles, leaks, and heat. If you can measure carefully, work level, and wait for each layer to cure before adding the next, you can build a clear tabletop with depth, stable embedded details, and a usable finished surface.
What You Need Before You Start
Plan for a small side-table size first. A practical beginner-friendly hexagon top is 18 to 24 inches across and 1.5 to 2 inches thick. Bigger tops increase resin cost, weight, heat, and leak risk.
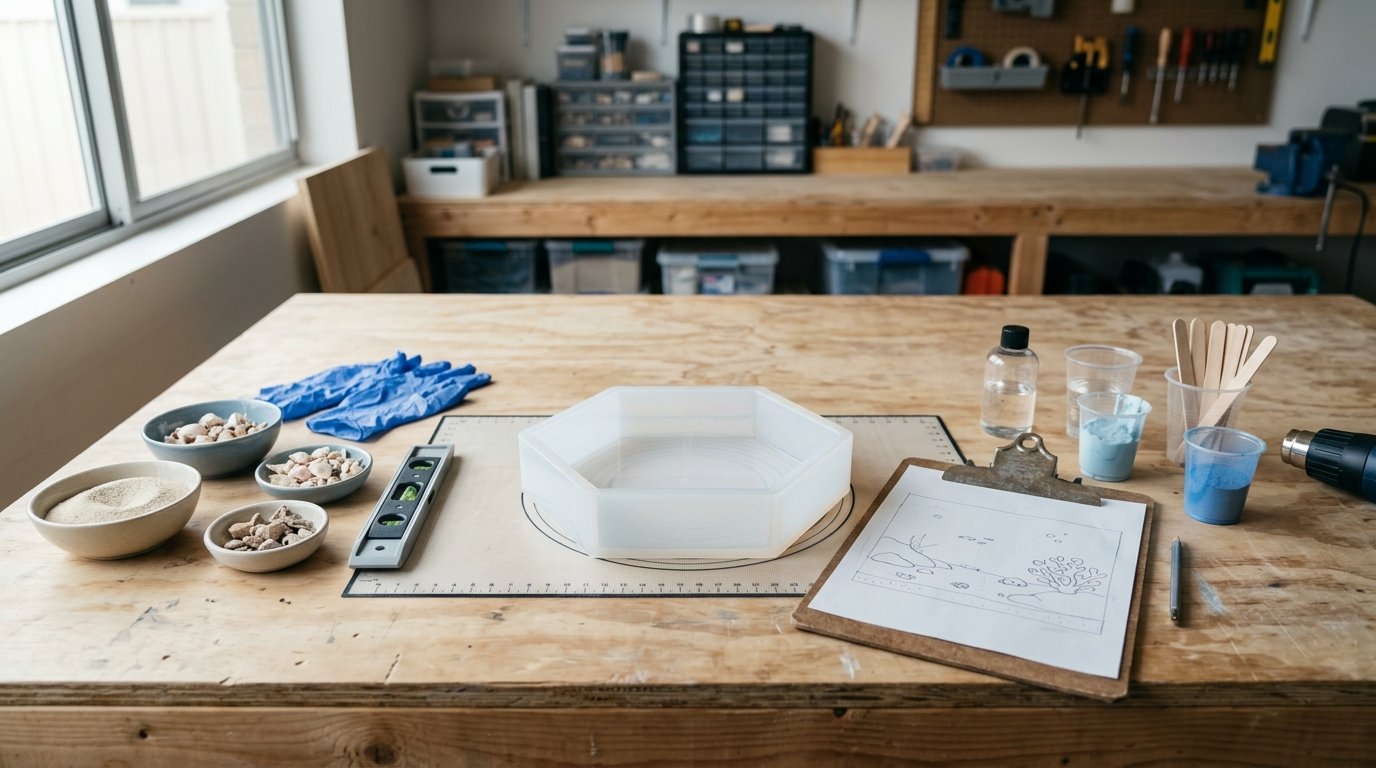
Gather these materials and conditions before mixing anything:
- Deep-pour epoxy resin rated for thick casts
- Topcoat or flood-coat epoxy for the final surface layer
- Hexagon mold or mold form made from melamine, HDPE, or sealed plywood with smooth walls
- 100% silicone caulk or resin-safe sealing tape for every seam
- Mold release if your mold material needs it
- Table base or metal legs plus mounting hardware
- Sand, small shells, pebbles, faux coral, preserved moss, model plants, miniature fish, driftwood
- Acrylic paint or resin pigment in transparent blue, teal, and a little white
- Mixing buckets, graduated cups, stir sticks
- Digital scale if your resin uses weight ratios
- Heat gun or small torch for surface bubbles
- Level, clamps, nitrile gloves, respirator rated for organic vapors, eye protection
- Random-orbit sander and sandpaper from 80 to 3000 grit
- Polishing compound or a final clear coat
Work in a dust-controlled room at the temperature recommended by the resin maker, usually around 70 to 75°F. Humid, cold, or rapidly changing conditions can cloud resin or slow cure.
Practical prerequisites:
- Dry all natural materials completely.
- Seal porous items like wood, shells, or dried plants with a thin coat of resin or clear sealer first.
- Test your mold with water or a mock setup before the real pour.
- Calculate resin volume in advance so you do not run short mid-layer.
Caution: Never guess pour depth. If the label says 1/2 inch or 2 inches per pour, treat that as a hard limit.
Step 1
Build the mold, design the scene, and pour the foundation layers in sequence.
- Cut or assemble six equal sides.
- Seal all interior seams with silicone.
- Let the silicone cure fully.
- Set the mold on a flat bench and check level from multiple directions.
- Make and level the hexagon form.
- Place sand where the seabed will sit.
- Position larger rocks, shells, driftwood, or faux coral first.
- Keep the tallest decorative pieces below your planned final tabletop thickness.
- Leave some open “water” space so the diorama does not look overcrowded.
- Dry-fit the underwater layout.
- Brush on a thin resin coat or clear sealer.
- Let it cure fully before embedding.
- This reduces trapped air that later escapes as bubbles.
- Seal porous decor.
- Mix a small batch of clear or lightly tinted resin.
- Pour just enough to wet the mold bottom.
- Pass a heat gun briefly over the surface to pop top bubbles.
- Pour a thin base layer.
- Sprinkle in sand and fine gravel while the base is still tacky.
- Press heavier elements into place.
- If needed, use a tiny drop of CA glue or a dab of thickened resin to hold objects where you want them.
- Add the seabed.
- Pour another shallow clear layer to trap the sand and smaller pieces.
- Let it cure until firm enough that items will not shift in the next pour.
- Lock the first scene layer.
Helpful design choices:
- Tint lower layers slightly darker blue-green.
- Keep upper layers clearer for a realistic water-depth effect.
- Add only a little white pigment if you want a wave haze; too much turns the resin cloudy.
Caution: Do not place lightweight plants or miniature fish loose in a full-depth pour. They often float, tilt, or drift toward the wall.
If a leak starts, do not keep pouring. Tape the outside, add fresh silicone or hot glue only on the exterior, and wait until the seal holds before continuing.
Step 2

Build depth with controlled pours, suspend the diorama details, then finish the top and attach the base.
- Mix according to the manufacturer’s ratio exactly.
- Pour a depth within the product limit.
- Tint each layer slightly if you want a gradient, but stay mostly transparent.
- Remove surface bubbles after 5 to 10 minutes and check again 20 to 30 minutes later.
- Pour in layers, not all at once.
- When a layer reaches a gel or tacky stage, place fish, sea plants, or suspended details.
- Support delicate pieces with thin clear monofilament, acrylic rods, or a small tack of partially cured resin.
- Pour the next clear layer only after the previous one can hold those items in place.
- Embed mid-water details.
- Build depth slowly.
- Keep each new layer compatible with the cure window of the previous one.
- If you miss the chemical bond window, scuff-sand before the next pour.
- Repeat until you reach final thickness.
- When the last structural layer has cured, inspect for dips, dust, or trapped bubbles near the edge.
- If needed, sand flat and apply a final flood coat for a glassy top.
- Cover the piece while it cures so dust cannot settle into the finish.
- Create the top surface.
- Remove the mold carefully.
- Trim flash or drips.
- Sand faces and edges through progressive grits: 80, 120, 220, 400, 800, 1500, then polish or topcoat.
- For a softer hand feel, ease the sharp top edge slightly.
- Demold and finish the edges.
- Use a base rated for the tabletop’s final weight.
- Mark centerlines carefully under the hexagon.
- Drill only if your mounting method allows it and the resin is fully cured.
- Otherwise, use threaded inserts set in a backing plate or a metal mounting plate bonded with a structural adhesive approved for resin.
- Attach the base.
Caution: Heat buildup is the main failure point in thick resin tables. Large batches cure hotter, yellow faster, crack, or ripple. Mix smaller batches and pour more layers instead of trying to save time.
Common Problems and Fixes
- Bubbles around shells or plants: Pre-seal them, warm the resin slightly if the manufacturer allows, and use a toothpick to tease out trapped air before the next layer sets.
- Floating objects: Embed them in a tacky layer first or anchor them with clear supports.
- Cloudy resin: Overmixed pigment, moisture, or overheating are common causes.
- Visible layer lines: Stay inside the recoat window, or sand between layers so the next pour bonds and visually blends.
- Soft spots after curing: Mixing ratio was wrong or material was under-mixed. Scrape out uncured resin before recoating; do not trap it under a finish layer.
How to Check the Result
Your underwater diorama hexagon resin table is ready for finishing use when it passes both a visual check and a structure check.
Visual check:
- The resin looks clear from the top and side, without milky patches.
- Decorative items appear intentionally placed, not floating randomly.
- There are no large trapped bubbles around focal pieces.
- The surface reflects light evenly without deep waves, fish-eyes, or crater marks.
- Color transitions look gradual, with darker “depth” below and clearer “water” above.
Structure check:
- The top is fully hard per the resin maker’s cure schedule, not rubbery.
- The tabletop sits flat without rocking.
- Edges feel smooth, with no sharp drips or soft corners.
- The base connection does not flex when you apply gentle pressure.
- The finished table can support normal light side-table use without wobble.
Before using it indoors, let the table complete its full cure, not just its demold cure. Set a book or similar light object on it for a few hours; if it leaves no marks and the top stays level and firm, the build is ready for service.
FAQ
What Resin Is Best for an Underwater Diorama Table?
Use a deep-pour epoxy resin for the casting layers and a tabletop or flood-coat epoxy for the final finish. Deep-pour formulas cure slower, create less heat, and stay clearer in thicker layers than standard coating resin.
How Deep Can I Pour Resin for a Diorama Table at One Time?
Only pour as deep as the manufacturer allows. Many products are limited to about 1/4 inch to 2 inches per pour. Exceeding that limit can cause overheating, yellowing, cracks, shrinkage, or a soft center.
How Do I Stop Shells, Plants, or Mini Fish from Bubbling in Resin?
Dry them fully, seal them first, and embed them in stages. Brush resin into crevices before submerging, place them into a tacky layer, and use a toothpick or brief heat pass to release trapped air early.
Can I Use Real Sand and Beach Finds in a Resin Table?
Yes, but clean and dry them thoroughly first. Salt, moisture, dirt, and organic residue can cause bubbles, discoloration, or cure problems. Seal porous finds before embedding, and avoid anything that may rot or leach oils.
How Long Should I Wait Before Using the Resin Table?
Wait for the full cure time listed by the resin brand, often several days and sometimes a week or more for thick builds. Demolding early does not mean the table is ready for weight, drilling, polishing, or daily use.