To make epoxy tumblers, prep a stainless steel tumbler by cleaning, sanding, and taping off the rim. Add a painted base coat, glitter, vinyl, decals, or other decorations, then mount the cup on a turner. Measure and mix a tumbler-safe epoxy exactly according to the product directions, apply a thin even coat while the cup rotates, and let it turn until the epoxy levels. After curing, sand rough spots and add a second coat if needed. The tumbler is finished when the surface is hard, smooth, fully sealed, and no longer tacky.
The most important parts are safety, accurate measuring, patient curing, and keeping dust away from the wet epoxy.
Before You Start: Safety, Workspace, and Cure Time
Work in a ventilated area and wear nitrile gloves, eye protection, and a respirator rated for organic vapors if your epoxy requires it. Cover your table with silicone mats, freezer paper, or disposable plastic. Keep paper towels, rubbing alcohol, mixing cups, stir sticks, painter’s tape, and a heat gun or torch nearby.
Use epoxy made for tumblers or craft coating, and read the safety sheet and cure times before opening bottles. Most epoxy tumblers need several hours on the turner and 24 to 72 hours before handling heavily. Full cure can take longer, depending on the brand.
Avoid working near food, pets, children, open windows with blowing dust, or direct heat.
Step 1: Prep the Tumbler
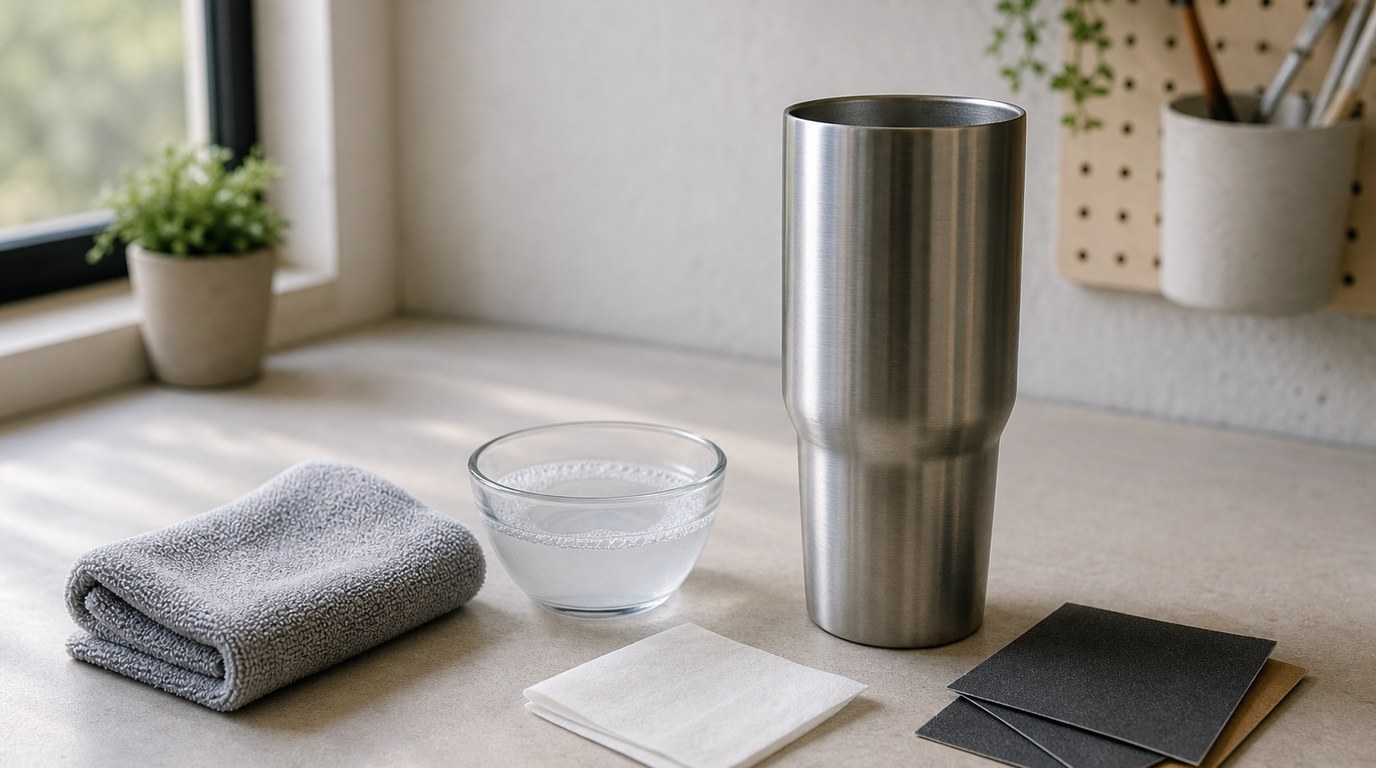
Start with a stainless steel tumbler. Remove any packaging, stickers, and residue. Wash the cup with dish soap, rinse well, and dry completely. Wipe the outside with rubbing alcohol to remove oils from your hands.
Lightly sand the outer surface with 220- to 400-grit sandpaper. You do not need to grind the cup; just scuff it enough so paint and epoxy can grip. Sand in even passes around the tumbler.
Wipe away all sanding dust with alcohol and let it dry. Tape off the inside rim and any area you do not want coated. Leave a clean drinking edge unless your epoxy is specifically rated for that use.
Step 2: Add the Base Color
Apply a base color before epoxy so the tumbler has an even background. Spray paint is common because it gives smooth coverage, but brush-on paint can also work if it dries flat. Use light coats instead of one heavy coat to prevent runs.
Choose a color that works with your design. White makes bright glitter and decals stand out, black deepens metallics, and matching paint helps hide small gaps in glitter.
Let the paint dry fully according to the label. This matters: epoxy over uncured paint can wrinkle, separate, or create soft spots. If the paint feels rubbery or smells strong, wait longer.
Step 3: Add Glitter, Vinyl, Decals, or Other Decorations
Once the base is dry, add your decorations. For glitter, apply a thin layer of compatible adhesive or spray sealer, sprinkle the glitter evenly, and tap off excess. Let it dry, then seal loose glitter with a clear spray or a very thin adhesive layer so it does not shift under epoxy.
For vinyl or decals, place them on the smooth, dry surface and burnish the edges well. Lift transfer tape slowly so small details stay in place. Make sure decals are flat with no lifted corners.
You can also add alcohol ink effects, mica, waterslide decals, or printed images, but keep the surface as smooth as possible. Raised layers may need extra epoxy coats to become fully sealed.
Step 4: Mount the Tumbler on the Cup Turner
Slide the tumbler onto the foam arm or attachment of your cup turner. It should fit snugly and sit level. If the cup wobbles, adjust the foam, add support, or reposition it before mixing epoxy.
Turn the machine on and watch the cup rotate. The tumbler should spin smoothly without dipping at one end. Place something disposable underneath to catch drips. Confirm your tools are within reach before you begin, because epoxy has a limited working time.
Step 5: Measure and Mix the Epoxy
Measure resin and hardener exactly as the epoxy directions state. Many coating epoxies use a 1:1 ratio by volume, but not all do. Do not guess or “eyeball” the amounts. Inaccurate measuring is one of the main reasons epoxy stays sticky.
Pour both parts into a clean mixing cup. Stir slowly for the recommended time, scraping the sides and bottom. Fast stirring adds bubbles, so use steady, deliberate motions. If your product recommends transferring to a second cup and mixing again, do it.
Only mix what you can apply during the working time. For a standard tumbler, a small amount is usually enough for the first coat.
Step 6: Apply the First Epoxy Coat
With the tumbler turning, pour a small line of epoxy along the cup or apply it with a gloved finger. Spread it from top to bottom in a thin, even layer. Your goal is coverage, not thickness. Too much epoxy causes waves, heavy drips, and a bulky rim.
Work slowly around the tumbler while it rotates. Check the top and bottom edges carefully. Keep epoxy away from the inside of the cup and drinking surface unless the product instructions clearly allow that use.
Use a heat gun or torch briefly to pop surface bubbles, keeping it moving and several inches away. Do not overheat the epoxy; too much heat can cause ripples, fumes, separation, or burned spots. After heating, look for dry patches, bubbles, lint, and thick areas.
Step 7: Let the Tumbler Turn and Cure
Leave the tumbler rotating for the time recommended by your epoxy brand. Many makers let cups turn for several hours, or until the epoxy has thickened enough that it will not sag. Do not stop the turner too early, or the coating can pool on one side.
Once the epoxy is set enough, carefully remove the cup from the turner or let it continue resting as directed. Keep it in a dust-free space while curing. Avoid touching the surface during the early cure stage, even if it looks dry.
Step 8: Sand and Add a Second Coat If Needed
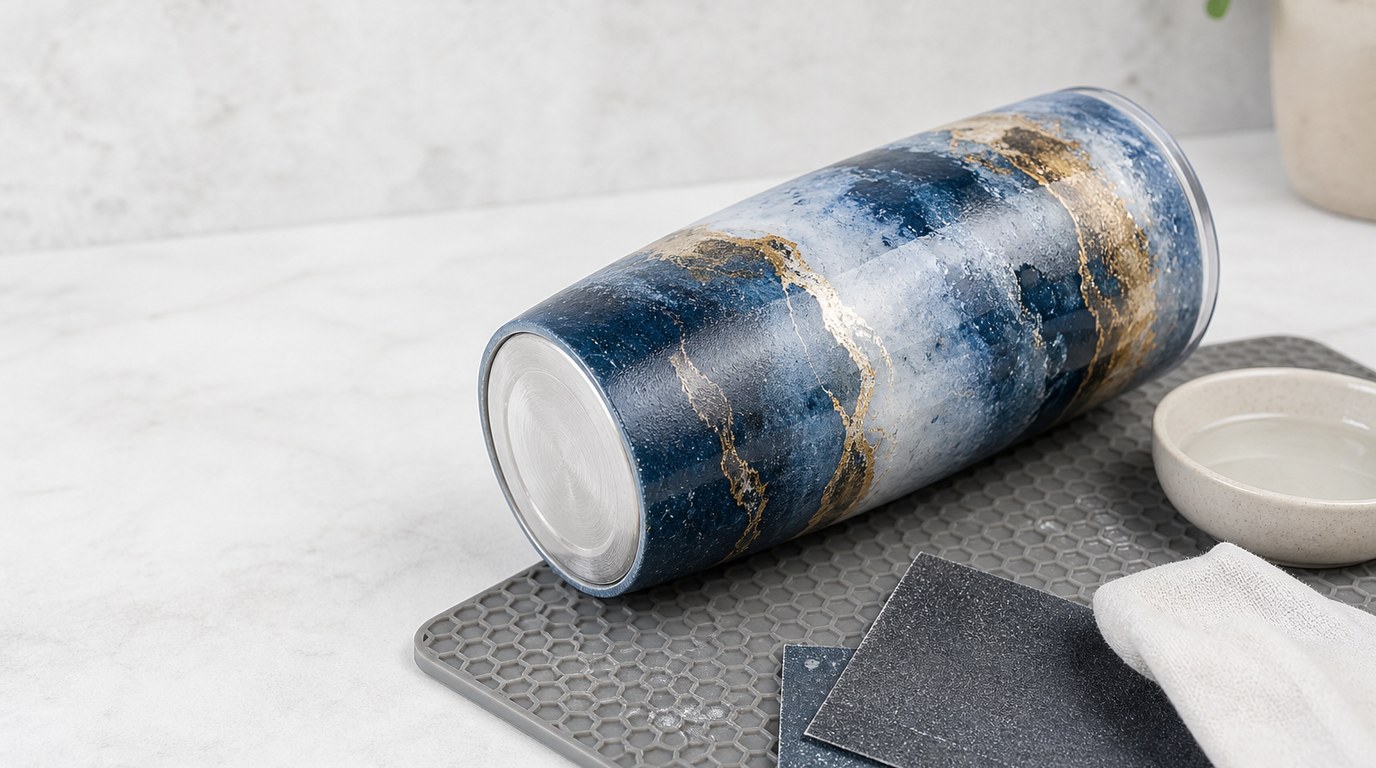
After the first coat has cured enough to sand, inspect the tumbler. If you feel bumps, glitter texture, decal edges, dust, or small drips, wet sand lightly with fine-grit sandpaper. Do not sand through the design. The goal is to smooth high spots and give the next coat grip.
Wipe away sanding residue and let the tumbler dry completely. Apply a second thin epoxy coat the same way as the first. A second coat is common for glitter tumblers, layered vinyl, and designs with raised edges. Let it turn and cure again.
Result Check: How to Know Your Epoxy Tumbler Is Finished
Your epoxy tumbler is finished when the surface is hard, glossy or evenly satin depending on the product, and smooth to the touch. There should be no tacky areas, soft dents, sharp drips, exposed glitter, or lifting decal edges.
Check the rim and bottom for rough spots. Decorations should look fully sealed under the epoxy, not sitting loose on top. Follow the epoxy brand’s full cure time before using, washing, gifting, or selling the tumbler.
Common Mistakes and Troubleshooting
Sticky epoxy usually means the resin and hardener were measured wrong, mixed poorly, or applied over incompatible materials. If only a small area is tacky, you may be able to scrape, sand, and recoat after it firms. If the whole cup is soft, it may need to be stripped and restarted.
Bubbles come from fast mixing, porous decorations, or too much heat. Stir slowly, seal glitter and decals, and use heat lightly.
Drips and waves mean the coat was too thick or the tumbler was not level. Sand them down after curing, then apply a thinner coat.
Fish eyes or bare spots often come from oil, dust, silicone, or uncured paint. Clean thoroughly and avoid touching the prepped surface.
Raised decal edges need better burnishing or another sealing coat. Dust specks can be sanded out before the final coat.
FAQ
What Is the First Step Someone Should Take with How to Make Epoxy Tumblers?
The first step is preparing a safe workspace and cleaning the tumbler. Put on gloves, set up ventilation, protect your table, then wash, dry, sand, and wipe the tumbler with alcohol. Good prep helps paint and epoxy bond properly.
What Can Go Wrong When Following How to Make Epoxy Tumblers Advice?
Common problems include sticky epoxy, bubbles, drips, fish eyes, dust, and lifted decals. Most issues come from inaccurate measuring, rushed mixing, uncured paint, a dirty surface, too much epoxy, or stopping the cup turner before the coating has leveled and set.
How Long Does It Usually Take to Work Through How to Make Epoxy Tumblers?
Hands-on time may be one to two hours, but drying and curing take much longer. Paint, glitter adhesive, epoxy coats, sanding, and final cure can stretch the project over two or three days. Always follow your epoxy’s specific cure schedule.
How Can a Beginner Tell Whether How to Make Epoxy Tumblers Worked?
The tumbler should feel hard, smooth, and fully sealed, with no tacky spots, exposed glitter, loose decal edges, or sharp drips. If the finish looks even and has cured for the full time listed by the epoxy brand, the project worked.