
To make an ice cube pendant, pour clear UV resin or epoxy resin into a small cube mold, add a tiny amount of blue tint or glitter if desired, cure or let it harden, then drill or embed a jewelry finding so it can hang from a chain. The best results come from using a glossy silicone mold, working in thin layers, removing bubbles, and finishing the edges so the pendant looks like a tiny frozen cube.
This project is simple enough for a careful beginner, but resin still needs proper handling. Work in a ventilated area, wear gloves, protect your table, and follow the safety and curing directions on your resin label.
Quick Project Overview
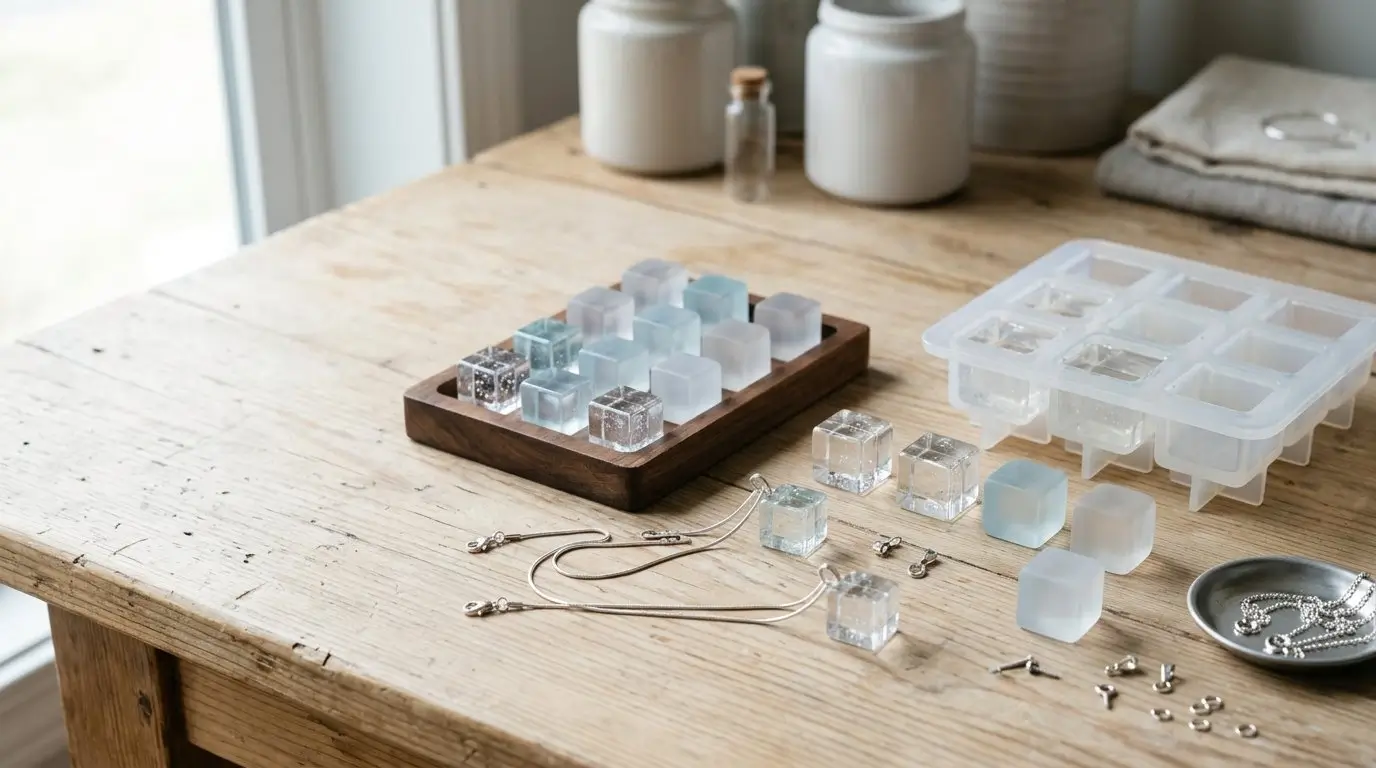
An ice cube pendant is a small, clear resin cube designed to look like a miniature piece of frozen ice. You can make it crystal clear, faintly blue, frosty, sparkly, or lightly cloudy with wisps of white pigment. Once cured, the cube becomes a wearable charm that can hang from a chain, cord, keychain, or bag charm finding.
You have two good resin options:
- UV resin is convenient for small pendants because it cures quickly under a UV lamp. It works best in thin layers, especially if you add tint.
- Two-part epoxy resin usually takes longer to cure, but it can be more practical if you are making several pendants at once.
The basic process is: prepare the mold, decide on the ice effect, mix or tint the resin, pour in layers, remove bubbles, cure fully, demold, attach hardware, and polish or topcoat if needed.
Timing depends on the resin. A UV resin pendant can often be made faster because each layer cures under a lamp. Epoxy resin must be left for the full cure time listed by the manufacturer, which may be several hours or longer. Do not rush demolding; a soft cube can bend, dent, or stay tacky.
Materials and Tools You’ll Need
Before you start, gather everything within reach. Resin projects go more smoothly when you are not searching for a toothpick or jump ring with sticky gloves on.
The mold matters more than many beginners expect. A glossy, smooth silicone cube mold gives you clearer sides and less finishing work. A matte mold may leave the resin looking frosted, which can be pretty, but it will not look like a shiny ice cube unless you add a clear coat. Also consider size: very large cubes can feel bulky or heavy as pendants, so mini cube molds are usually more comfortable for jewelry.
Avoid water-based colorants unless the product specifically says they are compatible with your resin. Water can interfere with clarity and curing.
| Item | Purpose | Tips or Substitutes |
|---|---|---|
| Clear UV resin or clear epoxy resin | Main material for the cube | UV resin is fast for small pieces; epoxy is useful for batches. Follow the label exactly. |
| Mini cube silicone mold | Shapes the pendant | Choose a glossy mold for a clear, ice-like finish. |
| Blue resin dye or alcohol ink | Adds a faint icy tint | Use a tiny amount. Too much color can darken the cube or affect curing. |
| White pigment or mica, optional | Creates frosty streaks | Add sparingly with a toothpick for wispy “frozen” effects. |
| Fine glitter, optional | Adds sparkle | Use fine glitter between layers so it looks suspended. |
| Pendant bail, eye screw, or eye pin | Creates the hanging point | Choose hardware sized for the cube. |
| Jump ring | Connects pendant to chain | Use jewelry pliers to open and close it neatly. |
| Chain or cord | Turns the cube into a necklace | Lightweight chains work best for small cubes. |
| Gloves and table covering | Protects hands and work surface | Use disposable gloves and cover your work area. |
| Mixing cup and stir stick | For epoxy or tinted resin | Stir slowly to reduce bubbles. |
| Toothpick or small detail tool | Moves bubbles and pigment | Helpful for corners and frosty streaks. |
| UV lamp, if using UV resin | Cures UV resin | Make sure the lamp is suitable for your resin. |
| Small hand drill or pin vise | Makes a hole for an eye screw | Easier to control than a power drill on tiny pieces. |
| Sanding/polishing pads | Smooths rough edges | Add a clear topcoat if sanding dulls the shine. |
| Lighter or heat tool, optional | Helps pop surface bubbles | Use briefly and carefully; too much heat can damage resin or silicone. |
Step 1: Prepare the Mold and Plan the Ice Effect
Start with a clean, dry mold. Dust, lint, water droplets, or old resin bits can show up clearly in a transparent pendant. If needed, use tape to lift dust from the inside of the mold, then check that it is completely dry before pouring.
Next, decide what kind of ice cube pendant you want:
- Crystal clear: clear resin only, with careful bubble removal.
- Pale blue ice: clear resin with the smallest touch of blue dye.
- Frosty ice: clear or pale blue resin with tiny wisps of white pigment.
- Sparkling ice: clear resin with fine glitter added in layers.
For the most realistic ice effect, use mostly clear resin with only a faint blue tint. A strong blue color can make the pendant look more like candy, glass, or a game piece than ice. If using UV resin, this matters even more because too much pigment can block the light and prevent a full cure.
Plan your hardware before pouring. You have two main choices:
- Embed an eye pin or bail while pouring. This creates a built-in hanging point, but the hardware must be positioned carefully.
- Drill after curing. This gives you more control over placement, especially if you are new to resin jewelry.
If you embed hardware, keep it far enough from the edge that it has resin around it. Hardware placed too close to the surface can pull out when the pendant is worn.
Step 2: Pour and Cure the Resin Cube
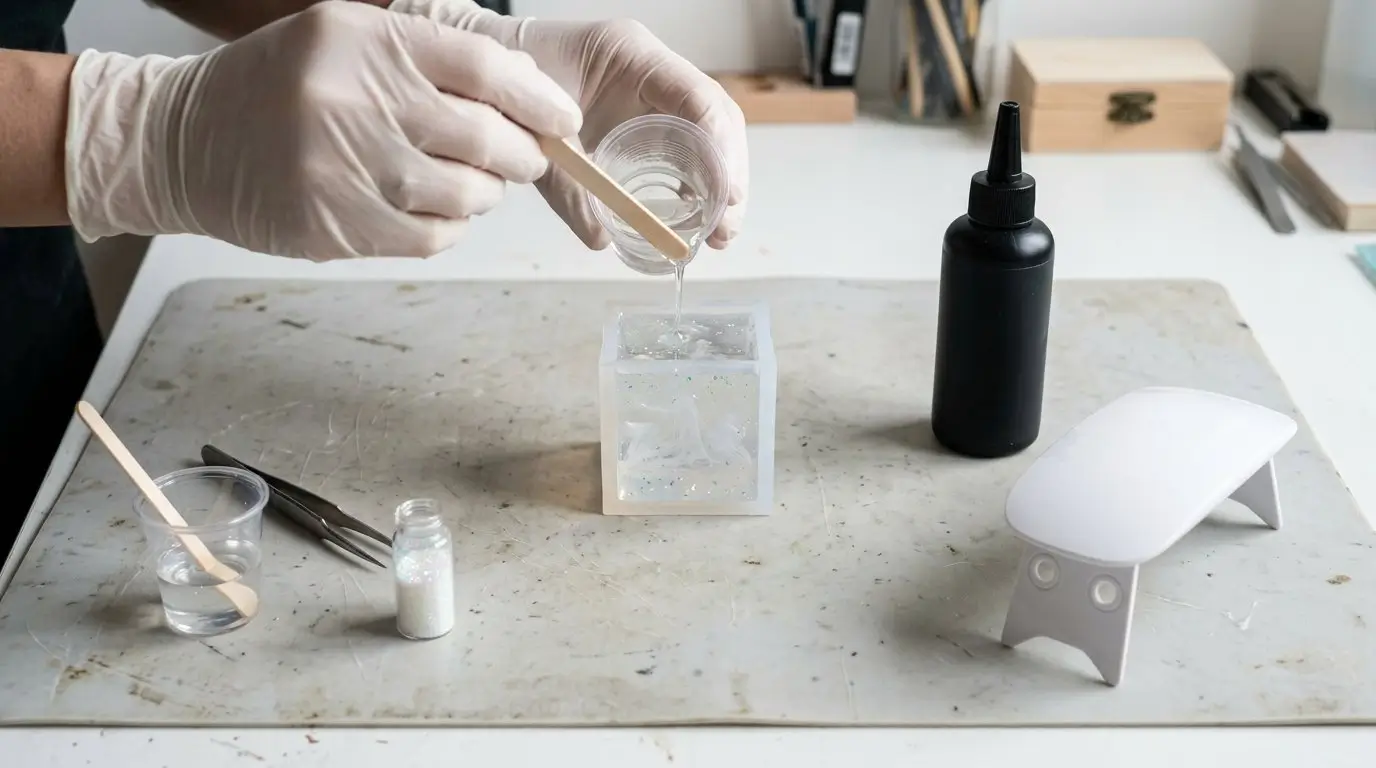
The pouring method depends on whether you use UV resin or epoxy resin, but the goal is the same: fill the cube mold cleanly, reduce bubbles, and cure the resin completely.
If using UV resin
- Pour a thin first layer. Add just enough resin to cover the bottom of the cube mold.
- Remove bubbles. Tap the mold gently and use a toothpick to guide bubbles away from corners.
- Add tint or detail. If you want a pale blue effect, mix a tiny amount of resin dye into a small portion of resin before pouring. For frosty streaks, touch a toothpick into white pigment and swirl it lightly through the layer.
- Cure under the UV lamp. Follow your resin’s directions for lamp distance and cure time.
- Repeat in layers. Continue pouring, decorating, and curing until the mold is full.
Working in layers helps UV light reach the resin properly. It also lets you suspend glitter or white wisps at different depths instead of having everything sink or clump in one area.
If you are embedding an eye pin, add it when there is enough cured resin to support it and enough uncured resin around it to lock it in place. You may need to hold it steady or secure it so it does not tilt while curing.
If using two-part epoxy resin
- Measure accurately. Use the ratio listed by the manufacturer. Guessing can leave the cube soft or sticky.
- Mix slowly. Scrape the sides and bottom of the cup while stirring, but avoid whipping air into the resin.
- Let bubbles rise briefly if allowed. Some epoxy products benefit from a short rest after mixing. Follow the product instructions.
- Pour slowly into the mold. Aim for one corner or side and let the resin flow into place.
- Add details between pours. For glitter or frosty streaks, add small accents in stages rather than dumping everything in at once.
- Cover and cure. Protect the mold from dust and leave it undisturbed for the full cure time.
For either resin type, be careful with flames or heat tools. A quick pass can help pop surface bubbles, but overheating can damage the mold, create fumes, or cause resin problems. Do not hold a flame close to the silicone or keep heat on one spot.
Step 3: Demold, Finish, and Attach the Pendant Hardware
Before removing the cube, check that it is fully cured. The surface should be firm, not tacky, and the corners should not feel soft or bendy. If the resin still feels sticky, do not wear it or attach it to jewelry yet. Give it more time or troubleshoot the cause.
To demold, peel the silicone mold away from the resin instead of yanking the cube out. Pulling too hard can stress the mold or mark the resin. Once the cube is out, inspect the edges. If you see thin flash or uneven resin around the top, trim it carefully with a craft blade or small scissors. Work slowly and cut away from your fingers.
Now attach the jewelry hardware using one of these methods:
Option 1: Drill and add an eye screw
Use a small hand drill or pin vise to make a hole near the top of the cube. Keep the hole centered and avoid drilling too close to an edge. Twist in a small eye screw. For extra hold, add a tiny amount of compatible jewelry adhesive or resin to the hole before inserting the screw, then let it cure fully.
Option 2: Use a glue-on bail
If one side of your cube is flat, attach a glue-on bail with a suitable jewelry adhesive. Let the adhesive cure completely before adding a chain. This is simple, but the bond depends on good surface contact and proper curing.
Option 3: Use embedded hardware
If you embedded an eye pin or bail during pouring, check that it does not wobble. If it feels loose, do not rely on it for a necklace. Save the piece as a display charm or remake it with deeper hardware placement.
Finally, add a jump ring and chain. Hold the pendant up to see whether it hangs straight. If sanding made any side dull, polish it with fine polishing pads or brush on a thin clear resin topcoat to restore shine.
Common Mistakes, Troubleshooting, and Care Tips
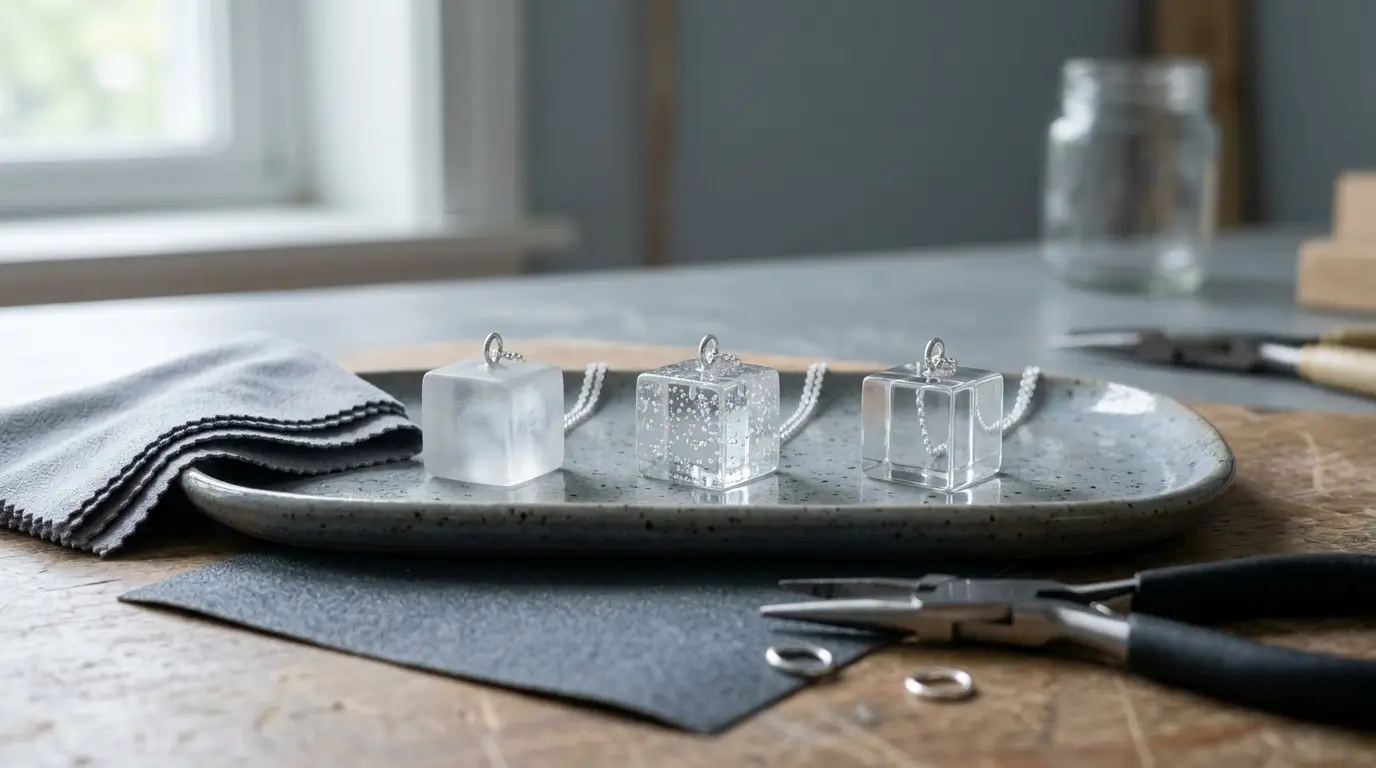
Even a small resin pendant can show bubbles, cloudiness, or hardware issues. Use these fixes to improve the next pour or rescue a piece when possible.
The pendant looks cloudy
Cloudiness can come from a matte mold, moisture, too many bubbles, or overmixing. If the cube is fully cured but dull on the outside, the mold may have a matte surface. You can often improve shine with a thin clear resin topcoat. For future pendants, use a glossy mold, mix slowly, and make sure the mold is dry.
The resin stays sticky
Sticky resin usually means something interrupted curing. Common causes include an incorrect epoxy ratio, incomplete mixing, too much pigment, undercuring, or a weak UV lamp. Follow the resin directions closely, use color sparingly, and cure UV resin in thin layers. Do not wear uncured resin against skin or clothing.
Bubbles are trapped in the corners
Cube molds love to trap tiny bubbles in their corners. Pour slowly, tap the mold gently, and use a toothpick to pull bubbles upward before curing. With epoxy, warming the resin slightly may help only if the manufacturer says it is safe to do so. With UV resin, layers make bubble control much easier.
The hardware pulls out
This usually happens when the hole is too shallow, the adhesive is weak, or embedded hardware was placed too close to the edge. Drill a little deeper next time, use a longer eye pin, or choose a bail with more contact area. Always test the connection gently before wearing.
The cube feels too heavy
If the pendant swings awkwardly or pulls on the chain, the mold is too large for a necklace. Use a smaller cube mold next time, or turn the finished piece into a bag charm, zipper pull, ornament, or keychain instead.
Result check before wearing
Your finished ice cube pendant should be:
- Fully cured with no sticky spots
- Smooth enough that it will not scratch skin or snag fabric
- Securely attached to its bail, eye screw, or eye pin
- Comfortable on the chain or cord
- Clear, frosty, or tinted in the style you planned
To care for it, wipe the pendant with a soft cloth after wearing. Store it away from rough objects that could scratch it, and avoid prolonged direct sunlight, harsh cleaners, perfume, or solvents. Resin jewelry is durable for everyday craft use, but it still looks better when treated gently.
FAQ
Can I make an ice cube pendant without UV resin?
Yes. Use clear two-part epoxy resin instead. Measure and mix it exactly according to the manufacturer’s ratio, pour it into a mini cube mold, and let it cure for the full recommended time before demolding or drilling.
How do I make the resin cube look more like real ice?
Use mostly clear resin with a very tiny amount of blue tint. Add thin wisps of white pigment between layers, not a full cloudy mix. A glossy cube mold also helps create the shiny frozen look.
What size mold is best for an ice cube pendant?
A mini cube mold is best for necklaces. Look for a size that feels light and comfortable when worn. Larger cubes can still work, but they are often better as bag charms or keychains.
Why is my ice cube pendant sticky after curing?
Sticky resin may come from the wrong epoxy ratio, poor mixing, too much pigment, not enough UV exposure, or a weak UV lamp. Do not wear sticky resin. Follow the product directions and allow more curing time if appropriate.