A rainbow style resin chess set comes together best when you treat it as three jobs: plan the color order, cast clean pieces in small controlled batches, and finish them so the colors stay crisp. Gather a full chess mold set, a board mold if you want a matching board, slow-curing casting epoxy, transparent resin dyes, mixing cups, gloves, and sanding supplies. Prep the molds, map your rainbow sequence before mixing anything, then pour each color deliberately instead of blending too much. Cure fully, demold carefully, sand the bases flat, and topcoat if needed. The finished set should look bright, even, and readable from piece to piece.
What You Need Before You Start
Before you mix resin, make sure you have the right materials and the right working conditions. Resin rewards setup and punishes improvisation.
You’ll need:
- A complete silicone chess piece mold set
- Optional chessboard mold
- Casting epoxy resin with a longer working time
- Transparent resin dyes or alcohol inks in red, orange, yellow, green, blue, and purple
- White or black pigment paste if you want one side more readable
- Mixing cups, silicone stir sticks, pipettes, and a digital scale if your resin uses weight ratios
- Nitrile gloves, apron, and a respirator rated for resin fumes if your workspace needs it
- Heat gun or small torch for surface bubbles
- Mold release if your mold maker recommends it
- Sandpaper in 400, 800, 1500, and 2000 grit
- Polishing compound or clear doming/topcoat resin
- Toothpicks or tweezers for detail work
Work in a dust-free, level, well-ventilated room between about 70°F and 75°F. Cold rooms make resin thicker and trap bubbles. Hot rooms shorten working time and can blur your rainbow edges.
Plan one more thing before starting: how the rainbow will appear. You can use one full rainbow across all pieces, a gradient within each piece, or one rainbow side versus one solid side. For a first set, the easiest approach is a consistent gradient across the pieces with a high-contrast opposing side. That keeps the set artistic but still playable.
Step 1
- Choose your rainbow layout before mixing resin.
The cleanest beginner layout is to assign a dominant color band to each rank or piece group. For example, pawns can move from red through purple, while major pieces carry blended two-color transitions. Write the order down. If you guess as you go, you’ll repeat colors unevenly and the set will look random instead of intentional.
- Prep the molds.
Wash new silicone molds if needed, dry them completely, and place them on a rigid tray or board so you can move them without flexing. Check every cavity for lint. If your mold brand suggests release, apply a light coat only. Too much release can dull the surface.
- Measure your total resin in small batches.
Mix only what you can pour within the resin’s open time. For chess pieces, several small batches are safer than one big batch because resin heats up as it sits. Stir slowly for the full manufacturer time, scraping sides and bottom.
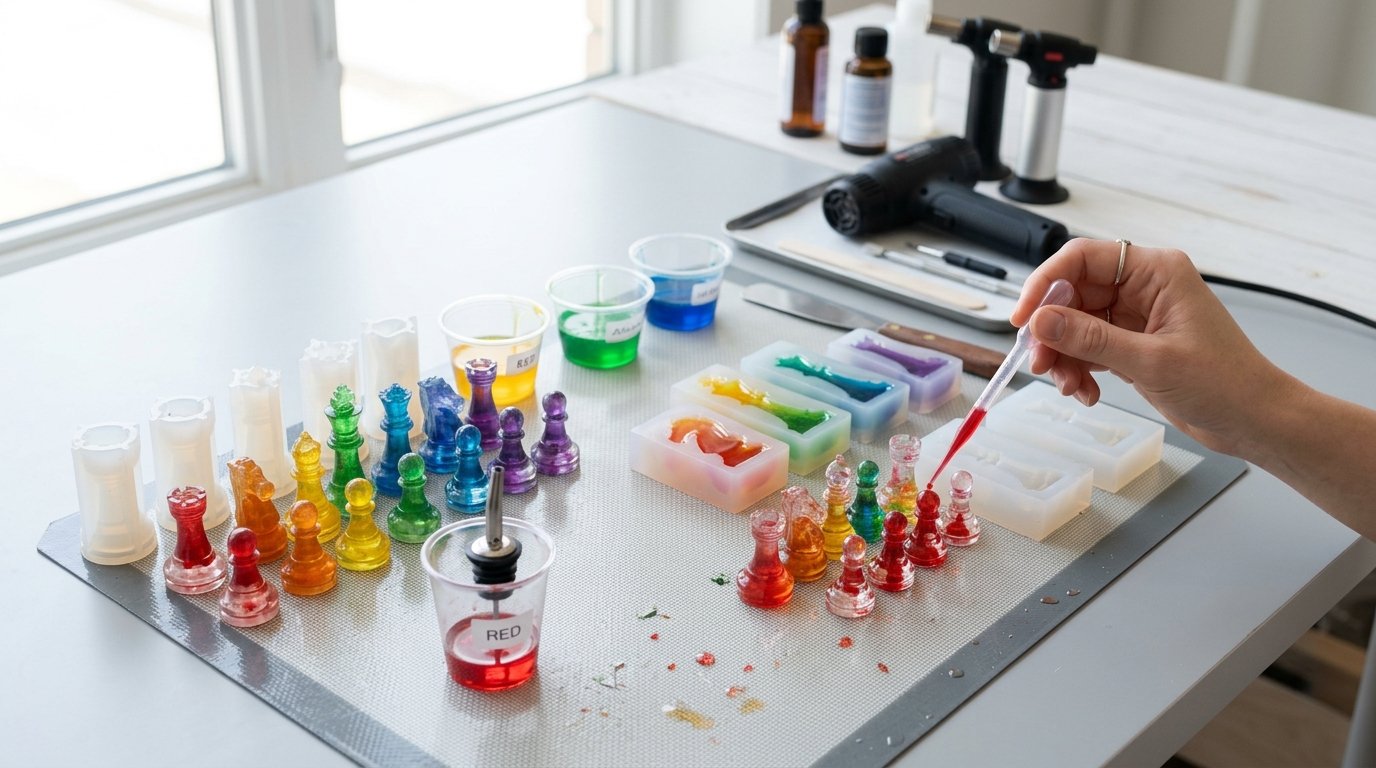
- Divide and tint the resin.
Split the clear resin into six cups and tint each cup lightly at first. Transparent colors usually give the best rainbow effect because light passes through the pieces. Keep one extra cup of untinted resin nearby. It helps soften transitions and fill any cavity that runs short.
- Do a test pour in one pawn or a spare mold cavity.
Pipe or drizzle color in the sequence you planned. Let the colors touch, but do not over-stir inside the mold. A toothpick swirl is enough for a gradient; more than that makes mud.
- Adjust for readability.
If the test piece looks too busy, add a small amount of white mica, pearl, or a smoky tint to one side of the set. A chess set still has to be readable during play.
Caution: Never mix alcohol ink so heavily that it changes the resin chemistry. Use small amounts. Overloading colorant can leave soft or tacky pieces.
Step 2
- Pour the full set in sequence.
Start with the smallest and most detailed pieces first, usually pawns, then move to bishops, knights, rooks, queen, and king. Use pipettes or narrow pour spouts for tall molds. Fill detail points first, then the main body, then the base. This reduces trapped air in crowns, crosses, and knight ears.
- Create consistent rainbow transitions.
For each piece, add color in the same order every time. Example: red at the base, then orange, yellow, green, blue, and purple toward the top. If you want a side-to-side rainbow instead, tilt the mold tray slightly and pour one edge at a time. Keep the method identical across matching pieces so the set feels deliberate.
- Remove bubbles without overheating the resin.
Tap the tray gently, use a toothpick along mold walls, then pass a heat gun briefly over the surface. Short passes are enough.
Caution: Too much heat can warp silicone molds, flash-cure the top layer, or blur the color separation you just created.
- Let the resin cure fully before demolding.
Follow the manufacturer’s full cure time, not just “demold time.” Pieces removed too early often bend at the stems or develop dull pressure marks. Leave the tray level and covered so dust cannot settle into the glossy surface.
- Demold and finish the pieces.
Peel silicone away slowly, especially around thin finials and knight heads. Trim flash with small scissors or a craft knife. Sand bases flat on a wet sanding surface, moving from 400 up to finer grits. If the body is glossy but the sanded base turns cloudy, polish it or apply a thin clear coat.
- Muddy colors: You swirled too much or poured too many hues into one tight space. Limit each transition to two or three neighboring colors.
- Soft spots: Resin ratio was off or pigment load was too high. Recheck measuring method.
- Big bubbles in tips: Fill narrow details first with a pipette and rotate the mold slightly.
- Uneven piece heights: Your tray was not level during cure. Shim it before the next batch.
- Troubleshoot as you go.
- Cast or finish the board if you want a matching set.
A rainbow board usually looks best with restrained color. Try clear or frosted squares with a rainbow border, or alternate translucent white and smoky squares with rainbow accents. A fully multicolored board can compete visually with the pieces.
How to Check the Result
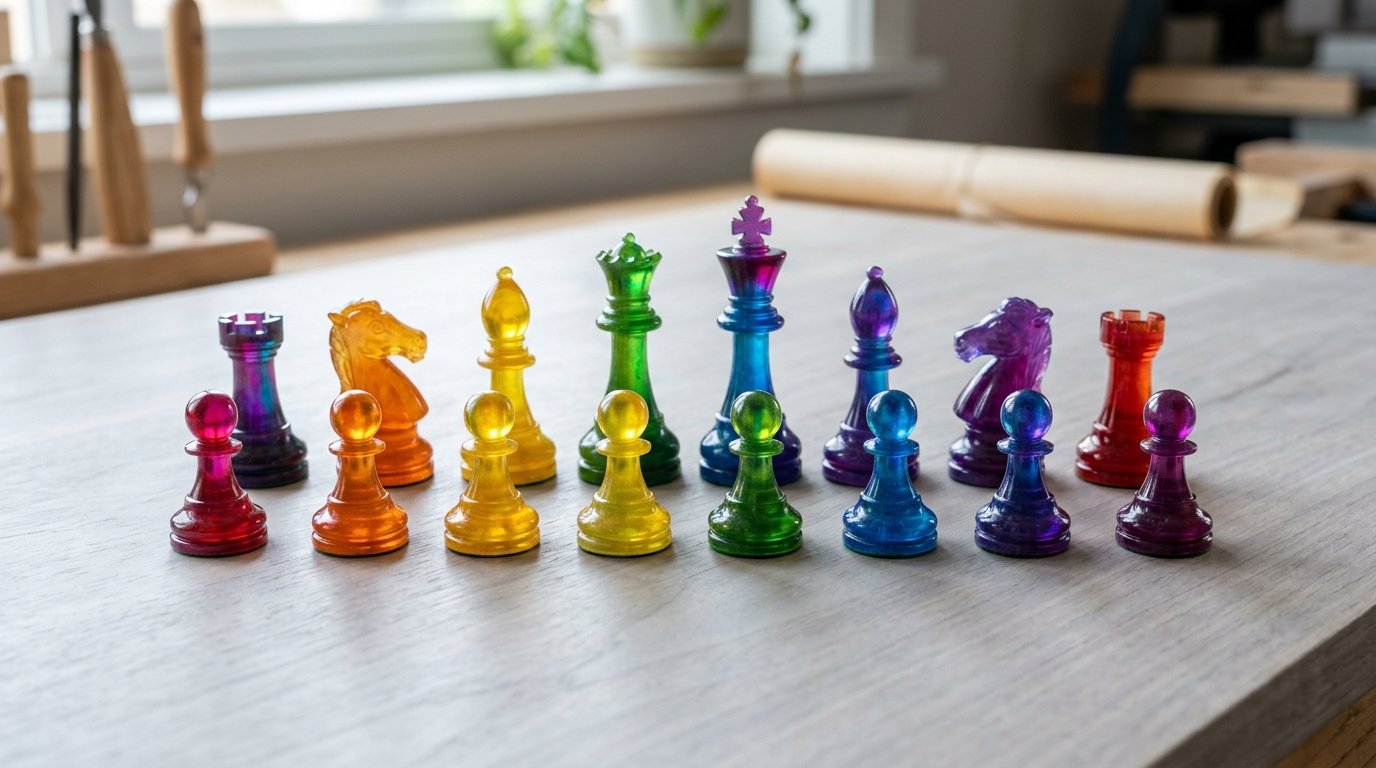
A successful rainbow style resin chess set should look bright, balanced, and playable, not just colorful.
Start with a visual consistency check. Set all sixteen pieces for one side in rows. The rainbow order should feel intentional across matching pieces, especially the pawns. If one bishop looks much darker or muddier than the other, it will stand out immediately.
Next, do a readability check. Place both sides on a board and step back. You should be able to distinguish sides quickly. If both armies blend together, add contrast with felt base colors, a light satin topcoat on one side, or a tinted wash on the other set.
Then do a finish check. Every base should sit flat without wobbling. Surfaces should be fully cured, not sticky, rubbery, or dentable with a fingernail. Fine details like the king’s crown or knight profile should be intact.
Finally, do a practical play test. Move each piece several squares. Good pieces feel solid, balanced, and smooth at the base. If they catch, wobble, or scratch the board, sand and polish again before calling the set done.
FAQ
What Kind of Resin Works Best for a Rainbow Chess Set?
A clear casting epoxy with a moderate to long working time is usually best. It gives you enough time to divide colors, pour carefully, and release bubbles. Very fast resin can overheat, trap bubbles, and blur color placement in detailed chess molds.
How Do I Keep Rainbow Chess Pieces from Looking Muddy?
Limit blending. Use transparent dyes, pour colors in a fixed order, and swirl only once or twice with a toothpick. Stick to neighboring colors touching each other. If red, green, and purple all meet in one small area, the result usually turns brownish.
Should Both Sides of the Chess Set Be Rainbow?
They can be, but one rainbow side and one high-contrast side is easier to play with. If both sides are rainbow, change the saturation, add pearl or smoke to one army, or use different base felt colors so players can identify sides quickly.
How Long Does It Take to Make a Resin Chess Set?
Plan for one setup session, one pouring session, full curing time, and a finishing session. In practice, most sets take one to three days depending on resin cure time. Active hands-on work is often only a few hours; curing does the rest.
Can I Add Glitter or Metallic Accents to a Rainbow Resin Chess Set?
Yes, but use them lightly. Fine glitter or a small metallic accent in crowns, bases, or swirls can look great. Too much opaque shimmer hides the rainbow gradient and reduces clarity. Test one pawn first before committing to the whole set.