To pour resin successfully, prepare a level, dust-free workspace, wear gloves, measure resin and hardener exactly as the product instructions require, then mix slowly until the blend is completely uniform. Pour in a thin, controlled stream, guide the resin with a stir stick or silicone tool, remove bubbles with gentle heat or a toothpick, and cover the project while it cures.
The biggest beginner mistakes are inaccurate measuring, rushing the mixing step, pouring too thick, and working in a room that is too cold. Resin is precise, but it is not difficult when you follow the correct order. The steps below walk you through the full process from setup to cure check.
Before You Pour: What Beginners Need to Know
This guide covers basic two-part craft resin pouring, such as coaster molds, jewelry molds, small trays, artwork coatings, and simple clear topcoats. Most beginners use epoxy resin, which comes as resin plus hardener and cures through a chemical reaction.
Not all resin behaves the same. Some formulas are made for shallow coating, while others are made for deep pours. Some cure fast; others need a full day or more. Your job is to control the basics: correct ratio, thorough mixing, safe workspace, clean mold or surface, and proper curing conditions.
Prerequisites: Set up for a Successful Resin Pour
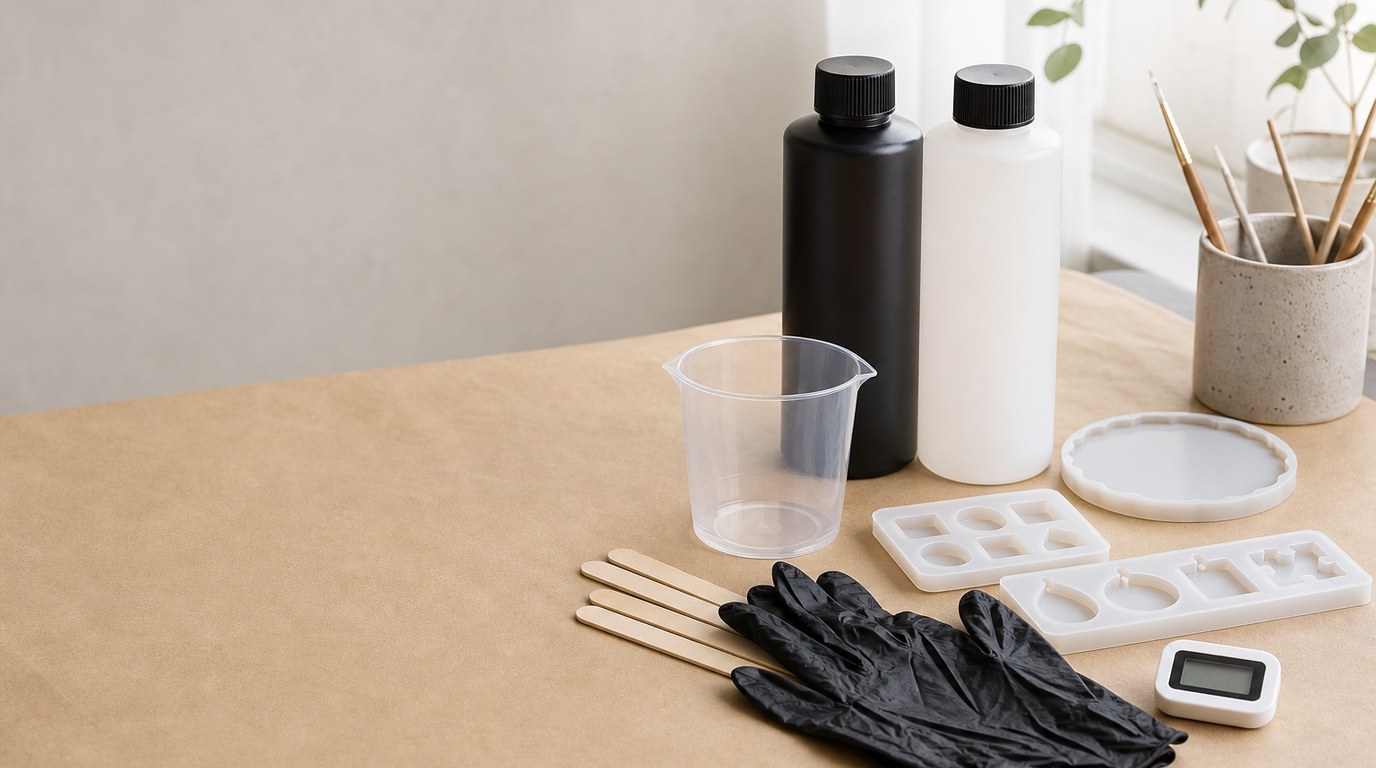
Before opening the bottles, set up everything you need. Resin has a working time, often called pot life, so you do not want to search for tools after mixing.
You will need resin and hardener, measuring cups, stir sticks, nitrile gloves, a covered work surface, your mold or project surface, pigments or inclusions if using them, a bubble-removal tool, and a dust cover.
Work in a well-ventilated area and follow the safety directions on your resin label. Wear gloves and avoid skin contact. Keep food, pets, and children away from the workspace.
Resin cures best in stable room conditions. A cold room can slow curing and create cloudy or sticky results. A level surface is also essential; resin will flow toward the lowest point.
Step 1: Read the Resin Instructions
Read the label before you measure anything. Check the mixing ratio, maximum pour depth, working time, cure time, and recommended temperature range.
Some resins mix 1:1 by volume, while others require 2:1, 3:1, or measuring by weight. Do not assume a ratio based on another brand. Also check whether your resin is meant for coating, casting, doming, or deep pouring. Using the wrong resin for the project can cause overheating, bubbles, cracking, or a soft cure.
Step 2: Measure Resin and Hardener Accurately
Accurate measuring is the foundation of a successful pour. Use clean measuring cups with clear markings, and place them on a level surface. Measure resin and hardener exactly according to the product instructions.
Do not “eyeball” the amounts. Too much resin or too much hardener can leave the project sticky, flexible, cloudy, or uncured. Scrape the sides of the bottles or cups only if you can still keep the ratio exact. For small batches, be extra careful because tiny measuring errors matter more.
Step 3: Mix Slowly and Thoroughly
Pour both parts into a mixing cup and stir slowly. Scrape the sides and bottom of the cup as you mix. Fold the resin through itself rather than whipping it. Fast stirring traps extra air and creates more bubbles.
Most craft resins need several minutes of mixing, but follow your label. The mixture should look consistent, with no streaks or cloudy swirls. For a cleaner mix, some crafters use a “double cup” method: mix in one cup, transfer to a second clean cup, then stir again briefly. This reduces unmixed resin stuck to the first cup.
Step 4: Add Color or Inclusions, If Using
Add pigment, mica powder, alcohol ink, glitter, dried flowers, charms, or other inclusions only after the resin is fully mixed. Start with a small amount of color and add more gradually.
Avoid adding too much pigment, paint, or liquid colorant. Excess additives can interfere with curing, change the texture, or make the resin soft. Make sure flowers, paper, wood, or other porous items are dry and sealed before embedding or coating them. Moisture can cause bubbles, cloudiness, or poor adhesion.
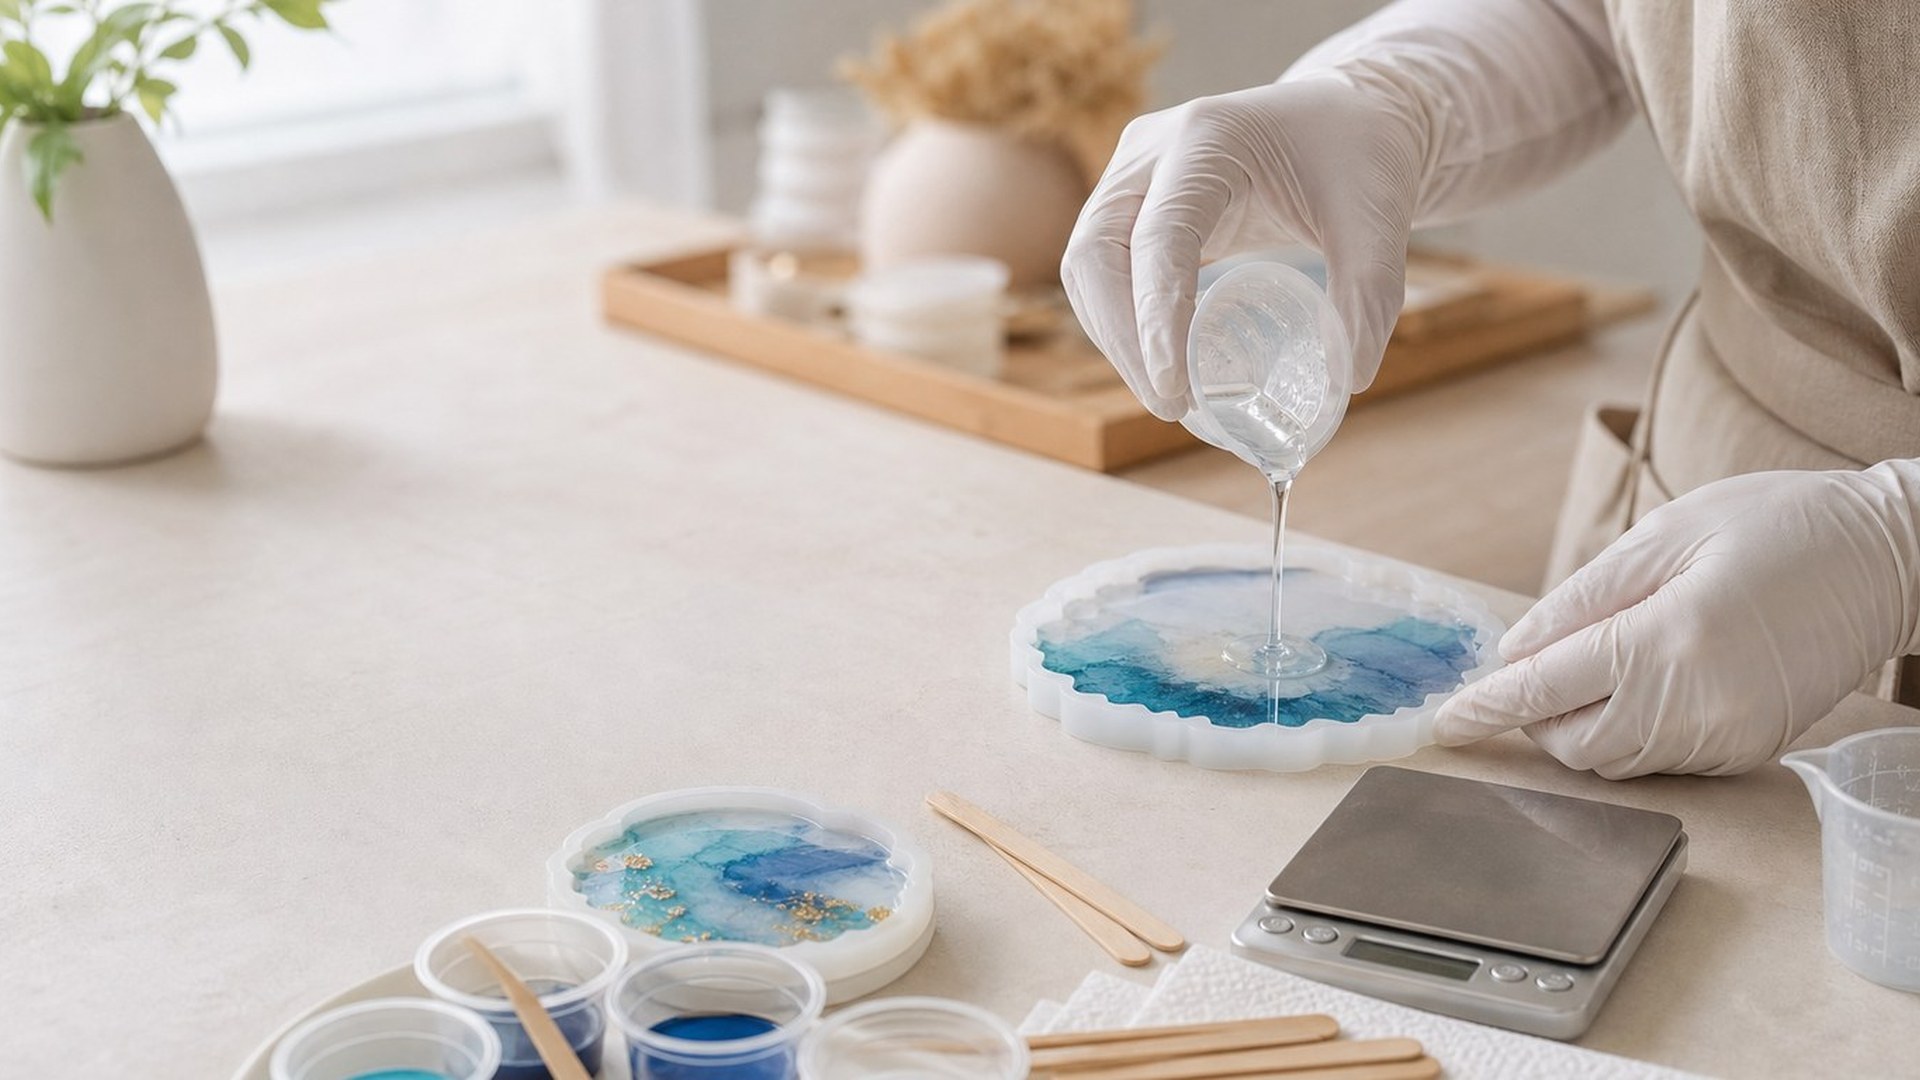
Step 5: Pour the Resin
Pour slowly and close to the mold or surface. A thin stream gives you more control and helps reduce trapped air. For molds, pour into the lowest part first and let the resin spread. Use a stir stick, toothpick, or silicone tool to guide resin into corners.
For coating a flat surface, pour near the center and spread outward. Let the resin flow over the surface instead of forcing it aggressively. Check edges and corners for dry spots.
Do not exceed the maximum pour depth listed by the manufacturer. If your project needs more thickness, pour in layers. Let the first layer cure to the stage recommended by the resin brand before adding the next layer. Pouring too thick can cause heat buildup, yellowing, cracks, or warping.
Step 6: Remove Bubbles
After pouring, let the resin sit for a few minutes so bubbles can rise to the surface. Then remove them gently. For small bubbles, use a toothpick or skewer. For surface bubbles, pass a heat gun or torch quickly over the resin if your resin instructions allow it.
Do not hold heat in one spot. Too much heat can damage molds, burn resin, create ripples, or cause the resin to cure unevenly. If you are using silicone molds, be especially cautious with a torch. A warm water bath for the resin bottles before mixing can also help reduce bubbles.
Step 7: Cover and Cure the Resin
Once bubbles are removed, cover the project with a clean box, plastic bin, or dust cover. This keeps lint, hair, and dust from settling into the surface.
Leave the project level and undisturbed for the full cure time listed on the label. Do not move, touch, or demold it too early. Resin may feel firm before it is fully cured. Temperature matters during this stage, so avoid placing the project near a drafty window, heater, or direct sun unless the product specifically allows it.
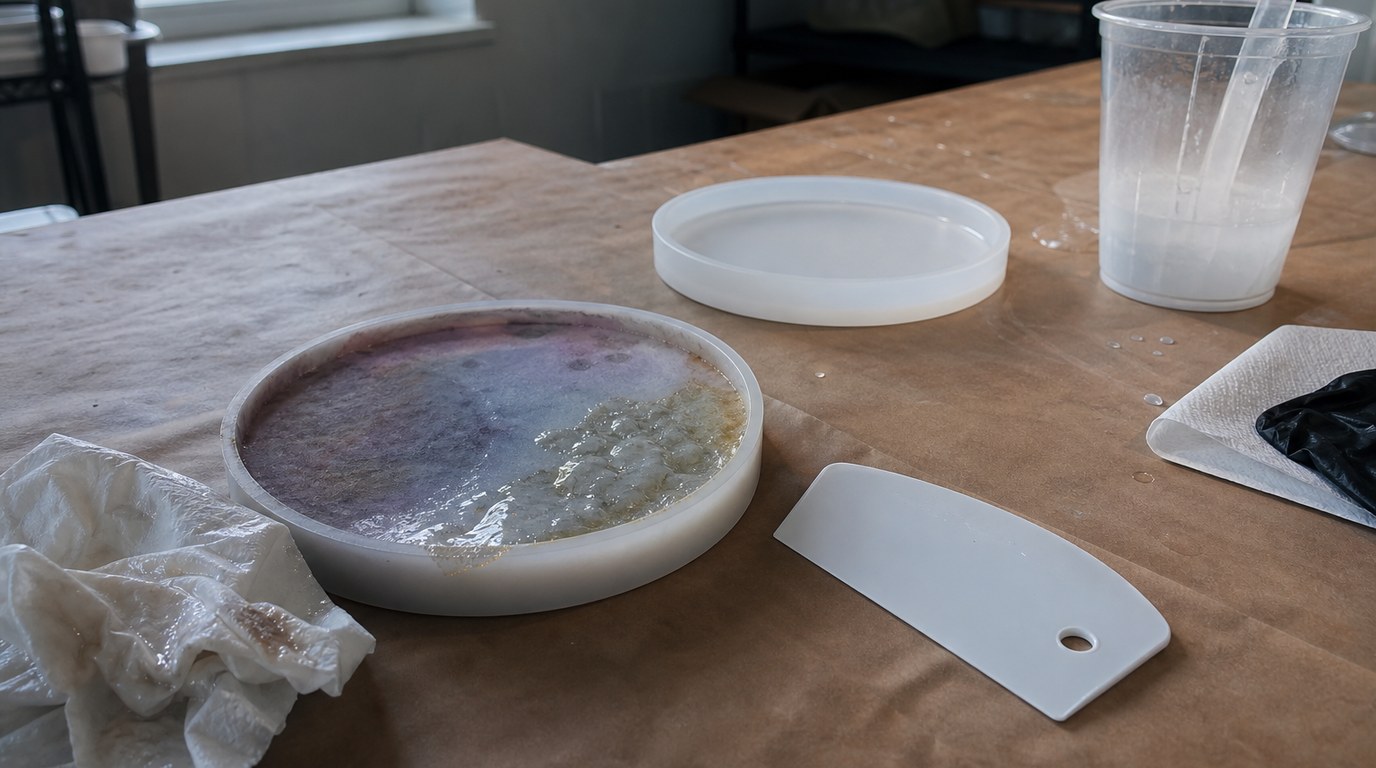
Result Check: How to Know Your Resin Pour Worked
Your resin pour worked if the finished piece is hard, clear or evenly colored, smooth on the surface, and no longer tacky. It should release cleanly from a mold when the recommended cure time has passed.
For coated surfaces, the resin should be level, glossy, and firmly bonded. A few tiny bubbles may be cosmetic, but soft spots, wet patches, sticky areas, cloudy streaks, or bendy resin usually mean there was a measuring, mixing, temperature, or pour-depth problem.
Common Resin Pouring Mistakes and How to Fix Them
If the resin is sticky all over, the most likely causes are wrong ratio, poor mixing, or a room that was too cold. Unfortunately, fully uncured resin usually cannot be fixed by waiting forever. Scrape away wet resin, clean the surface as safely as your product allows, and repour with a correctly measured batch.
If only a few spots are tacky, they may be areas of unmixed resin from the cup. Sand or remove the sticky spots after the piece is firm, then apply a fresh thin coat.
If you see lots of bubbles, warm the resin bottles before mixing, stir more slowly, and pour in a thinner stream next time. If resin overflowed or pooled unevenly, check that your table is level before every pour.
Quick Beginner Tips for Better Resin Pours
Mix smaller batches while learning. They are easier to control and waste less material if something goes wrong.
Keep a dedicated resin toolkit so your cups, sticks, gloves, tape, wipes, pigments, and molds are ready before you start. Use a timer for mixing and curing steps. Label test pieces with the resin brand, pigment type, and cure results. Most resin skills improve quickly when you repeat the same process and change only one variable at a time.
FAQ
Can I Pour Resin in One Thick Layer?
Only if your resin is designed for that depth. Many craft resins are made for thin layers or coatings, not deep pours. Check the maximum pour depth on the label. If you need more thickness, pour in layers to prevent overheating, cracking, yellowing, or soft curing.
How Long Should Resin Sit Before Removing Bubbles?
Usually, let the resin sit for a few minutes after pouring so bubbles can rise. Then remove them while the resin is still fluid and within its working time. Do not wait until it thickens, because bubbles become harder to pop and the surface may not level properly.
Why Is My Resin Still Sticky After Curing?
Sticky resin usually means the ratio was wrong, the mixture was not stirred thoroughly, the room was too cold, or too much colorant was added. If it is wet or gummy, it may need to be removed. If only slightly tacky, a properly mixed fresh coat may seal it.
Do I Need a Torch to Pour Resin?
No. A torch is helpful for some surface bubbles, but it is not required. You can use a toothpick, gentle heat gun, bubble-reducing mixing habits, or warmed resin bottles. Always check whether your resin and mold can tolerate flame or heat before using a torch.
Can I Pour Resin Over Paper, Photos, or Wood?
Yes, but seal porous materials first. Paper, photos, and wood can release air bubbles or absorb resin unevenly. Use a suitable sealant and let it dry completely before pouring. For sentimental photos or artwork, test the sealant and resin on a copy before using the original.