
To price an epoxy resin project, use this basic formula:
Materials + waste allowance + labor + overhead + packaging/selling fees + profit = selling price
A quick version looks like this:
Project cost = direct supplies + 10% to 20% waste + hours worked × hourly rate + overhead share + fees
Then add your profit margin and round to a customer-friendly price.
The key is not guessing. Resin, pigments, molds, PPE, sanding supplies, failed pours, listing fees, and your time all affect whether a project is actually profitable. Use the steps below as a simple worksheet for coasters, trays, jewelry, wall art, tumblers, small tables, and custom resin pieces.
Before You Price: Gather Your Project Details
Before calculating, write down the details for one specific project. Pricing “resin art” in general is too vague; pricing one 12-inch ocean tray or one set of four coasters is much easier.
Gather:
- Resin amount used
- Pigments, inks, glitter, flowers, shells, decals, or inclusions
- Mold cost or blank base cost
- Sandpaper, polish, gloves, cups, sticks, tape, and PPE
- Packaging and shipping supplies
- Time spent designing, mixing, pouring, demolding, sanding, finishing, photographing, and messaging the customer
- Selling platform fees, payment fees, or market booth costs
Keep receipts and record actual usage when possible. If you estimate, round up slightly. Resin pricing goes wrong fast when “small” costs are ignored.
Step 1: Calculate Your Material Costs
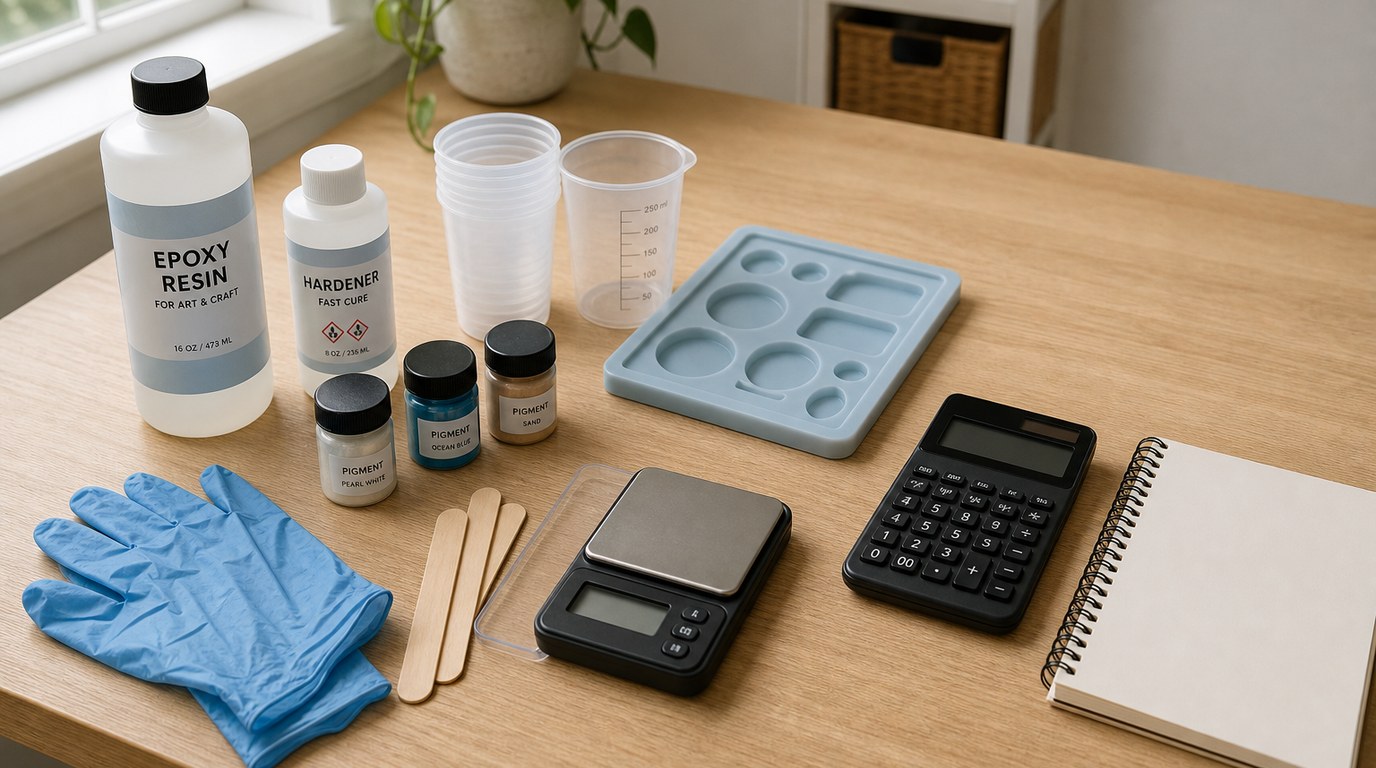
Start with direct materials: anything used in that specific project. Do not only count resin.
For resin, calculate the cost per ounce, milliliter, or gram:
Container cost ÷ total amount in container = cost per unit
Then multiply by the amount used.
Example: If a resin kit costs $40 and contains 64 ounces total, your resin costs $0.63 per ounce. If a tray uses 12 ounces, resin cost is about $7.56.
Add other direct materials:
- Pigments or mica powder
- Alcohol ink or acrylic paint
- Dried flowers, charms, shells, photos, or embeds
- Wood blanks, canvas, tray handles, clock parts, jewelry findings
- Disposable cups, stir sticks, gloves, pipettes, and tape
If an item can be used many times, divide the cost over its expected uses. A $20 mold used 20 times adds $1 per project.
Step 2: Add a Waste and Mistake Allowance
Epoxy resin has unavoidable waste. You may overmix, scrape out cups, lose resin to drips, or reject a piece because of bubbles, dust, soft spots, or uneven edges.
Add a waste allowance after materials:
Material cost × 10% to 20% = waste allowance
Use 10% for simple repeat projects you know well. Use 15% to 20% for custom colors, new molds, large pours, layered work, or pieces with expensive inclusions.
This is not “extra profit.” It protects you from slowly losing money on normal resin waste and occasional rework.
Step 3: Price Your Labor Time
Labor is where many resin artists undercharge. Count hands-on time, not just pouring time.
Include time for:
- Planning the design
- Prepping molds or surfaces
- Measuring, mixing, tinting, and pouring
- Removing bubbles
- Demolding
- Sanding, trimming, drilling, polishing, or sealing
- Adding hardware
- Photographing and listing
- Customer messages for custom work
Choose an hourly rate before you calculate. A beginner might start with a modest rate, but it should still be a real wage, not a token amount. For example:
2.5 hours × $20/hour = $50 labor
Do not include passive curing time as full labor unless you are actively monitoring, rotating, heating, or adjusting the piece. However, curing time can affect scheduling and rush fees.
Step 4: Add Overhead Costs
Overhead is the cost of running your resin workspace, even when it is not tied to one item. These costs still need to be recovered.
Common overhead includes:
- Heat, electricity, ventilation, and lighting
- Work tables, silicone mats, torches, heat guns, respirators, and scales
- Website costs, accounting apps, business cards, and labels
- Studio rent or a portion of home workspace costs
- Market booth fees spread across inventory
A simple method is to add a flat overhead amount per project, such as $2 to $10 for small crafts, or more for large work. Another method is monthly overhead divided by projects sold that month.
Step 5: Include Packaging, Shipping Supplies, and Selling Fees
A profitable item can become unprofitable after the sale if you forget transaction costs.
Add packaging such as:
- Boxes or mailers
- Bubble wrap, tissue, crinkle paper, tape, and labels
- Thank-you cards or care cards
- Protective corners or foam for wall art and trays
Then include selling fees. Etsy, Shopify, PayPal, Square, credit cards, craft fairs, and consignment shops all take a percentage or fixed fee. If a platform takes about 8% to 12% total, build that into your price before listing.
Warning: “Free shipping” is not free. If you offer it, include shipping in the product price.
Step 6: Add Profit Without Guessing
Covering costs is not the same as making profit. Your labor pays you for working. Profit helps your business grow, replace equipment, buy better supplies, handle slow months, and develop new designs.
You can add profit in two common ways:
Option 1: Add a profit percentage
Subtotal × 20% to 50% = profit
Option 2: Use a markup
Total cost × markup = selling price
For handmade resin crafts, a 20% to 40% profit margin is often more realistic than copying wholesale formulas without checking the final price. For unique art, custom work, or difficult techniques, the profit percentage may be higher.
If the price feels scary, check the math before lowering it. Do not remove profit first; look for material waste, inefficient labor, or product positioning.
Step 7: Check the Price Against the Market
Market research is a price check, not your pricing method. Your costs come first.
Compare your calculated price with similar items by looking at:
- Size and thickness
- Quality of finish
- Complexity of design
- Customization level
- Reviews, photos, and branding
- Whether shipping is included
- Whether the seller is hobby, wholesale, or professional
If your price is much higher, ask why. Are your materials premium? Is your process too slow? Are competitors undercharging? If your price is much lower, you may have missed labor, fees, or profit.
Do not blindly match the cheapest listing. Cheap prices do not prove profitability.
Step 8: Create a Final Customer Price
Now turn your worksheet total into a clean selling price.
Example:
- Materials: $18
- Waste allowance: $3
- Labor: $50
- Overhead: $5
- Packaging and fees: $9
- Profit: $25
Total: $110
You might list it as $109, $110, or $115, depending on your brand and sales channel.
Use rounded prices that feel intentional. For custom work, give a quote range first, then confirm the final price after design details are clear. Always collect a deposit for custom resin projects, especially when names, photos, wedding flowers, or special colors are involved.
Result Check: Is Your Resin Project Price Sustainable?
Your price is sustainable if:
- Every material is covered, including disposables
- Waste and occasional mistakes are included
- You are paid for all hands-on time
- Platform fees and packaging do not erase profit
- You can repeat the project without feeling resentful
- The price leaves money for business growth
- Similar customers can understand the value
If you need constant discounts to sell, review your photos, product description, audience, and design before assuming the price is wrong.
Common Pricing Mistakes and How to Fix Them
Mistake: Charging only for resin.
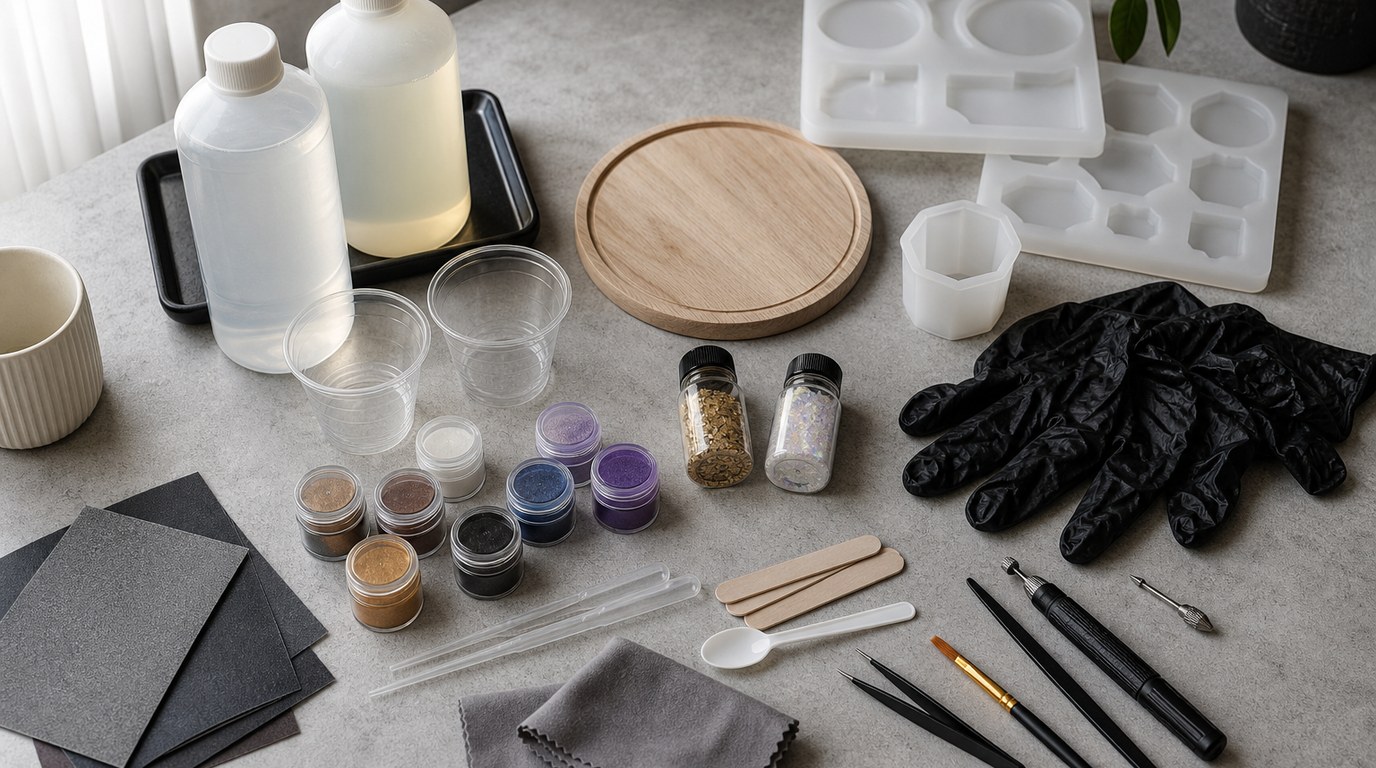
Fix it by adding pigments, molds, blanks, cups, gloves, sanding supplies, and finishing materials.
Mistake: Forgetting labor after the pour.
Fix it by timing sanding, polishing, drilling, photographing, packing, and customer messages.
Mistake: Treating failed pieces as personal loss.
Fix it with a 10% to 20% waste allowance.
Mistake: Copying competitors.
Fix it by calculating your costs first, then using competitors only as a market check.
Mistake: Discounting too quickly.
Fix it by offering smaller items, simpler designs, or limited options instead of cutting your profit.
FAQ
What Is the Easiest Formula for Pricing Epoxy Resin Projects?
Use: materials + waste + labor + overhead + packaging/fees + profit = selling price. For a faster version, calculate materials and labor first, add 10% to 20% for waste, include fees, then add a profit percentage before rounding.
How Much Should I Charge Per Hour for Resin Work?
Choose an hourly rate that reflects your skill, local market, and business goals. Many makers start with a practical hourly wage, such as $15 to $30 per hour, then increase it as their quality, speed, and demand improve.
Should Curing Time Be Included in the Price?
Do not charge full labor for passive curing time if you are not actively working. However, curing affects your production schedule. If a rush order blocks your workspace or requires special monitoring, include that as a rush or project management fee.
How Do I Price a Custom Resin Order?
Price custom work higher than ready-made pieces because it includes design messages, mockups, special materials, and risk. Calculate normal costs, add extra labor for communication and planning, and collect a nonrefundable deposit before buying supplies or starting the piece.
What If Customers Say My Resin Art Is Too Expensive?
Do not immediately lower the price. Explain the handmade process, materials, customization, and finish quality. If the customer has a smaller budget, offer a smaller size or simpler design instead of discounting the same project and removing your profit.