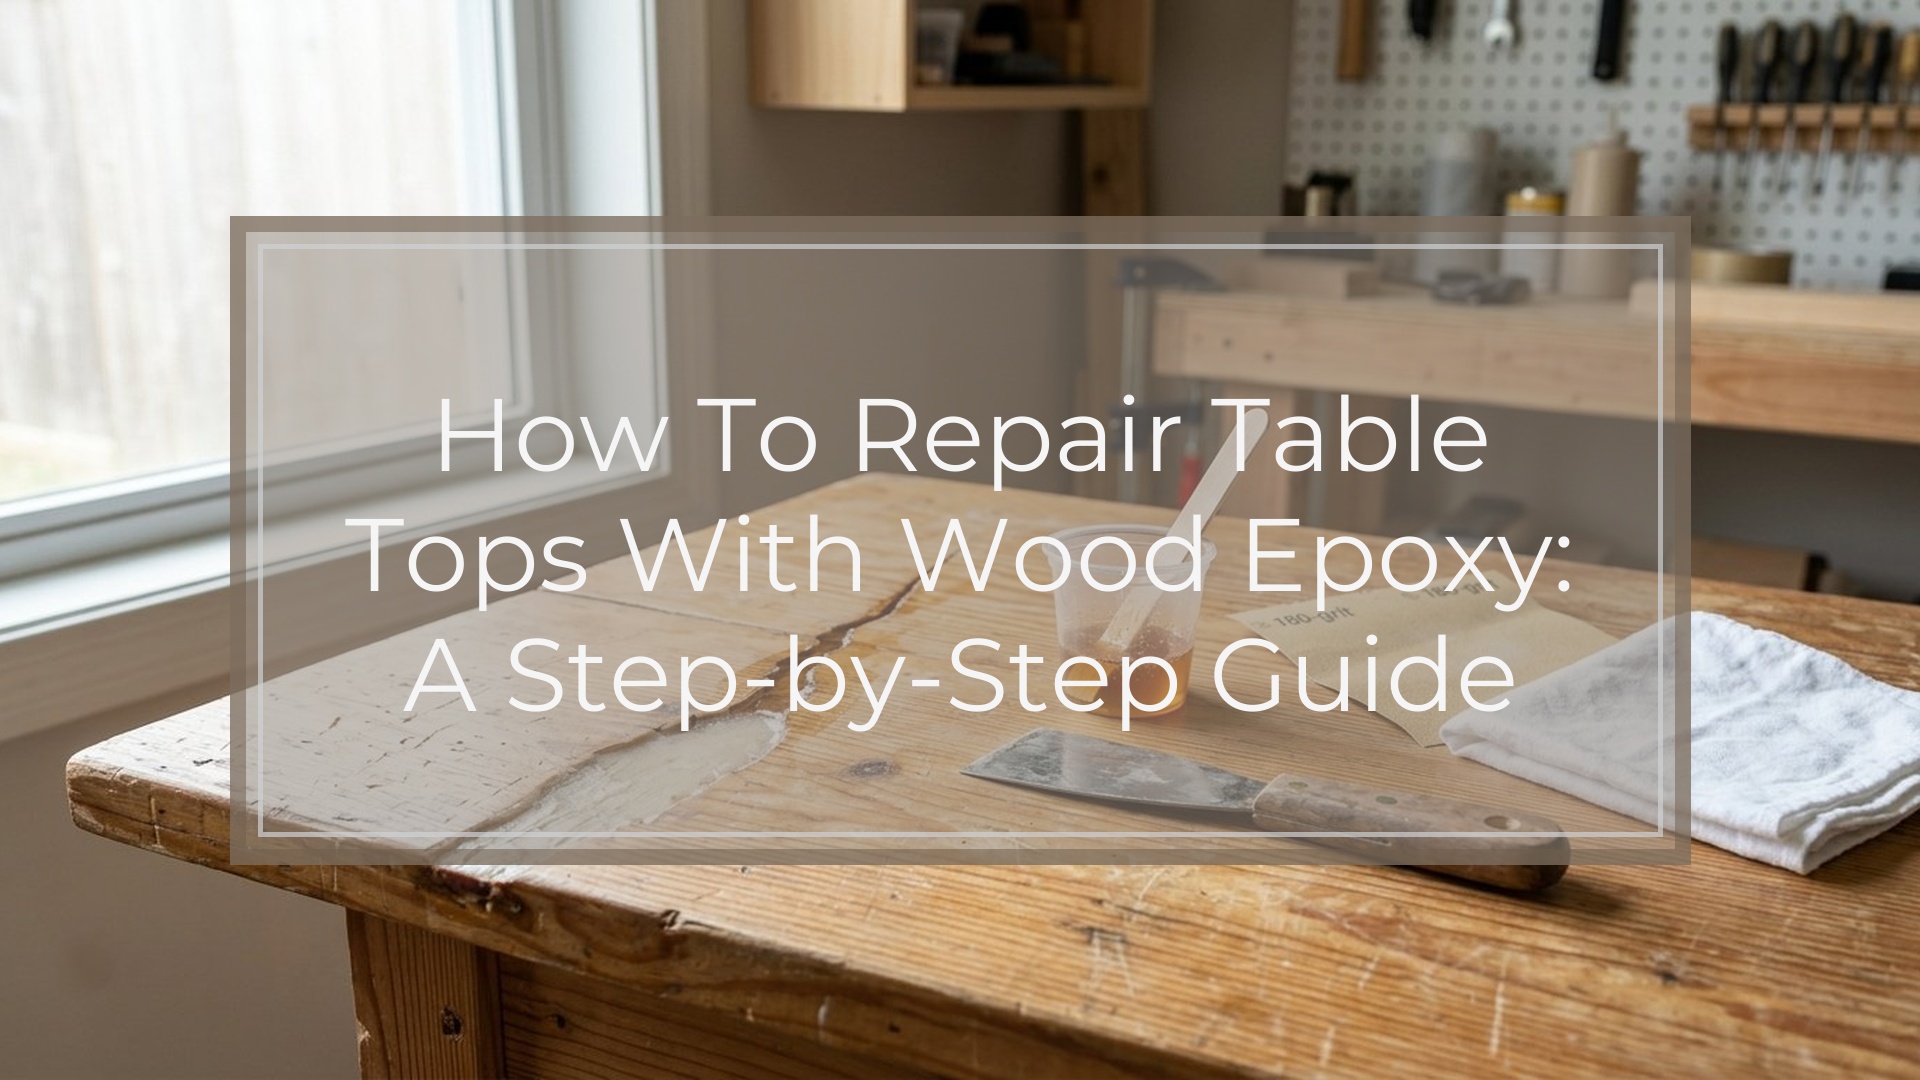
To repair a tabletop with wood epoxy, clean and dry the damaged area, remove loose fibers or old filler, seal any gaps where epoxy could leak, then mix a wood-safe two-part epoxy using the exact ratio on the package. Press or pour the epoxy into cracks, chips, gouges, dents, or small voids, slightly overfilling shallow repairs so you can sand them flush after curing. Tint the epoxy with compatible pigment, dye, or fine sanding dust if the repair will be visible. Let it cure fully, level it with a scraper and sandpaper, then protect the area with a compatible finish. The repair is successful when it is hard, bonded to clean wood, flush with the tabletop, and sealed against moisture.
What You Need Before You Start
Before you begin, confirm that epoxy is the right repair. It works well for cracks, gouges, dents, missing edge chips, knot holes, small voids, and separated seams. It is not a good shortcut for wet, rotten, oily, or unstable wood. If the wood is soft or crumbling, remove the damaged material first and let the area dry completely.
Gather these supplies:
- Two-part wood epoxy or clear casting epoxy suitable for furniture repair
- Disposable mixing cups and stir sticks
- Nitrile gloves and eye protection
- Painter’s tape, sheathing tape, or packing tape
- Plastic spreader, putty knife, syringe, or craft stick
- Sandpaper in grits such as 80, 120, 180, and 220
- Vacuum, tack cloth, or lint-free rag
- Denatured alcohol or mineral spirits, if compatible with the existing finish
- Pigment, dye, or fine sanding dust for color matching
- Scraper, razor blade, or sharp chisel for leveling cured epoxy
- Drop cloth or plastic sheet
Work in a ventilated area at the temperature recommended by the epoxy manufacturer. Cold rooms can slow or prevent curing, while high heat can shorten your working time. Set the tabletop level before filling cracks or voids so the epoxy settles evenly.
Check the existing finish, too. Wax, silicone polish, grease, and oil can keep epoxy from bonding. If the table has been polished often, clean and sand back to solid wood around the defect rather than applying epoxy over a slick finished surface.
Step 1: Clean, Open, Tape, and Test the Repair Area
- Remove loose material. Use a pick, utility knife, small chisel, or stiff brush to remove splinters, crumbly wood, old filler, dust, and debris. Do not leave soft material inside the crack or gouge. Epoxy bonds best to clean, solid wood.
- Shape the defect for adhesion. If a crack is narrow at the surface but wider below, open the top slightly with a blade or small tool so epoxy can reach the full depth. For edge chips, trim ragged fibers until the repair has defined boundaries.
- Clean the surface. Vacuum the damaged area and surrounding tabletop. Wipe with a lint-free cloth. If the surface is oily or waxy, use a compatible cleaner and let the wood dry fully. Do not pour epoxy into a damp crack or onto a freshly solvent-wiped surface.
- Sand the bonding zone. Lightly sand the inside and edges of the repair. This removes finish contamination and gives the epoxy a better mechanical grip. Feather the surrounding finish only as much as needed; you will blend it later.
- Tape the underside and edges. If a crack goes through the tabletop, seal the underside with strong tape before pouring. Press the tape down firmly along the entire opening. For edge chips or corner repairs, build a temporary tape dam or use a small plastic-backed form.
- Check for leaks. Inspect the underside, end grain, seams, and corners. If you can see daylight through the crack, epoxy can escape. Add more tape or a temporary backing board covered with packing tape. Epoxy releases more easily from slick plastic tape than from bare wood.
- Plan the color. For a natural look, mix a small amount of fine sanding dust from the same tabletop into the epoxy, or use a compatible brown or amber pigment. For a decorative repair, black, metallic, or translucent pigment can look intentional. If appearance matters, test a tiny batch on scrap wood or the hidden underside.
Caution: do not skip cleaning because the table “looks clean.” Furniture polish, wax, kitchen grease, and hand oils are common reasons epoxy repairs peel out later.
Step 2: Mix, Fill, Cure, Level, and Refinish
- Read the epoxy instructions first. Confirm the mix ratio, working time, maximum pour depth, cure time, and temperature range. Some products use a 1:1 ratio; others require a different measurement by volume or weight. Guessing can leave the repair sticky, weak, or brittle.
- Mix a small batch. Measure Part A and Part B into a clean cup. Stir slowly but thoroughly, scraping the sides and bottom. For small tabletop repairs, mix less than you think you need; you can make another batch. Large batches can heat up quickly and shorten working time.
- Tint if needed. Add pigment, dye, or wood dust after the resin and hardener are combined, unless the product instructions say otherwise. Use a light hand. Too much powder or pigment can weaken the cure or make the epoxy too thick to flow into cracks.
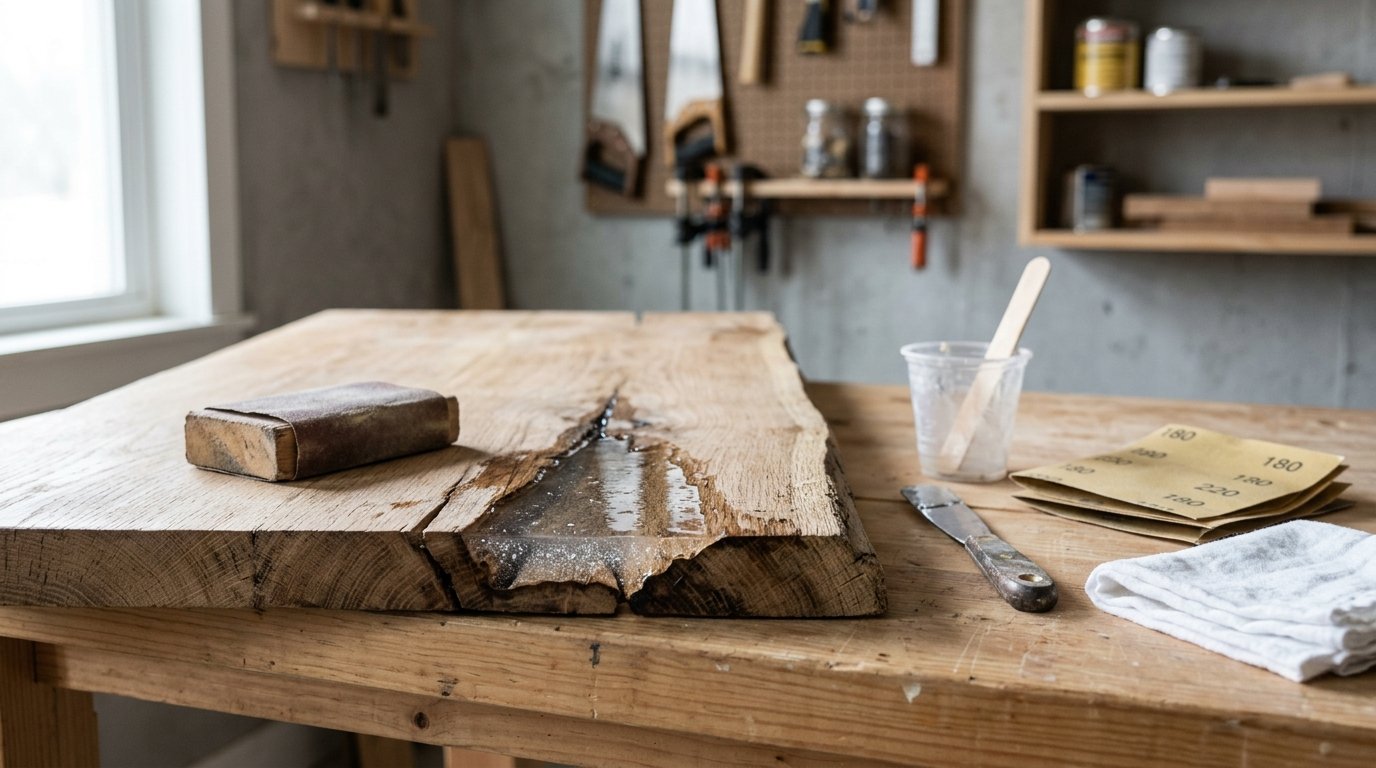
- Fill from the deepest point. Use a syringe, stick, or putty knife to push epoxy into the bottom of the crack, chip, or gouge. Work slowly so trapped air can rise. For narrow cracks, drag the tip of a stick along the opening to help epoxy flow down instead of bridging across the top.
- Slightly overfill shallow damage. For gouges, dents, and chips, leave the epoxy a little proud of the tabletop. It may settle as bubbles rise, and the extra material gives you room to scrape and sand flush later.
- Respect pour depth. If the void is deep, fill it in layers according to the product’s maximum pour depth. Let each layer partially or fully cure as directed before adding the next. Pouring too deep can create excess heat, bubbles, cracks, or cloudiness.
- Remove bubbles carefully. Pop surface bubbles with a toothpick or by gently passing warm air over the repair. If using a heat gun or torch, keep it moving and use minimal heat. Too much heat can scorch the wood, damage the surrounding finish, or make the epoxy ripple.
- Let it cure undisturbed. Cover the repair loosely with a dust shield, such as a cardboard box raised on small blocks. Keep the tabletop level. Do not sand, press, or refinish until the epoxy reaches the sanding or full-cure stage listed in the instructions.
- Level the repair. Remove tape after curing. Scrape excess epoxy with a sharp scraper, razor blade, or chisel held nearly flat. Then sand through the grits, starting only as coarse as necessary and moving to 120, 180, and 220. Sand with the grain when possible.
- Blend and protect the finish. Wipe away sanding dust. Apply a compatible finish, such as polyurethane, hard wax oil, lacquer, or the same finish already on the table. If you are unsure what finish is on the tabletop, test in a hidden spot first.
Caution: do not rush curing. Epoxy that feels firm on top may still be soft underneath, especially in deep fills or cool rooms. Sanding too early can smear the surface and ruin the repair.
How to Check the Result
A good epoxy tabletop repair should pass four checks: bond, level, appearance, and protection.
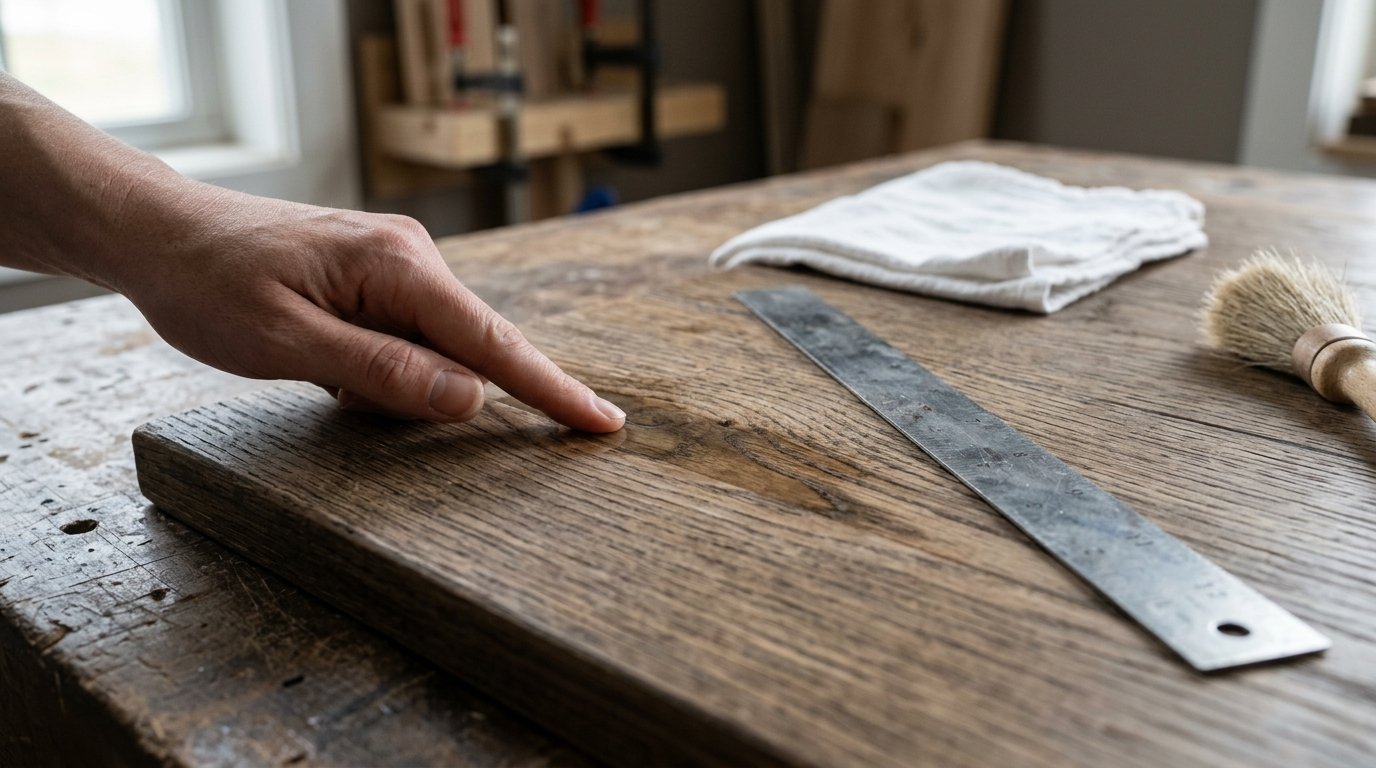
First, press around the repair with your fingertip. The epoxy should feel solid, not rubbery, tacky, or loose. If you can dent it with a fingernail after the stated cure time, the mix ratio may have been wrong, the room may have been too cold, or the batch may not have been mixed completely.
Second, run your hand across the repaired area. It should feel flush with the surrounding tabletop. A dip can catch crumbs and moisture, while a raised patch can snag sleeves, dishes, or cleaning cloths. If it is high, sand carefully. If it is low, clean the area and add another thin epoxy layer.
Third, inspect the repair in good light. You should not see gaps, lifted edges, trapped dust, or open pinholes. Small bubbles can often be filled with a thin skim coat. If the entire repair pulls away from the wood, remove it and start again after sanding back to clean wood.
Fourth, confirm the finish protects the epoxy and surrounding wood. Water should not soak into bare sanded areas. The sheen does not have to be perfect, but it should look intentional and feel smooth. For dining tables, desks, and coffee tables, let the finish cure before heavy use, heat exposure, or repeated cleaning.
The repair worked if the tabletop is stable, smooth, bonded, and sealed. It should withstand normal use, but avoid placing hot pans, harsh solvents, or standing water directly on the repaired area.
FAQ
What Is the First Step Someone Should Take with How to Repair Table Tops with Wood Epoxy?
Start by cleaning and inspecting the damaged area. Remove loose fibers, old filler, dust, wax, grease, and soft wood before mixing epoxy. If the tabletop is damp or contaminated with polish, the epoxy may not bond.
What Can Go Wrong When Following How to Repair Table Tops with Wood Epoxy Advice?
Common problems include sticky epoxy from an incorrect mix ratio, leaks through the underside of a crack, bubbles, poor adhesion, color mismatch, and sanding too early. Most failures come from rushing prep, guessing measurements, pouring too deep, or applying epoxy over dirty finished wood.
How Long Does It Usually Take to Work Through How to Repair Table Tops with Wood Epoxy?
Hands-on work often takes one to three hours for a small repair, including cleaning, taping, mixing, filling, and leveling. Cure time is separate and may take several hours to a few days depending on the epoxy, room temperature, pour depth, and finish schedule.
How Can a Beginner Tell Whether How to Repair Table Tops with Wood Epoxy Worked?
The repair worked if the epoxy is hard, smooth, flush, sealed, and firmly bonded to the wood. Run your hand over it, inspect for gaps or tackiness, and check that the finish covers any sanded wood. A good repair should not flex, lift, or crumble.