
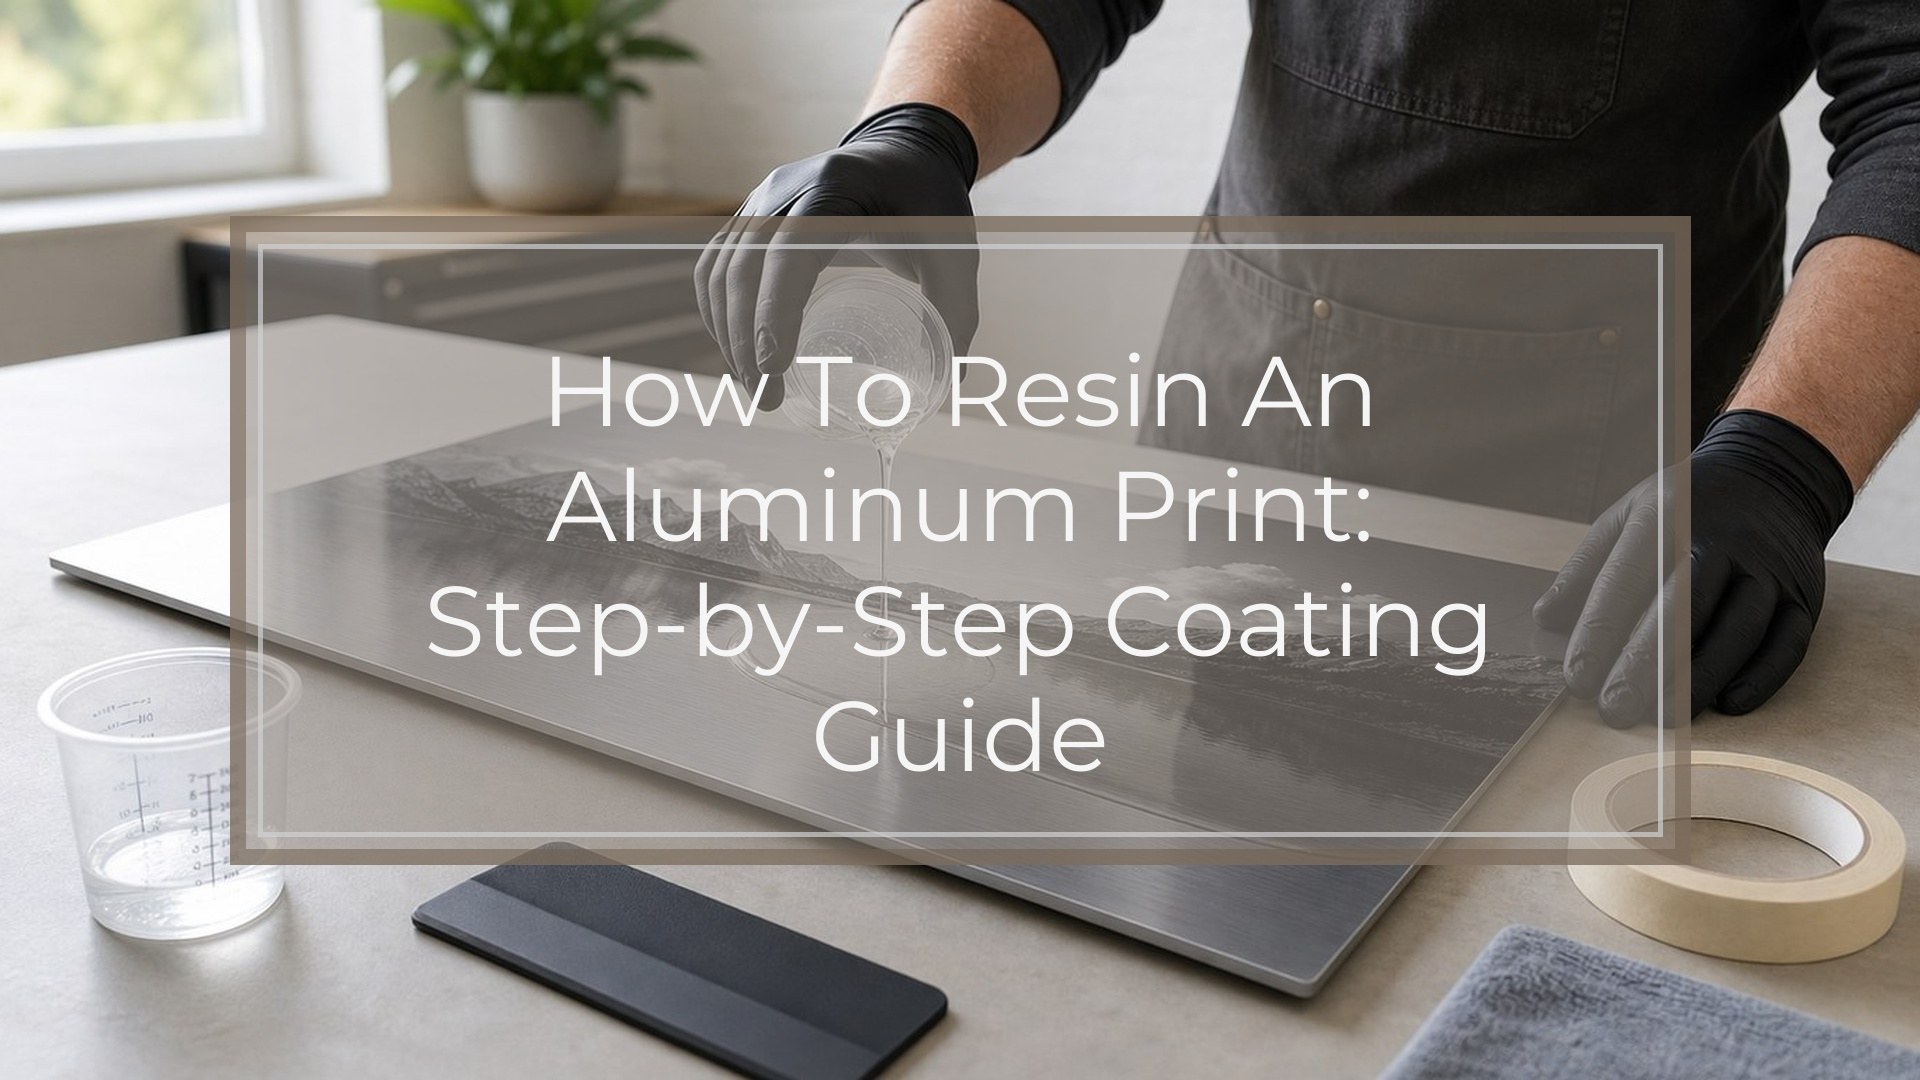
Yes, you can resin an aluminum print. The key is to treat the metal print as a slick, finished surface that needs careful cleaning, leveling, and protection before epoxy goes on. A clear art resin coat can add gloss, depth, and a glass-like finish, but it will also permanently change the surface.
The basic workflow is simple: clean the print, protect the back and edges, mix the resin exactly as directed, pour a thin even coat, remove bubbles, cover it while it cures, then trim or finish the edges. Most problems come from dust, fingerprints, silicone residue, uneven leveling, or mixing resin incorrectly.
Before You Start: Can You Put Resin on an Aluminum Print?
You can put resin on an aluminum print, but adhesion depends on the surface. Many aluminum photo prints have a smooth, glossy coating that resin may not grip as easily as wood, canvas, or paper.
That does not mean it will fail. It means prep matters. The print must be clean, dry, level, and free of oils. If the image is valuable, irreplaceable, or professionally commissioned, test the process on a small sample or less important print first.
Prerequisites: Workspace, Safety, and Surface Checks
Before opening resin bottles, set up the project completely.
Work in a dust-free, well-ventilated space at the temperature recommended by your resin brand. Most epoxy resins cure best in a warm, stable room. Cold rooms can cause thick resin, bubbles, and slow curing.
Wear nitrile gloves, protect your table with plastic sheeting, and keep pets, hair, lint, and dust away. Place the aluminum print on cups, blocks, or painter’s pyramids so resin can drip off the edges.
Use a level to check the panel in both directions. If the print is not level, resin will pool on one side and leave thin spots on the other.
Supplies Needed to Resin an Aluminum Print
Exact resin amounts depend on your panel size and the coverage rate listed by your resin manufacturer. Do not guess the mixing ratio. Use the ratio and minimum mixing time from the product directions.
| Supply | Why You Need It |
|---|---|
| Clear epoxy art resin | Creates the glossy protective coat |
| Nitrile gloves | Protects skin from uncured resin |
| Mixing cups and stir sticks | For accurate measuring and mixing |
| Painter’s tape | Protects the back and helps remove drips |
| Isopropyl alcohol and lint-free cloth | Cleans oils and residue |
| Level and risers | Keeps the print flat while resin cures |
| Plastic spreader or gloved hand | Helps move resin evenly |
| Torch, heat gun, or alcohol mist | Removes surface bubbles |
| Dust cover | Protects the curing surface |
Step 1: Clean the Aluminum Print
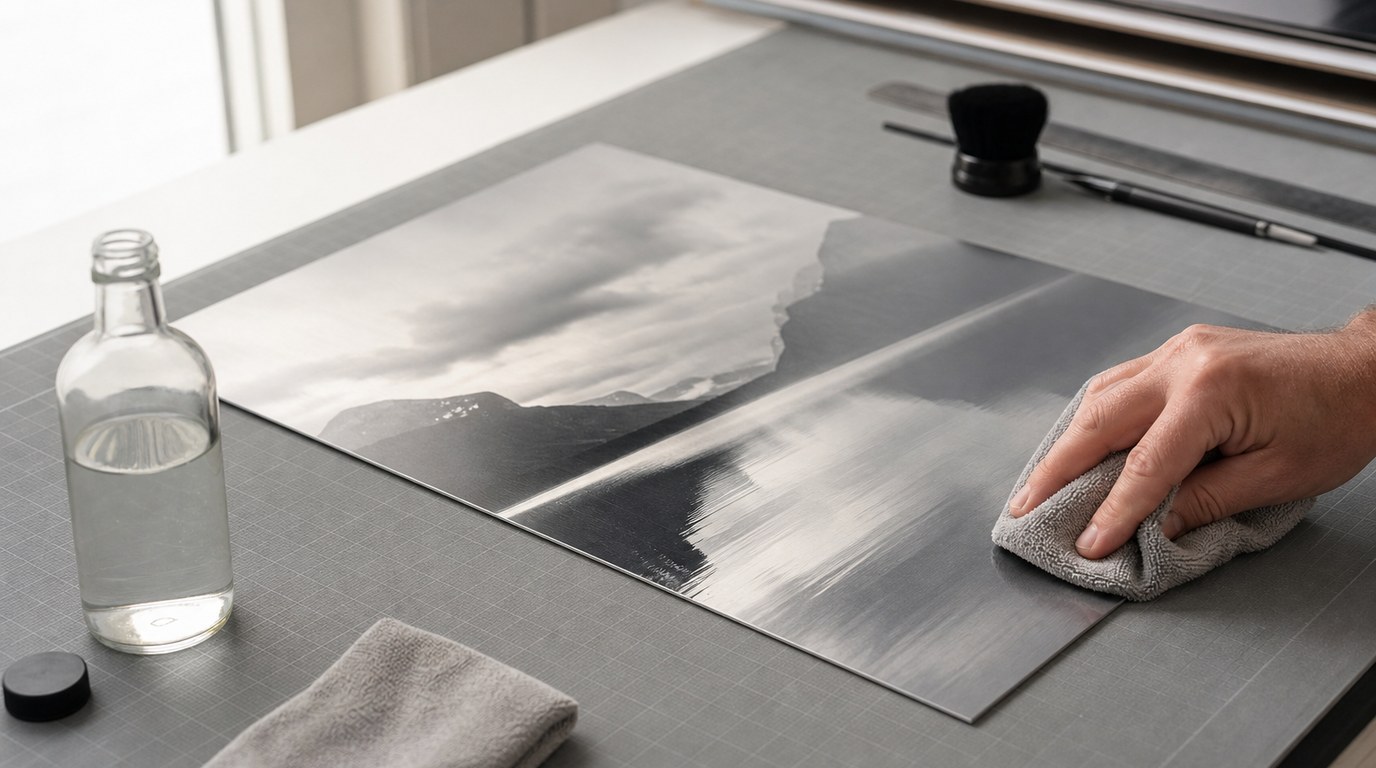
Clean the print thoroughly before applying resin. Fingerprints, dust, oils, adhesive residue, and silicone can cause fisheyes, bare spots, or poor adhesion.
Wipe the surface with a lint-free cloth slightly dampened with isopropyl alcohol. Do not soak the print, and do not scrub aggressively, especially if the printed surface seems delicate. Let the surface dry completely.
Look across the print at an angle under good light. If you see smears or dust, clean again. Once clean, avoid touching the front with bare hands.
Step 2: Tape and Protect the Back and Edges
Apply painter’s tape to the back of the aluminum print, placing it close to the edge. This catches resin drips and makes cleanup easier after curing.
If you want resin to flow over the sides, tape only the underside. If you want cleaner, less coated edges, tape along the side edges too, but expect to remove or trim tape carefully later.
Press the tape down firmly so resin does not seep underneath. Then place the print on risers and confirm it is still level before mixing.
Step 3: Mix the Resin Correctly
Measure your resin and hardener according to the manufacturer’s instructions. Some products use a 1:1 ratio, while others do not, so never assume.
Mix slowly and thoroughly, scraping the sides and bottom of the cup as you stir. Rushing this step can leave unmixed resin that stays sticky or soft. Avoid whipping the resin, which adds extra bubbles.
For best results, use clean cups and stir sticks. If your resin brand recommends a two-cup mixing method, mix in one cup, transfer to a second cup, then mix again.
Step 4: Pour and Spread a Thin Even Coat
Pour the mixed resin into the center of the aluminum print. Start with less than you think you need; you can add more while the resin is still workable.
Use a plastic spreader, foam brush, or gloved hand to move the resin toward the edges. Aim for a thin, even coat that covers the entire image. Do not scrape hard against the print. You are guiding the resin, not sanding the surface.
Let resin flow over the edges if you want a wrapped glossy look. Check the corners carefully because they are easy to miss.
Step 5: Remove Bubbles and Watch for Fisheyes
After spreading, pass a torch or heat gun quickly over the surface to pop bubbles. Keep it moving. Too much heat can scorch resin, damage the print, or create ripples.
Watch the surface for the first 10 to 20 minutes. If the resin pulls away from small circles or patches, those are fisheyes. They usually come from contamination or a surface that is too slick.
To fix them immediately, gently push resin back over the bare area with a gloved finger or stir stick. If it keeps separating, you may need to wipe off the wet resin and start over after better cleaning.
Step 6: Cover and Cure the Print
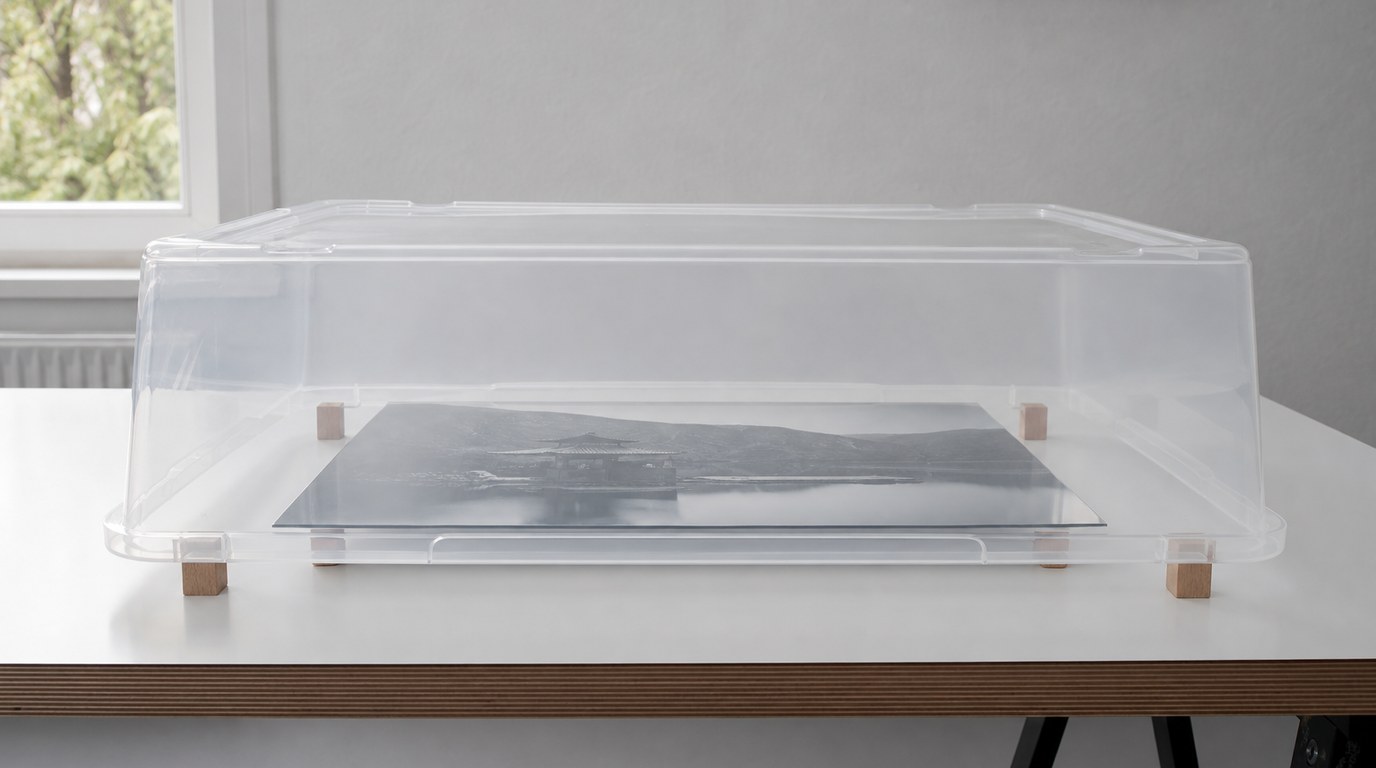
Once the surface looks even, cover the print with a clean box, plastic storage bin, or dust cover. Make sure the cover does not touch the resin.
Leave the print undisturbed for the full cure time listed by your resin brand. Avoid moving it while the resin is still liquid or tacky. Even a small tilt can cause uneven thickness.
Keep the room temperature stable during curing. Sudden cold can slow the cure, while excess heat can cause yellowing, ripples, or soft spots.
Step 7: Remove Tape and Finish the Edges
Check your resin directions for the best tape removal window. Many makers remove tape when resin is firm but not fully rock-hard, because drips are easier to peel away.
Pull the tape slowly from the back. If cured drips remain, trim them carefully with a craft knife or sand them lightly once fully cured. Wear a dust mask if sanding cured resin.
Inspect the edges for sharp spots. Smooth any rough areas before hanging or handling the print.
Result Check: How the Finished Resin Coat Should Look
A successful resin-coated aluminum print should have an even glossy surface with no dry patches, sticky areas, cloudy streaks, or visible fisheyes. The image should look clear and slightly deeper, not distorted by waves or thick puddles.
Run your eyes across the surface from several angles. The reflection should look smooth. The back should be clean enough for hanging hardware, and the edges should feel safe to handle.
Common Mistakes and Troubleshooting
Fisheyes: Usually caused by oil, silicone, dust, or insufficient surface prep. Clean more thoroughly next time and avoid household cleaners that leave residue.
Sticky resin: Often caused by inaccurate measuring or incomplete mixing. Unfortunately, sticky resin may need scraping or sanding before recoating.
Cloudy finish: Can come from moisture, cold temperatures, or overworking the resin.
Uneven coating: The panel was likely not level, or too little resin was used.
Dust in the finish: Cover the piece immediately after bubble removal. Small dust specks can sometimes be sanded and recoated after curing.
Bubbles along edges: Seal attention areas with extra resin and use gentle heat, but do not overheat metal or the print surface.
When You Should Not Resin an Aluminum Print
Do not resin an aluminum print if it is rare, sentimental, expensive, or impossible to replace and you have never tested the process. Resin is permanent and can change the color, sheen, and perceived contrast of the image.
Avoid coating damaged, peeling, oily, or flexible panels. Also skip resin if the print has a special anti-glare, textured, or museum finish you want to preserve. In those cases, framing or a protective clear display cover may be safer.
FAQ
Will Resin Stick to Aluminum?
Resin can stick to aluminum, but smooth coated aluminum prints are slick, so adhesion depends on cleaning and surface condition. Remove oils, dust, and residue before pouring. For the strongest bond, test on a sample or hidden area if possible.
Do I Need to Sand an Aluminum Print Before Resin?
Usually, you should not sand the image surface of an aluminum photo print because it can scratch or dull the artwork. Some bare aluminum surfaces benefit from light scuffing, but printed panels are different. Clean first, and only sand if the manufacturer or test piece supports it.
Can I Use Uv Resin on an Aluminum Print?
UV resin can work for small areas, but it is not ideal for coating a full aluminum print. Large, even coats are harder to cure consistently with UV resin. A clear two-part epoxy art resin is usually better for a smooth full-panel finish.
How Much Resin Do I Need for an Aluminum Print?
Use your resin brand’s coverage chart based on the print’s length and width. A thin flood coat usually needs less resin than a deep pour, but you still need enough to self-level. Mix slightly more than the minimum so you are not short mid-pour.
Can I Add Another Resin Coat If the First Coat Has Flaws?
Yes, you can add another coat after the first coat cures, but prep the surface first. Remove dust, trim drips, and lightly sand cured resin if your product requires it. Wipe away sanding dust completely before pouring the next thin coat.