
You can upgrade kitchen countertops with epoxy by cleaning the existing surface, repairing damage, sanding for adhesion, masking the work area, applying a primer or base coat, then pouring a properly mixed epoxy flood coat. The key is preparation: epoxy will only look smooth and cure correctly if the countertop is clean, dull, level, and protected from dust while it hardens.
Plan for at least two to three days of limited kitchen use, plus the full cure time recommended by your epoxy brand. Work in a ventilated space, follow the product’s mix ratio exactly, and do a final result check before putting appliances, hot pans, or heavy use back on the surface.
Before You Start: Is Epoxy Right for Your Countertops?
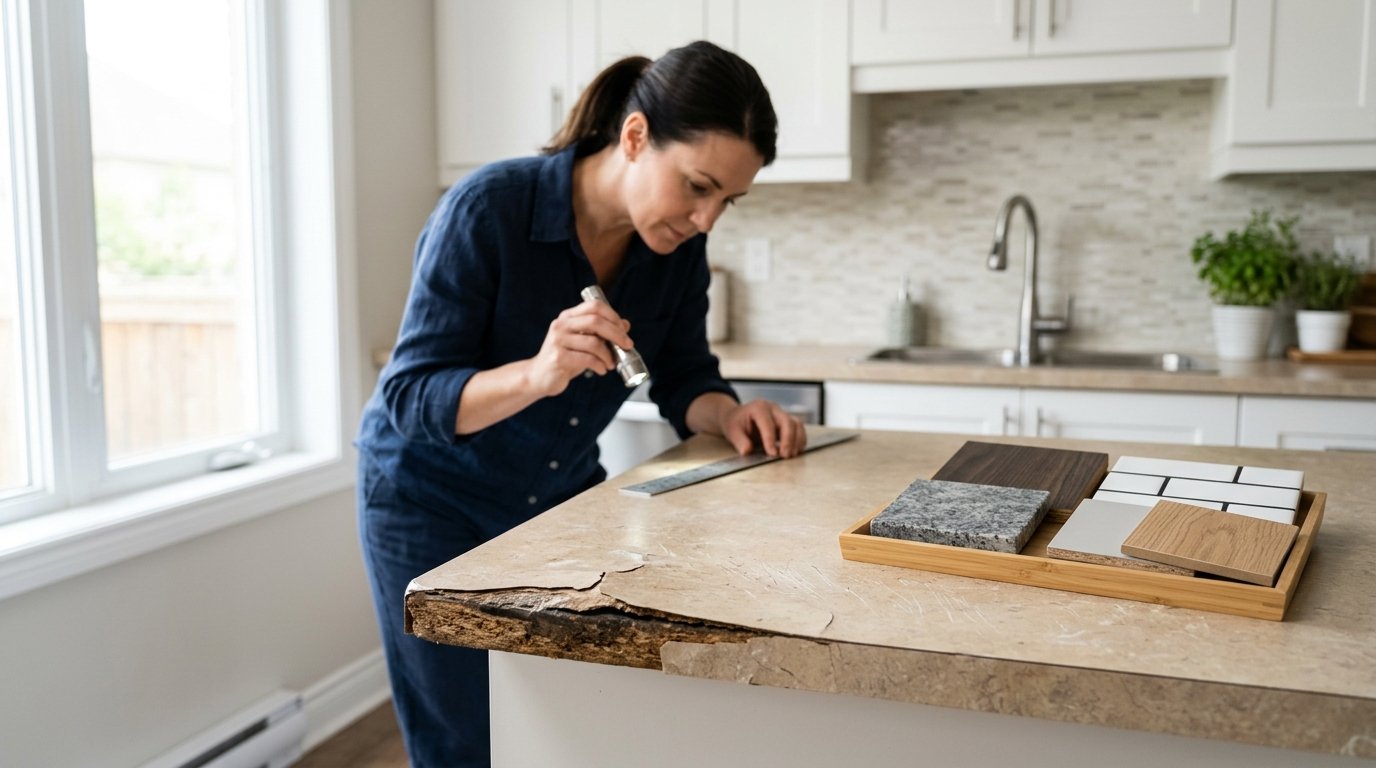
Epoxy is a good DIY upgrade for laminate, tile, wood, concrete, and some worn solid-surface countertops if the base is stable. It can create a glossy stone-like, marble, solid-color, or translucent finish without removing the existing counters.
It is not a structural repair. If your countertop is swollen from water damage, loose, severely uneven, or crumbling, fix or replace the base first. Epoxy also requires patience: once mixed, it has a limited working time, and mistakes are easier to prevent than correct.
Prerequisites: Time, Workspace, Safety, and Conditions
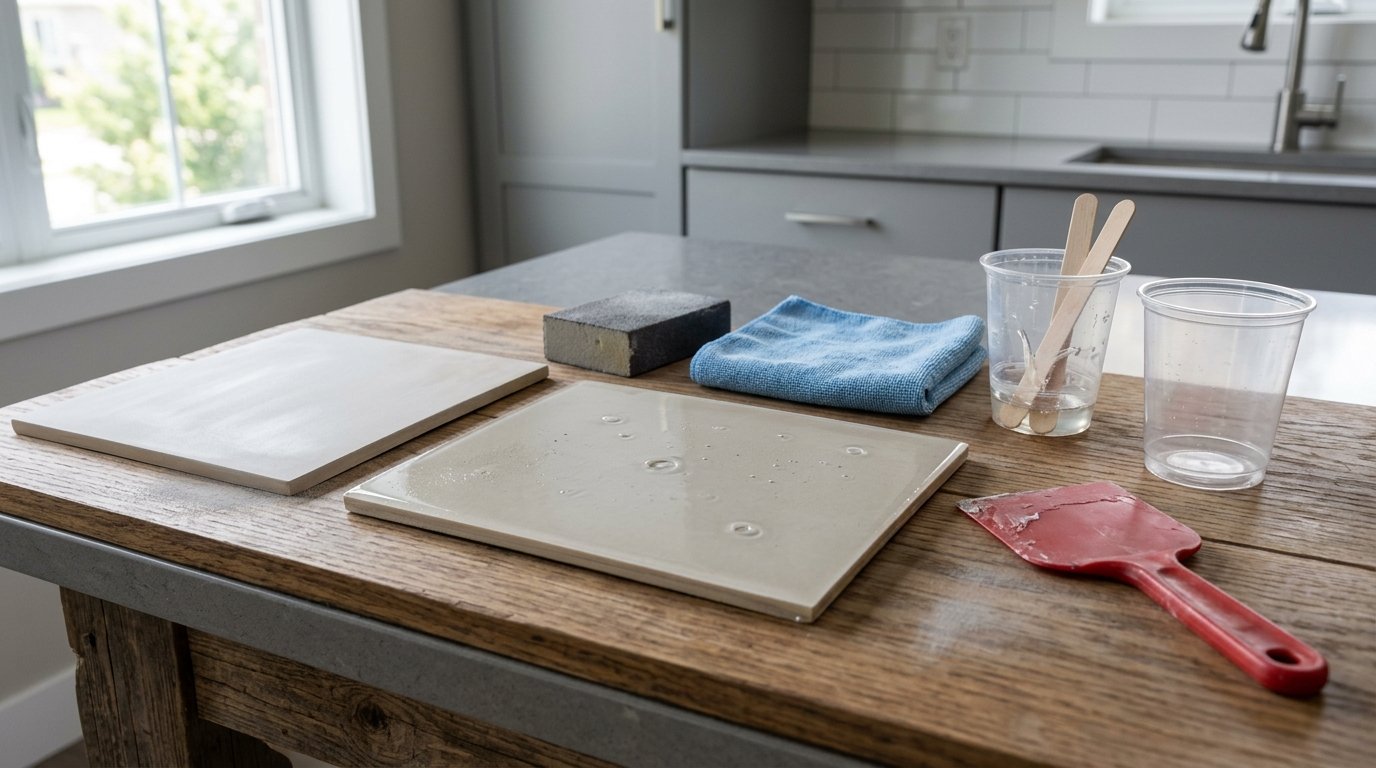
Before opening the epoxy, gather everything: epoxy kit, primer or base coat, mixing buckets, stir sticks, gloves, eye protection, respirator if recommended, plastic sheeting, painter’s tape, sanding pads, degreaser, filler, caulk, spreader, roller, and a heat gun or torch.
Work when the room temperature and humidity match the product instructions. Too cold, too hot, or too humid can affect curing. Keep kids, pets, dust, and airflow from fans away from the surface. Make sure you can avoid using the counter, sink edge, and nearby appliances during the cure period.
Step 1: Clean and Degrease the Countertops Thoroughly
Remove everything from the counter. Wash the surface with a strong degreasing cleaner, especially around the stove, sink, coffee station, and prep areas where oils collect. Rinse away cleaner residue and dry completely.
Do not skip this step even if the counter looks clean. Grease, wax, silicone polish, and food residue can cause fish eyes, separation, or peeling. If water beads on the surface, clean again before sanding.
Step 2: Repair Damage, Fill Seams, and Remove Old Caulk
Scrape away loose caulk where the counter meets the backsplash, sink, or wall. Fill chips, gaps, grout lines, deep scratches, and seams with an appropriate filler. Let repairs dry or cure fully, then sand them flush.
For tile countertops, fill grout lines if you want a smooth surface rather than a tile pattern showing through. Tighten loose trim or edges now. Epoxy will highlight bumps and dips, not hide them.
Step 3: Sand the Surface so the Epoxy Can Bond
Sand the countertop to dull the finish and create mechanical grip. Use the grit recommended by your epoxy or primer system; many projects use a medium grit such as 80 to 220 depending on the surface and coating plan.
Your goal is not to remove the whole countertop finish. You want an evenly scuffed, non-glossy surface. Vacuum the dust, then wipe with a lint-free cloth and a compatible cleaner. Let it dry fully before masking.
Step 4: Tape, Mask, and Protect Everything Nearby
Epoxy is self-leveling and messy, so protect more than you think you need to. Tape cabinet fronts, walls, sink edges, appliances, floors, and backsplash areas. Use plastic sheeting or contractor paper below overhangs and along the floor.
Create clean drip edges if your project includes coating the counter sides. Press tape firmly so epoxy cannot creep underneath. Keep extra gloves, towels, and a trash bag nearby because you will not want to search for supplies after pouring.
Step 5: Prime or Base Coat the Countertop
Apply the primer or base coat required by your epoxy system. This layer improves adhesion, blocks old colors or patterns, and sets the background for decorative effects. For marble looks, many DIYers use a white, gray, black, or neutral base.
Let the primer dry according to the instructions. Do not pour epoxy over tacky or undercured primer unless the system specifically calls for it. If the base coat dries with dust nibs or roller marks, lightly sand and clean before moving on.
Step 6: Mix the Epoxy Exactly as Directed
Read the epoxy instructions before mixing. Measure resin and hardener at the correct ratio, using separate marked containers if needed. Mix slowly but thoroughly, scraping the sides and bottom of the bucket.
Many failures come from under-mixing or guessing the ratio. Soft spots, sticky patches, cloudy areas, or uncured sections usually mean the chemistry was off. If the product recommends transferring to a second clean bucket and mixing again, do it. Once mixed, the working clock starts.
Step 7: Pour and Spread the Epoxy Flood Coat
Pour the epoxy in ribbons across the countertop instead of dumping it in one thick puddle. Spread it with a notched spreader, squeegee, or foam roller recommended by the kit. Work from the back toward the front edge.
Coat the surface evenly and guide epoxy over edges if desired. Avoid overworking it; epoxy needs to level. If you are adding color veins, metallic powders, or accent lines, apply them during the working window and blend lightly before the material begins to thicken.
Step 8: Remove Bubbles and Fine-tune the Surface
After spreading, inspect the surface at a low angle. Use a heat gun or small torch only as directed, moving constantly and keeping it above the surface. The goal is to pop bubbles, not scorch the epoxy.
Pick out lint, hairs, or dust with a clean toothpick or tweezers while the epoxy is still fluid. Watch edges and corners for dry spots or heavy drips. Do final adjustments early; touching epoxy too late can leave marks.
Step 9: Let the Epoxy Cure Without Disturbance
Once the surface looks even, stop touching it. Cover or tent the area if your setup allows airflow-free dust protection without touching the epoxy. Keep the room within the recommended temperature range.
Do not set anything on the countertop during the initial cure. Avoid water, cooking, cleaning sprays, and heavy objects until the product reaches its stated handling and full-cure times. Some epoxies feel hard before they are ready for real kitchen use.
Result Check: How to Know Your Epoxy Countertop Upgrade Worked
Your epoxy countertop upgrade worked if the surface is hard, smooth, glossy or evenly satin if topcoated, and free from sticky patches. Edges should be coated without major bare spots, and the epoxy should not peel when lightly tested in an inconspicuous area.
Look across the counter in natural light. Small dust specks are common, but large waves, uncured areas, craters, or separation indicate a problem. Confirm the cure time before reinstalling items or using the sink heavily.
Common Mistakes and Troubleshooting
The most common mistake is poor preparation. If epoxy separates into craters or fish eyes, the surface may have had grease, silicone, or cleaner residue. Let it cure, sand the area, clean thoroughly, and apply a corrective coat if the product allows.
Sticky epoxy usually means wrong ratios, incomplete mixing, or cold conditions. Do not cover sticky areas with more epoxy until you know the cause. Scrape, sand, or remove uncured material according to the manufacturer’s guidance.
Bubbles often come from aggressive mixing, porous surfaces, or overheating with a torch. Mix slowly, seal porous areas, and use heat sparingly. Uneven edges and drips can usually be sanded after curing, then polished or recoated.
Care Tips After Upgrading Countertops with Epoxy
Treat epoxy countertops as durable but not indestructible. Use cutting boards instead of cutting directly on the surface. Use trivets under hot pans, slow cookers, air fryers, and coffee makers. Heat can discolor or soften some epoxy finishes.
Clean with mild soap and water or a non-abrasive cleaner. Avoid harsh scouring pads, bleach-heavy cleaners, and solvents unless the epoxy brand says they are safe. Wipe spills promptly, especially acidic or deeply colored liquids.
FAQ
What Is the First Step Someone Should Take with How to Upgrade Your Kitchen Countertops with Epoxy?
The first step is to empty, clean, and degrease the countertops thoroughly. Adhesion depends on removing oil, wax, silicone, food residue, and cleaner buildup. After cleaning, inspect the surface for damage so you can repair chips, seams, or loose areas before sanding.
What Can Go Wrong When Following How to Upgrade Your Kitchen Countertops with Epoxy Advice?
Common problems include sticky epoxy, bubbles, fish eyes, peeling, dust in the finish, and uneven edges. Most come from poor cleaning, inaccurate measuring, under-mixing, wrong room conditions, or touching the epoxy too late in the working window.
How Long Does It Usually Take to Work Through How to Upgrade Your Kitchen Countertops with Epoxy?
The hands-on work often takes one full day for prep and pouring, but the whole project usually takes two to several days because primer, repairs, and epoxy need curing time. Full cure can take longer, depending on the specific product.
How Can a Beginner Tell Whether How to Upgrade Your Kitchen Countertops with Epoxy Worked?
A beginner can tell it worked when the countertop is fully hard, evenly coated, not sticky, and bonded to the surface without peeling or bare spots. The finish should look level from normal viewing distance, and it should pass the cure time listed by the manufacturer.