Epoxy resin is a two-part liquid system made of resin and hardener that cures into a solid, glossy plastic-like finish when mixed in the right ratio. For crafters, it is popular because it can seal surfaces, create clear layers, hold embedded objects, and form molds, jewelry, coasters, trays, and art pieces. To know more about epoxy resin, focus on three basics: it must be measured accurately, mixed thoroughly, and allowed to cure under the right conditions. Once you understand that simple workflow, the rest—choosing the right type, working safely, and avoiding common mistakes—becomes much easier.
Quick Answer
If you want the fastest explanation, epoxy resin is a crafting material that starts as two separate liquids and hardens into a durable finished piece after mixing. That hardening process is called curing.
For beginners, the main takeaway is this: epoxy resin is less about artistic difficulty and more about process control. Good results usually come from following the product instructions exactly rather than improvising.
In crafts, epoxy resin is commonly used for:
- coating artwork, wood, or photos
- casting items in molds
- making jewelry, keychains, coasters, and trays
- preserving glitter, dried flowers, pigments, or small decorative items
Most beginner confusion comes from thinking all resin is the same. It is not. A thin topcoat resin for a glossy tabletop finish behaves differently from a deeper-pour casting resin for molds. That is why understanding type, mix ratio, and cure time matters before you buy.
So if your goal is to know more about epoxy resin in a practical way, start with this simple rule: match the resin to the project, measure carefully, mix completely, and protect yourself while working.
How to Think About This Topic
A useful mental model is to think of epoxy resin as a timed liquid craft system. You are not just pouring a liquid; you are starting a chemical reaction that changes the material from workable to permanent.
That mental model helps with nearly every beginner decision.
1. Epoxy Resin Has a Working Window
After you mix resin and hardener, you have a limited amount of time before the mixture thickens. This is often called working time or pot life. During that window, you can pour, color, spread, or embed items. After that, the resin becomes harder to manipulate and may trap bubbles or cure unevenly.
For example, if you are making a coaster with glitter and pressed flowers, you need enough open time to place everything neatly. If you are coating a small painting, you may need a thinner self-leveling formula that spreads smoothly before curing.
2. Different Resins Are Designed for Different Depths
This is one of the most important beginner concepts.
- Coating resin is usually made for thin layers on flat surfaces.
- Casting resin is usually made for molds or deeper pours.
A coating resin may overheat if poured too thick. A casting resin may cure more slowly but handle depth better. So “best resin” depends on what you are making, not just brand popularity.
3. Accuracy Matters More Than Force
Epoxy resin rewards precision. If you eyeball measurements, rush mixing, or ignore room temperature, the result may stay soft, sticky, cloudy, or full of bubbles.
That is why crafters often say resin projects are part art and part procedure. Your creativity shows in color choices and design, but your success depends on consistency:
- correct mix ratio
- complete mixing
- clean containers and tools
- stable curing conditions
4. Heat Affects Behavior
Resin is sensitive to temperature. Warmer conditions usually make it thinner and help bubbles rise, but too much heat can speed curing too fast. Cooler conditions can make resin thicker, harder to mix, and slower to cure.
This matters for beginners because many “bad resin” experiences are really environment problems. A cold craft room can cause more trouble than a modestly priced resin brand.
If your intent is to learn epoxy resin for crafting, keep coming back to this mental model: epoxy resin is a project-specific liquid that reacts over time. Choose the right formula, control the process, and you will understand why it behaves the way it does.
Practical Guidance
Once you understand the basics, the next step is choosing and using epoxy resin in a way that fits your project.
Choose the Right Resin for the Job
Here is a simple selection guide:
- Use coating resin for art panels, tumblers, countertops, sealed photos, and glossy top layers.
- Use casting resin for silicone molds, river-style pieces, thicker embeds, and projects with deeper pours.
- Use UV resin only for small, quick-curing craft pieces if the product and project allow it. It works differently from two-part epoxy and is not the same beginner workflow.
If you are unsure, read the label for:
- recommended pour depth
- mix ratio by volume or weight
- cure time
- heat resistance
- food-contact claims, if relevant
- yellowing resistance for clear projects
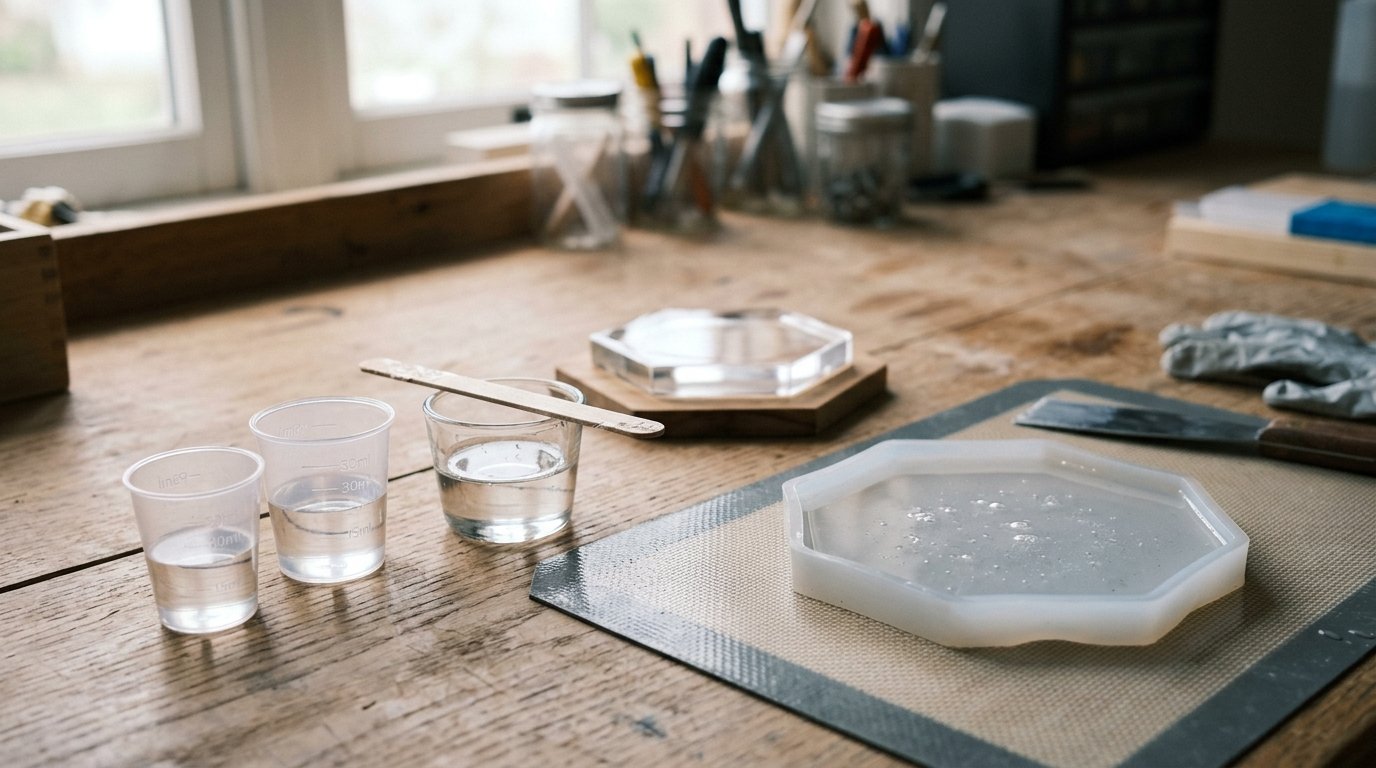
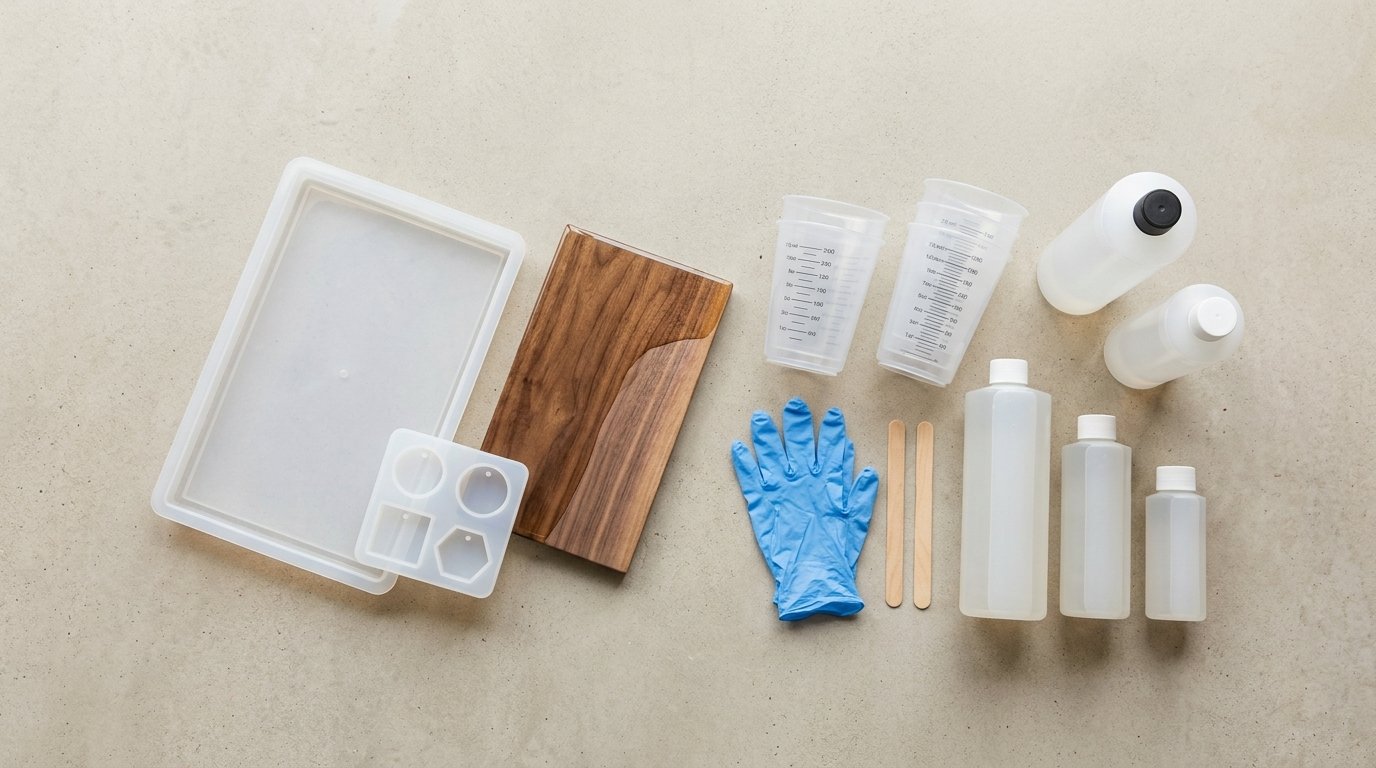
Set up a Beginner-friendly Workspace
You do not need a professional studio, but you do need a controlled setup.
Use:
- gloves
- a level work surface
- silicone mat or protective covering
- measuring cups
- mixing sticks
- a dust cover, such as a box or tote
- good ventilation
A practical beginner setup is a small table in a ventilated room with all decorations prepared before mixing. That avoids panic once the curing clock starts.
Follow a Simple Workflow
- Read the product instructions fully. Ratios vary.
- Measure accurately. Some brands use 1:1, others do not.
- Mix slowly and thoroughly. Scrape sides and bottom.
- Transfer and remix if the brand recommends it. This can reduce unmixed material.
- Add color or inclusions carefully. Too much additive can affect curing.
- Pour according to depth limits.
- Remove bubbles if appropriate. A heat gun or warm breath is sometimes used, but only within product guidance.
- Cover and let cure undisturbed.
Know Common Beginner Problems
Sticky or soft resin:
Usually caused by wrong ratio, incomplete mixing, or low temperature.
Lots of bubbles:
Often caused by fast mixing, thick resin, porous inclusions, or a cold room.
Cloudy finish:
Can come from moisture, trapped air, or unsuitable pigments.
Overheating or cracking:
Often caused by pouring too deep for the formula.
Use Smart Beginner Project Choices
Start with projects that teach control without needing a large resin volume. Good first projects include:
- simple coasters
- bookmarks
- jewelry pendants
- shallow tray inserts
- small art panels
These let you practice measuring, tinting, bubble control, and curing without the cost or risk of a large pour.
Keep Safety Practical
Epoxy resin is beginner-friendly when used correctly, but “safe” does not mean careless. Avoid skin contact, work in ventilation, and do not mix or cure resin near food prep areas. Sanding cured resin can create dust, so use a mask and cleanup method suited to fine particles.
Most crafters do well with a simple rule: protect your lungs, protect your skin, and follow the label exactly.
FAQ
Is Epoxy Resin Safe for Beginners to Use?
Yes, if beginners use it carefully. Wear gloves, work in a well-ventilated area, avoid skin contact, and follow the product instructions. The biggest mistakes are casual handling and poor ventilation, not the material itself when used properly for small craft projects.
What Is the Difference Between Casting Resin and Coating Resin?
Casting resin is made for deeper pours and usually cures more slowly to manage heat. Coating resin is made for thinner surface layers and often self-levels into a glossy finish. Using the wrong one can cause overheating, poor curing, or surface problems.
Why Is My Epoxy Resin Still Sticky After Curing?
Sticky resin is usually caused by an incorrect mix ratio, incomplete mixing, or curing in a room that is too cold. Sometimes the surface alone is tacky from humidity or contamination. Check the label, room temperature, and whether you measured by weight or volume correctly.
How Long Does Epoxy Resin Take to Cure?
It depends on the brand and formula. Many epoxies become touch-dry within 12 to 24 hours but need 48 to 72 hours or more for a fuller cure. Deep-pour casting resins may take longer. Always use the product’s stated working and curing times.
What Can You Put Inside Epoxy Resin?
Common inclusions include glitter, mica powder, dried flowers, beads, sequins, small charms, and pigment powders. Items should be dry, clean, and suitable for embedding. Avoid anything with trapped moisture unless sealed first, because moisture can cause cloudiness, bubbles, or curing issues.