Measuring epoxy correctly means using the resin-to-hardener ratio printed on your product label, measuring both parts accurately, and mixing them without adding extra resin or hardener later. Some epoxies are measured by volume, such as 1:1 or 2:1 in measuring cups. Others are measured by weight using a digital scale. Do not switch between volume and weight unless the manufacturer gives both ratios.
For the best cure, decide your total batch size first, measure on a level surface, scrape containers clean when combining, and mix thoroughly. If epoxy cures sticky, soft, rubbery, or unusually hot, the cause is often an incorrect ratio, poor mixing, or making a batch too large.
Before You Start: Check the Epoxy Ratio
Every epoxy resin system has its own required ratio. Do not assume all resin is measured 1:1. Craft resin may be 1 part resin to 1 part hardener by volume, while deep-pour, casting, coating, or industrial epoxies may use 2:1, 3:1, or another ratio.
Read the label or technical instructions before opening the bottles. Look for whether the ratio is by volume or by weight. This matters because resin and hardener can have different densities, so a 1:1 volume ratio is not always a 1:1 weight ratio.
Also check the working time, minimum mixing amount, maximum pour depth, and recommended temperature. Accurate measuring helps, but epoxy still needs the right conditions to cure properly.
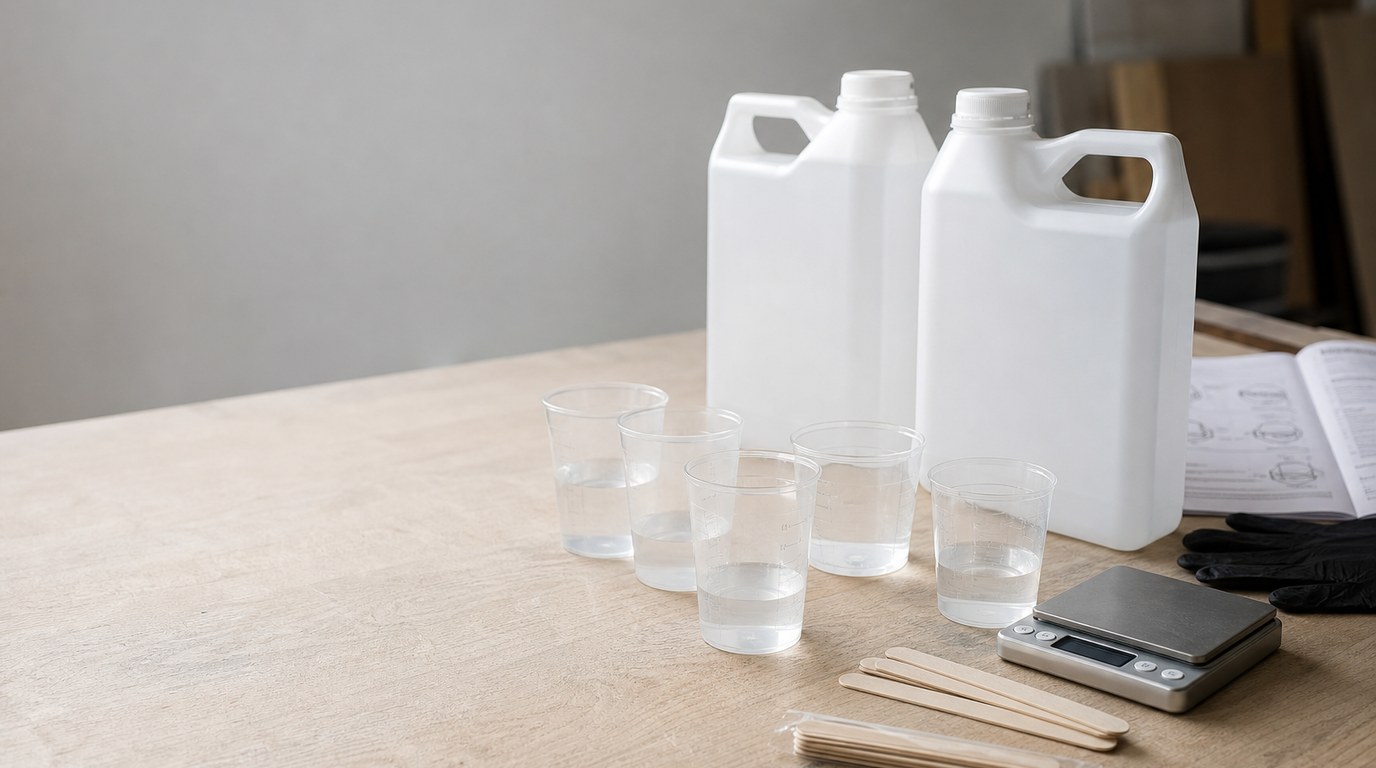
Supplies You Need for Measuring Epoxy
Gather everything before you pour either part. You need:
- Epoxy resin and its matching hardener
- Graduated mixing cups for volume measuring, or a digital scale for weight measuring
- Clean mixing cups
- Stir sticks or silicone mixing tools
- Nitrile gloves
- Paper towels or shop towels
- A level work surface
- Good lighting
- A timer, if your epoxy has a short working time
Use clean, dry tools. Moisture, dust, leftover resin, or oily residue can interfere with the cure or make your measurements unreliable. If using disposable cups, choose cups with clear measurement marks and enough room for mixing without spilling.
Step 1: Decide How Much Mixed Epoxy You Need
Before measuring epoxy resin and hardener, decide how much mixed epoxy your project needs. This prevents guessing halfway through and accidentally changing the ratio.
For molds, estimate the mold volume by filling it with water, then pouring that water into a measuring cup. Dry the mold completely before using resin. For coating projects, calculate the surface area and check your epoxy’s coverage guide.
If you need 100 ml of mixed 1:1 epoxy, measure 50 ml resin and 50 ml hardener. For 2:1 epoxy, a 90 ml batch would be 60 ml resin and 30 ml hardener.
Step 2: Set up a Level Measuring Area
Place your cups on a flat, level surface before measuring. A tilted table can make the markings on a cup look correct when the actual amount is wrong.
Work at eye level when reading volume marks. Do not hold the cup in your hand while measuring, because the cup can tilt or flex. Good lighting helps you see clear liquids and measurement lines.
If measuring by weight, set the scale on a stable surface away from vibration, drafts, or leaning cords. Make sure the scale reads zero before adding each part.
Step 3a: Measure Epoxy by Volume
Use this method only when your epoxy instructions give a volume ratio.
- Put on gloves and place a clean graduated cup on your level work surface.
- Pour the resin part slowly to the correct measurement line.
- Check the cup at eye level. The liquid should sit evenly at the mark.
- In a separate cup, measure the hardener to the amount required by the ratio, or pour it into the same cup if the cup has enough headspace and your instructions allow it.
- Pour carefully. Do not “round up” hardener to make the resin cure faster.
- Scrape each measuring cup when transferring into the mixing cup so you do not leave a meaningful amount behind.
For a 1:1 volume epoxy, equal-looking parts are only accurate if the cup markings are reliable and the surface is level. For small batches, use cups with fine measurement increments, because tiny ratio errors matter more.
Step 3b: Measure Epoxy by Weight
Use this method when your epoxy provides a weight ratio, or when the manufacturer lists both volume and weight instructions. Do not invent a weight ratio from a volume ratio.
- Place an empty mixing cup on the digital scale.
- Press tare or zero so the cup weight is not included.
- Add the resin slowly until you reach the required weight.
- Press tare again if your instructions make the next calculation easier.
- Add the hardener according to the product’s weight ratio.
- Stop pouring before the target and add the last few grams slowly to avoid overshooting.
For example, if your epoxy uses a 100:45 ratio by weight and you pour 100 g of resin, you need 45 g of hardener. If you pour 80 g of resin, multiply 80 by 0.45, which means you need 36 g of hardener.
A scale is especially useful for repeat batches, but it must be accurate enough for the batch size you are making.
Step 4: Combine and Mix Without Changing the Ratio
Once both parts are measured, combine them fully. Scrape the sides and bottom of the measuring container as you pour so the measured amount actually reaches the mixing cup.
Mix slowly but thoroughly. Fast whipping can add bubbles, while lazy stirring can leave unmixed resin or hardener stuck to the sides. Scrape the cup walls and bottom repeatedly as you stir. Many craft epoxies need several minutes of mixing, but follow your product directions.
Do not add extra hardener, alcohol ink, pigment, glitter, or fillers in amounts that overwhelm the mixture. Colorants should usually be a small percentage of the batch. Too much additive can affect curing even when the resin ratio was measured correctly.
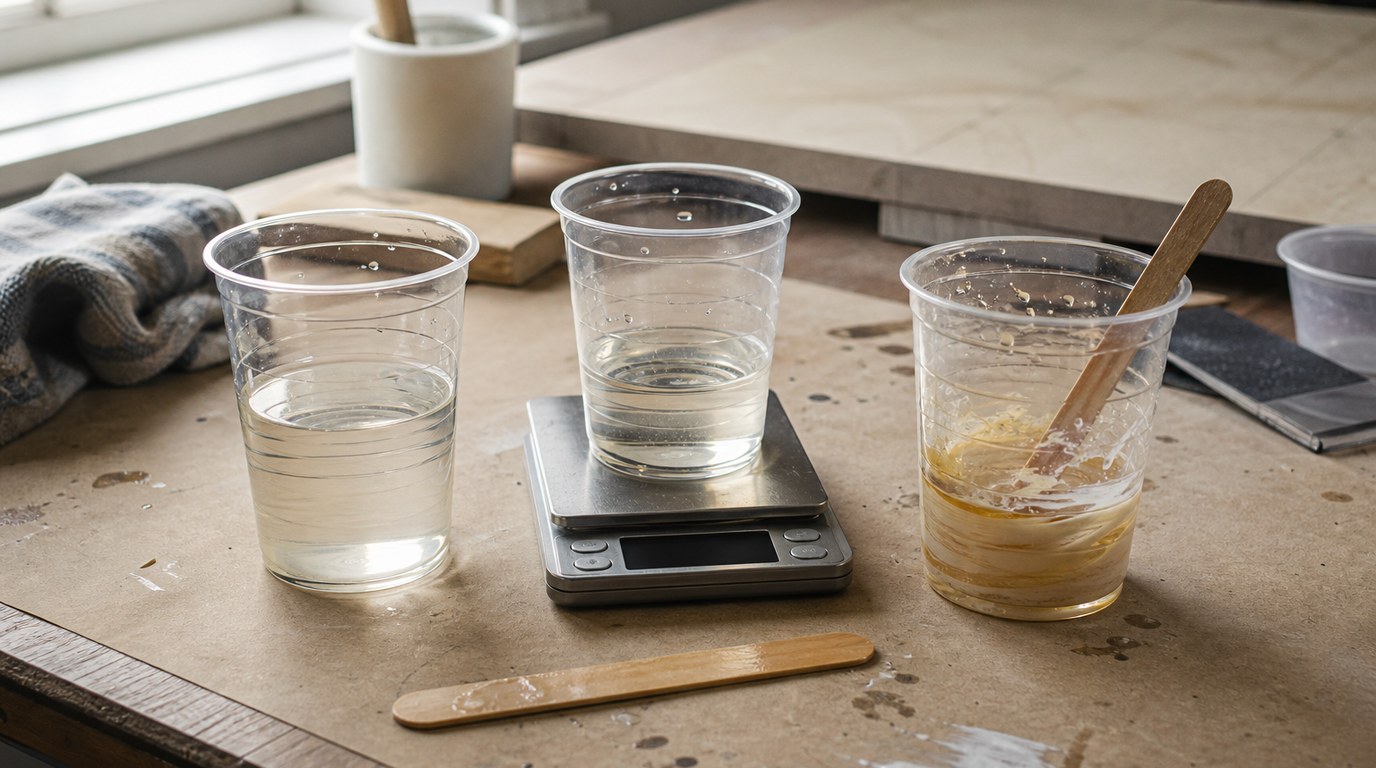
Step 5: Check the Mixture Before You Pour
Before pouring, inspect the mixed epoxy. It should look uniform, with no oily streaks, cloudy ribbons, or thick material clinging unmixed to the sides of the cup.
Scrape the bottom and stir again if you see trails. Some makers use a two-cup method: mix in one cup, transfer to a second clean cup, then mix again. This reduces the chance of pouring unmixed resin from the first cup’s corners.
Also check the clock. If the epoxy is already heating, smoking, thickening quickly, or becoming stringy, the batch may be too large or past its working time.
Common Measuring Mistakes That Keep Epoxy from Curing
The most common mistake is using the wrong ratio. A 2:1 epoxy will not cure properly if measured like a 1:1 epoxy. Always verify the instructions for that exact product.
Another mistake is confusing weight and volume. Equal milliliters and equal grams are not interchangeable unless the manufacturer says so.
Inaccurate cups can also cause problems. Some disposable cups have markings that are close, not precise. For small jewelry or mold batches, use small graduated cups or a scale recommended by the epoxy maker.
Do not add extra hardener to speed curing. Epoxy cures through a chemical reaction that needs the correct balance. More hardener can make the result sticky, brittle, soft, cloudy, or overheated.
Temperature matters too. Cold resin is thicker and harder to measure and mix. Very warm resin may cure too fast. Work within the product’s recommended range.
Finally, avoid scraping unmixed material from the sides of the cup directly into your mold after mixing. If it was not incorporated, it may cure sticky.
Troubleshooting: What Went Wrong with My Measured Epoxy?
If the cured epoxy is sticky all over, the ratio may have been wrong, the batch may have been under-mixed, or the room may have been too cold. If only a few spots are sticky, unmixed resin or hardener probably stuck to the cup or mold.
If the epoxy stayed soft or bendy longer than expected, check whether you measured by the correct method and allowed enough cure time. If the cup became extremely hot, smoked, cracked, or cured too fast, the batch may have been too large for that epoxy’s working time or pour depth.
When troubleshooting, write down the ratio, batch size, temperature, mixing time, and additives used. This makes the next batch easier to correct.
FAQ
Do You Measure Epoxy Resin by Weight or Volume?
Measure epoxy the way the manufacturer tells you to. Many craft resins use volume ratios, such as 1:1, while other epoxies provide weight ratios. Do not convert volume to weight unless the product instructions give the correct conversion.
What Happens If I Add Too Much Hardener to Epoxy?
Adding too much hardener usually does not make epoxy cure faster in a useful way. It can leave the resin sticky, soft, brittle, cloudy, or overheated. Epoxy needs the correct chemical balance, so extra hardener often causes curing problems instead of solving them.
Can I Use a Kitchen Measuring Cup for Epoxy?
It is better to use dedicated resin measuring cups. Kitchen cups are often too large for small resin batches and may not be precise enough. Never return resin tools to food use, even if they look clean afterward.
How Do I Measure a 1:1 Epoxy Ratio?
For a 1:1 epoxy ratio by volume, measure equal volumes of resin and hardener, such as 50 ml resin and 50 ml hardener. For a 1:1 ratio by weight, measure equal weights only if the instructions specify weight.
Can I Fix Epoxy That Was Measured Wrong?
Usually, epoxy measured with the wrong ratio cannot be truly fixed after it cures incorrectly. You may need to scrape off sticky resin, sand cured soft spots, or remove the failed layer. Then re-measure a fresh batch correctly and apply it over a clean surface.