
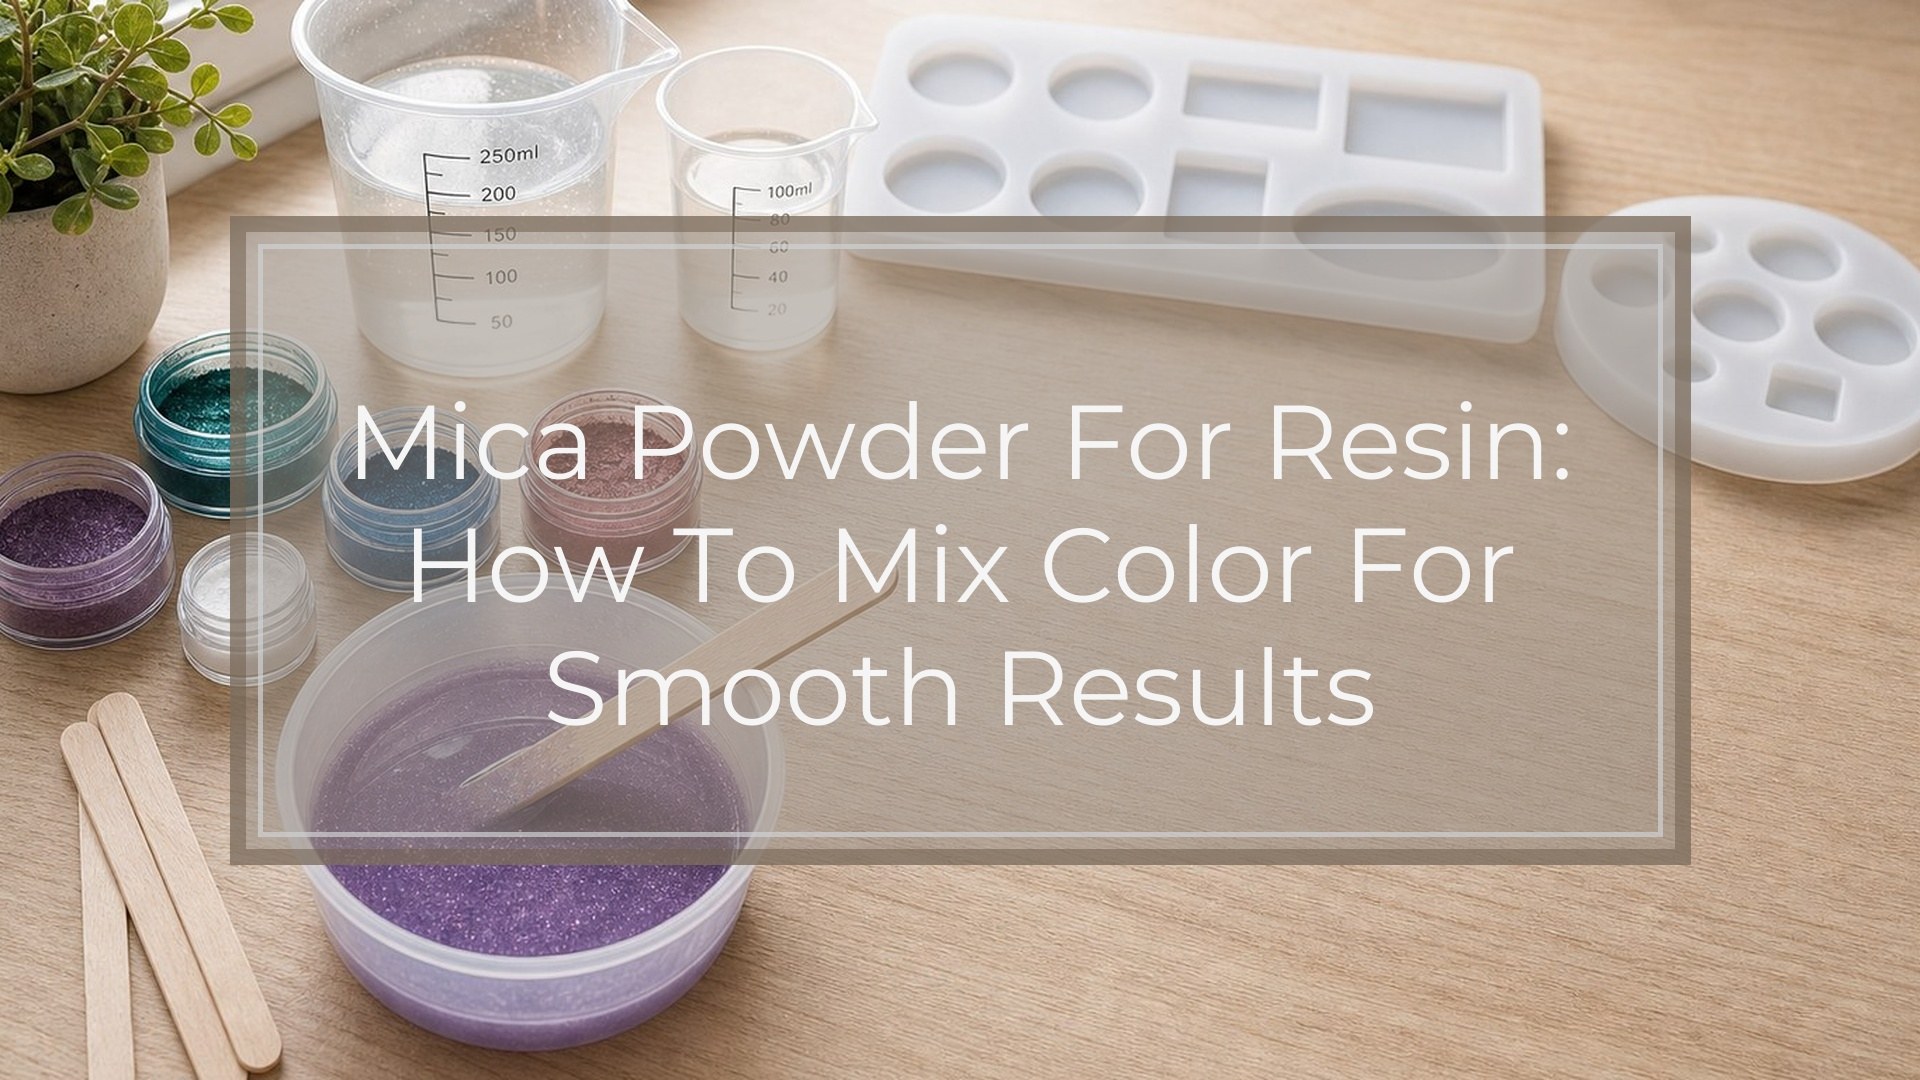
Mica powder for resin is used by mixing a small amount of powder into already-measured epoxy resin, stirring until the color is smooth, testing the shade, then pouring and curing as usual. Start with about 1/8 teaspoon of mica powder per ounce of mixed resin, then add more only if needed. Too much powder can make resin thick, cloudy, soft, or difficult to cure.
For best results, mix your resin and hardener fully first, add mica gradually, scrape the cup sides while stirring, and test the color on a small amount before pouring into your final mold or surface. After pouring, remove bubbles carefully and let the resin cure according to the brand’s instructions.
What Mica Powder Does in Resin
Mica powder adds color, shimmer, pearl effects, and metallic-looking movement to epoxy resin. Unlike liquid dye, mica is a fine powder made of tiny reflective particles, so it can create depth and sparkle rather than a flat transparent tint.
In resin, mica works best when you want opaque, pearlescent, smoky, marbled, or metallic effects. It does not usually create a clear stained-glass look. The more mica you add, the more solid and less transparent the resin becomes.
Supplies You Need Before You Start
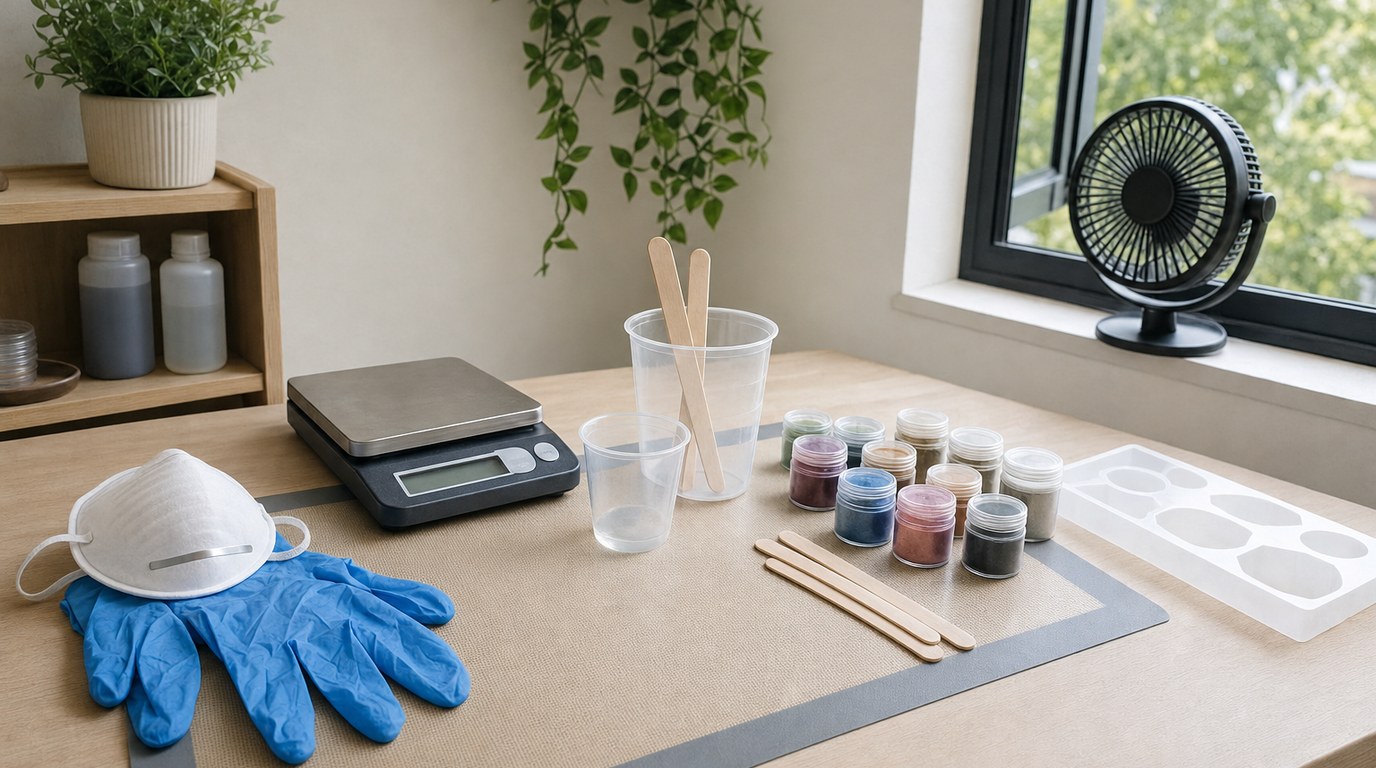
Before mixing mica powder for resin, set up everything within reach. You need:
- Epoxy resin and hardener
- Mica powder
- Mixing cups
- Stir sticks
- Measuring tools
- Gloves
- A silicone mold, coaster mold, tray, jewelry blank, or art surface
- Toothpicks or small spatulas for detail work
- Paper towels and a protected work surface
- A heat gun, torch, or alcohol spray if your resin brand allows it
Work in a ventilated area and follow your resin’s safety directions. Wear gloves, avoid breathing powder dust, and do not use kitchen tools again for food.
Choose the Right Mica Powder Effect
Choose the mica effect before you mix because different powders behave differently in resin. Pearl mica gives a soft glow. Metallic mica creates gold, bronze, copper, or silver effects. Interference mica shifts color depending on the viewing angle. Chameleon mica gives a stronger color shift, often over a dark base.
For beginner projects, choose a medium-strength pearl or metallic mica. Very pale mica can disappear in deep pours, while very dark mica may hide embedded items or fine details. If you are unsure, test a small batch before committing to a full project.
Step 1: Measure and Mix the Resin First
Measure your resin and hardener exactly according to the manufacturer’s ratio. Do not adjust the resin ratio to make room for mica powder. If your resin requires equal parts by volume, measure equal parts. If it requires weight measurements, use a scale.
Pour the resin and hardener into a clean mixing cup. Stir slowly, scraping the sides and bottom of the cup, until the mixture looks consistent. Many resin problems blamed on mica actually come from poorly mixed resin. Only add mica after the resin and hardener are fully combined.
Step 2: Add a Small Amount of Mica Powder
Start small. A good beginner ratio is about 1/8 teaspoon of mica powder per 1 ounce of mixed resin. For a stronger color, increase gradually up to about 1/4 teaspoon per ounce, testing as you go.
Avoid dumping in a large scoop at once. Too much mica can make the resin thick, gritty, muddy, or less likely to cure properly. If you want a very opaque color, build up slowly instead of exceeding what the resin can hold. Different brands vary, so small test batches matter.
Step 3: Stir Until the Color Is Even
Sprinkle the mica powder over the resin surface, then fold it in slowly. Stir with steady, gentle movements rather than whipping the mixture. Fast stirring traps bubbles, and bubbles are more visible in shimmery resin.
Scrape the sides and bottom of the cup as you mix. Look for dry streaks, powder clumps, or unmixed resin. The color should look smooth from every angle. If mica sticks to the cup wall, press it against the side with your stir stick until it disperses.
Step 4: Test the Color Before You Pour
Before pouring into the final project, lift your stir stick and let a thin ribbon of resin drip back into the cup. Check the color in both a thick pool and a thin layer. Mica often looks darker in the cup than it does when spread out.
If the color is too pale, add a tiny pinch more mica and stir again. If it is too strong, mix in a little more properly combined clear resin. Do not add unmixed resin or hardener separately.
Step 5: Pour the Colored Resin
Pour slowly into the lowest part of your mold or project area. Let the resin flow instead of forcing it into place. This helps reduce trapped air and gives mica particles time to settle into smooth patterns.
For molds with small corners, use a toothpick to guide resin into tight spaces. For flat art surfaces, spread the resin with a gloved finger or silicone tool. Do not overwork the pour once it starts to level, or the mica effect can become muddy.
Step 6: Create Swirls, Cells, or Layered Effects
To create swirls, mix two or more mica colors in separate cups, then pour them next to each other and drag a toothpick through the boundary. For a smoky effect, add a small ribbon of white mica into a darker base.
For layered effects, pour one color, let it partially set if your resin instructions allow, then add another layer. Avoid aggressive stirring in the mold. Gentle movement preserves contrast; too much mixing turns multiple colors into one blended shade.
Step 7: Remove Bubbles and Let the Resin Cure
After pouring, let the resin sit briefly so bubbles can rise. Use the bubble-removal method recommended for your resin brand. A quick pass with a heat gun or torch may work for many epoxies, but too much heat can scorch resin, damage molds, or push mica into unwanted waves.
Cover the project to keep dust out. Let it cure on a level surface for the full time listed by the resin manufacturer. Do not demold early; mica-colored resin can look finished before it has reached full hardness.
How to Check Whether the Result Is Right
Check the cured piece in good light. The color should look even unless you intentionally made swirls or layers. The surface should feel hard, smooth, and dry, not tacky or bendy beyond what your resin type normally allows.
Look closely for powder clumps, dull patches, bubbles, or areas where mica sank unevenly. Tilt the piece to see whether the shimmer catches light. If the color looks weak but the cure is solid, use more mica next time. If it feels soft, review resin ratio and pigment load.
Common Mistakes and How to Fix Them
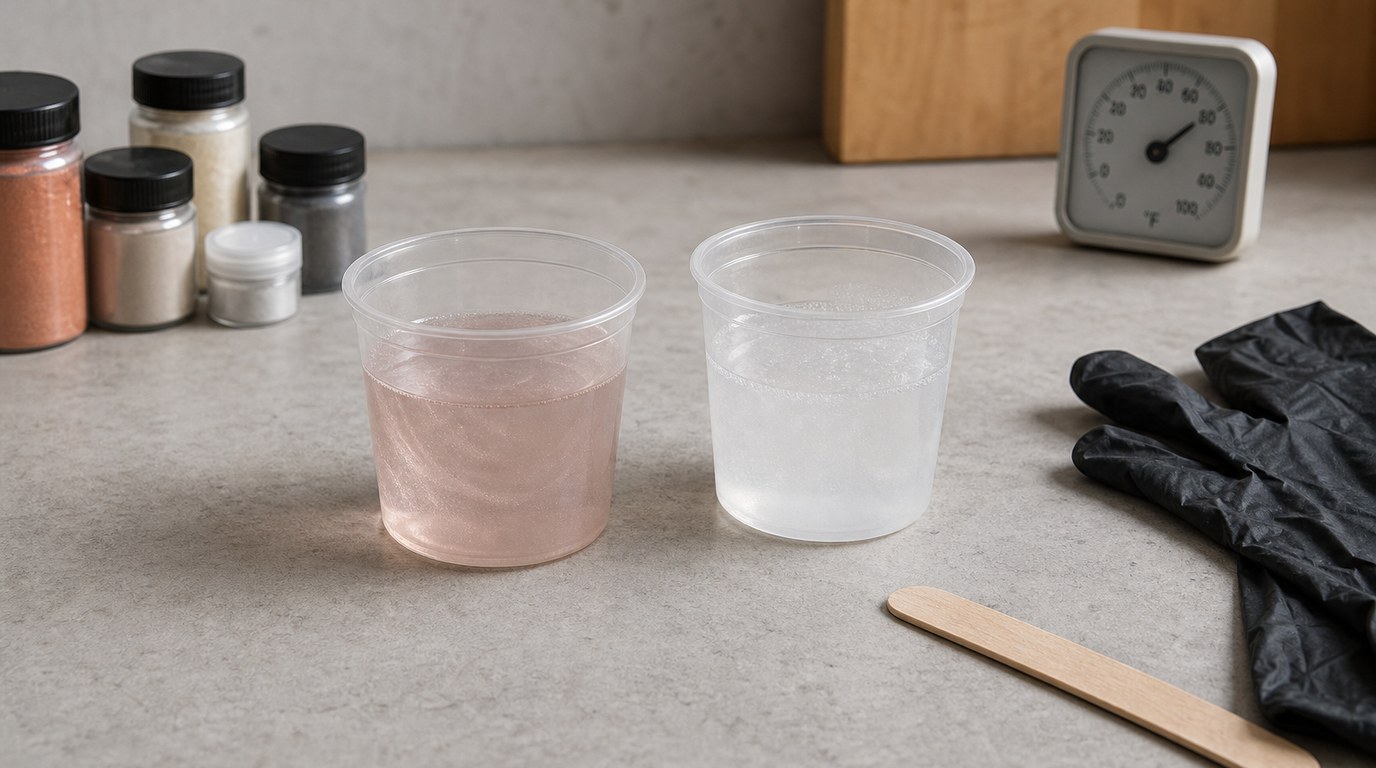
The most common mistake is adding mica before the resin and hardener are fully mixed. Fix this in future batches by mixing resin first, then coloring it.
If the resin cures soft or rubbery, possible causes include wrong resin ratio, incomplete mixing, too much mica, or low curing temperature. You usually cannot fully fix an undercured piece; remake it with careful measurements.
If mica clumps appear, crush the powder against the cup wall while stirring or sift the powder before use. If the color looks muddy, you may have mixed too many colors together. Limit beginner pours to two or three colors.
If bubbles are trapped, stir more slowly, warm the resin only if the brand allows it, and pour in thinner layers. If shimmer disappears, try a stronger mica or a darker backing color.
Best Projects for Mica Powder in Resin
Mica powder works especially well in resin coasters, trays, jewelry, keychains, bookmarks, geodes, river tables, ocean art, and decorative panels. It is ideal when the shimmer is part of the design.
For pieces that need crystal clarity, such as embedding photos, flowers, or tiny objects, use mica carefully or only in the background. Mica can hide details when added heavily. For functional surfaces, test durability and cure before making a full set.
FAQ
What Is the First Step Someone Should Take with Mica Powder for Resin?
The first step is to measure and mix the resin and hardener correctly according to the resin brand’s instructions. Once the resin is fully combined, add a small amount of mica powder. Do not change the resin ratio to include the powder.
What Can Go Wrong When Following Mica Powder for Resin Advice?
Common problems include adding too much mica, stirring too fast, using the wrong resin ratio, or pouring before the powder is fully mixed. These can cause bubbles, clumps, dull color, soft curing, or muddy-looking swirls.
How Long Does It Usually Take to Work Through Mica Powder for Resin?
The active mixing and pouring time is usually short, often around 15 to 30 minutes for a small beginner project. The full timeline depends on your resin’s working time and cure time, so always follow the manufacturer’s label.
How Can a Beginner Tell Whether Mica Powder for Resin Worked?
A successful piece should cure hard and dry, show an even color or intentional swirl pattern, and have visible shimmer when tilted in light. If it is sticky, rubbery, clumpy, or dull in patches, adjust the ratio, mixing, or powder amount next time.