
Paint markers are a simple way to add lettering, outlines, metallic accents, borders, and small illustrations to cured resin art. The key is to use the right marker, work on fully cured resin, clean the surface well, let the paint dry completely, and seal it with a compatible clear coat. For resin projects, oil-based and acrylic paint markers usually work best because they leave actual paint on the surface instead of transparent ink. Always test first, because marker formulas, resin brands, and sealers can react differently. A quick test on scrap resin can prevent smearing, beading, dull metallics, or poor adhesion on your final piece.
Before You Start: What You Need
Gather everything before opening the marker so you can work cleanly and avoid touching the resin surface repeatedly.
You will need:
- A fully cured resin piece, such as a coaster, tray, charm, pendant, bookmark, or panel
- Paint markers, preferably oil-based or acrylic
- Isopropyl alcohol and a lint-free cloth for cleaning
- Optional fine-grit sandpaper or micro-mesh if the surface is too slick
- Nitrile gloves to prevent fingerprints and skin oils
- A scrap cured resin piece or hidden area for testing
- A clear sealing option, such as a thin resin topcoat, spray sealant, or brush-on clear coat compatible with the marker
Work in a dust-free area with good light. If you plan to seal with resin or spray, also follow the safety directions for those products, including ventilation and protective gear.
Step 1: Choose the Right Paint Marker
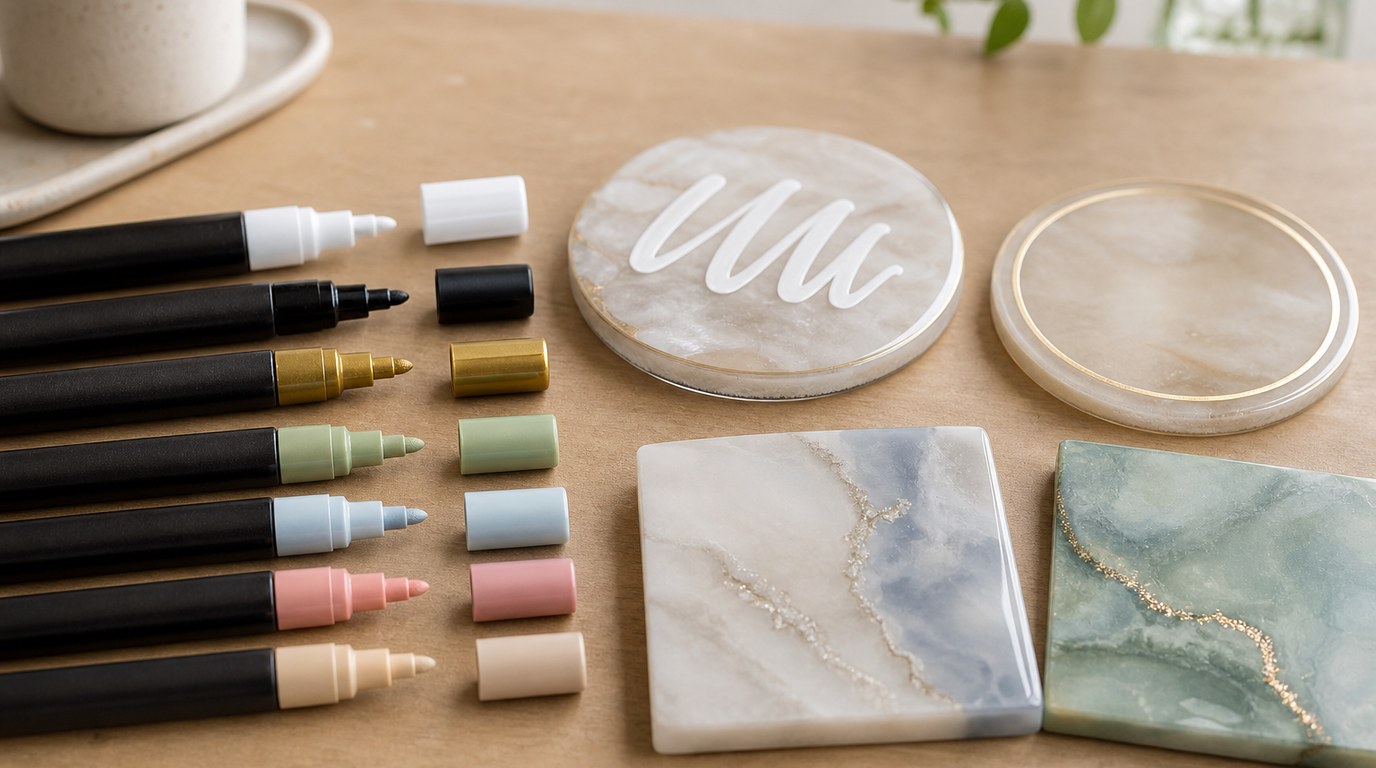
Use oil-based paint markers when you want strong opaque lettering, bright white details, black outlines, or metallic lines. They usually cover well on glossy resin and are useful for coaster edges, geode veining, names, and borders.
Use acrylic paint markers for colorful details, doodles, small illustrations, and general decorative work. They are often easier to clean up before they dry and may have less odor than oil-based markers.
Do not assume every permanent marker is a paint marker. Permanent ink markers can look transparent, stain unevenly, or react poorly under resin. Also, marker brand formulas behave differently, so test the exact marker and sealer combination before using it on an important piece.
Step 2: Let the Resin Cure Completely
Do not draw on resin just because it has been demolded. Follow the resin brand’s full cure time, not only the demold time listed on the bottle. A resin piece can feel firm enough to remove from the mold but still be soft, flexible, or chemically active.
A ready surface should feel hard, dry, and non-tacky. If your fingernail can dent it easily, or if it feels rubbery, wait longer. Paint marker applied too early may smear, sink in, resist drying, or fail to bond well.
Step 3: Clean the Resin Surface
Clean resin helps the paint marker grip. Wipe away dust, fingerprints, mold release residue, sanding dust, and oils. Put a small amount of isopropyl alcohol on a lint-free cloth and wipe only the area where you plan to draw. Do not soak the piece.
Let the surface dry completely before using the marker. Alcohol trapped under paint can cause beading or poor adhesion.
If the resin is extremely slick and glossy, lightly scuff only the area where the marker will go. Use fine-grit sandpaper or micro-mesh, then wipe away the dust. Do not scuff areas you want to remain perfectly glossy.
Step 4: Prime and Test the Marker
Shake the paint marker according to the label. Most paint markers need enough mixing time for the pigment and binder to combine properly.
Press the nib on scrap paper until the paint flows evenly. Do not start directly on your resin piece, because the first press can release a blob.
Next, test on scrap cured resin or the back edge of the project. Check opacity, line thickness, drying time, and whether the marker beads up. If the line separates or crawls away from the surface, clean again, try a different marker, or lightly scuff a small test area.
Step 5: Draw Your Design on the Resin
Plan the design before touching the marker to resin. For lettering, sketch your spacing on paper first, or use a removable guide placed under a transparent resin piece. For borders and geode lines, decide where the thick and thin areas will be before you start.
Begin with light pressure, then use slightly firmer pressure only if the paint flow weakens. Slow, steady strokes create cleaner lines than quick sketchy marks. If the marker starts skipping, pause and re-prime it on scrap paper.
Let one color dry before layering another color nearby or on top. Wet colors can drag into each other, especially metallics and whites.
For lettering, rest the side of your hand on a clean support to reduce shaking, not directly on the area you cleaned. For coaster edges, borders, or geode lines, rotate the resin piece as you draw instead of twisting your wrist.
Step 6: Let the Paint Marker Dry Fully
Dry time depends on marker type, paint thickness, humidity, and room temperature. Acrylic paint markers may dry faster, while oil-based markers often need more time.
Do not judge only by touch. A surface can feel dry but still smear when resin, spray sealant, or brush-on clear coat hits it. Thick marker lines, dots, and filled areas need extra drying time.
When in doubt, wait longer, especially before pouring resin over the design. For important pieces, let the marker dry overnight and test the same timing on scrap.
Step 7: Seal the Paint Marker Design
Sealing protects the paint marker from scratches, moisture, and wear. It also helps lock the design in place if the item will be handled often.
Option 1: Seal with a thin clear resin layer. This gives a glossy embedded look and works well for coasters, trays, pendants, and panels. Pour gently and avoid aggressively spreading resin directly over marker lines. Let the resin flow over the design, then guide it lightly near the edges.
Option 2: Use a compatible spray clear coat. This is useful when you do not want a full resin topcoat. Apply light mist coats instead of one heavy coat. Heavy spray can wet the marker too much and cause bleeding, dulling, or cloudiness.
Option 3: Use a brush-on clear coat. This can work for small items, but test first for streaking. Brushing directly over marker lines can drag uncured or sensitive paint.
Let each sealing layer dry or cure according to the product directions before handling.
Step 8: Check the Finished Result
Inspect the piece in good light after the sealer or resin topcoat has dried or cured. The marker lines should look crisp, dry, and protected under the clear layer.
Look closely for smearing, feathering, fisheyes, cloudiness, bubbles, or lifted paint. These signs usually mean the marker was not dry enough, the surface was contaminated, or the clear coat was incompatible or applied too heavily.
Finally, confirm the clear coat cured hard and smooth. If it feels soft, tacky, or easy to scratch, allow more curing time before using or gifting the piece.
Troubleshooting Paint Markers on Resin
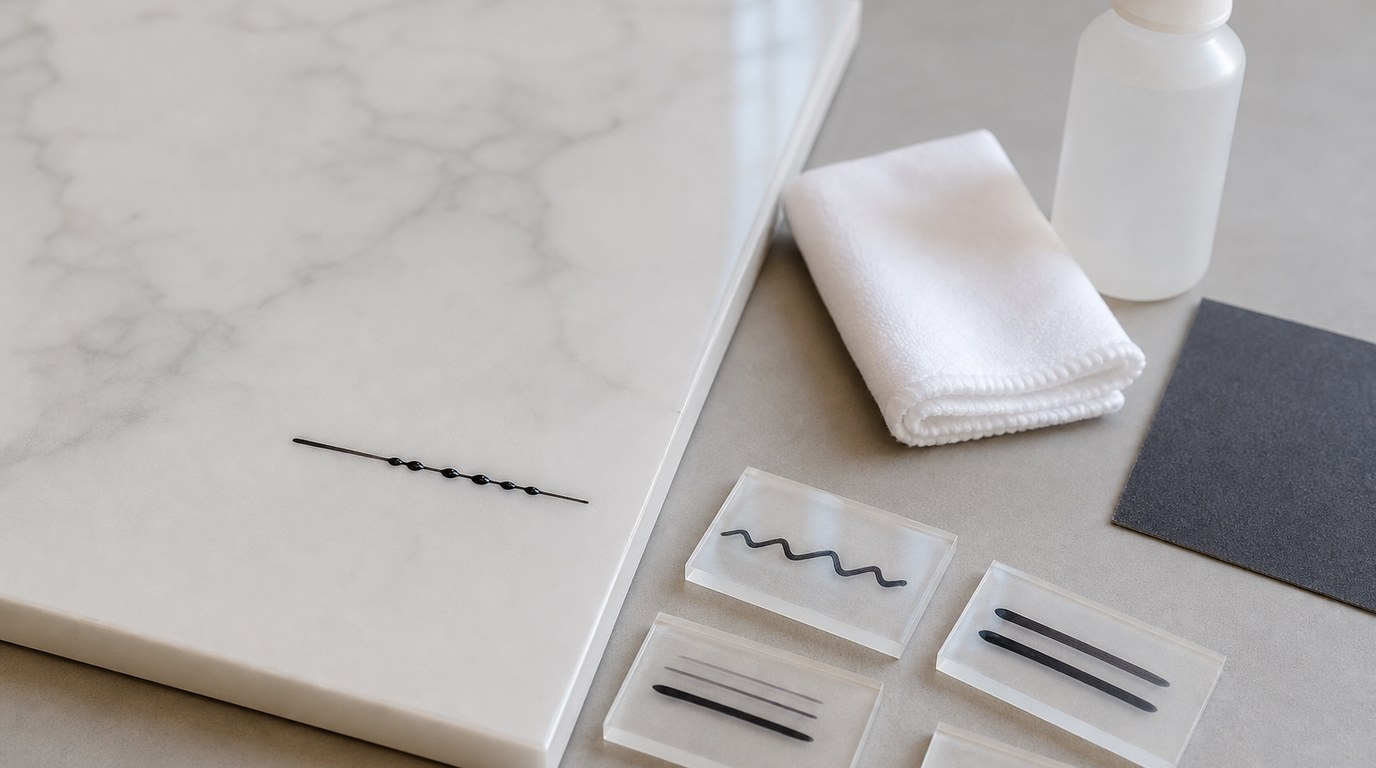
Marker beads up on glossy resin.
Clean the surface again to remove oils or residue. If it still beads, test another marker type. For very slick resin, lightly scuff only the drawing area before applying the marker.
Paint marker smears when resin is poured over it.
The marker was probably not fully dry, or the resin was spread too aggressively. Let future designs dry longer, then pour a thinner, gentler topcoat without scraping over the lines.
Lines look streaky.
Prime the nib better and use slower strokes. If the color is still weak, let the first coat dry and apply a second coat. You may also need a more opaque paint marker.
Metallic marker lost shine.
Some metallic markers dull under resin or clear coat. Test different sealers before using them on a finished project. A light compatible spray sealant before the resin coat may help preserve the metallic look.
Clear coat looks cloudy.
Cloudiness can come from moisture, incompatible products, uncured marker, or applying the coating too heavily. Test your exact marker and sealer combination, and use thin coats.
Marker scratches off after drying.
The surface may be contaminated or too slick. Clean better, scuff lightly if needed, and always seal decorative marker work on resin pieces that will be handled.
FAQ
Can You Use Paint Markers on Resin?
Yes, you can use paint markers on resin, but they work best on fully cured, clean resin. Oil-based and acrylic paint markers are the most common choices. Test first, because some markers bead up, dry slowly, or react with certain sealers.
Should I Use Paint Markers Before or After Resin Cures?
Use paint markers after the resin has fully cured. Do not apply them to soft, flexible, tacky, or freshly demolded resin. If you want the design embedded, draw on cured resin first, let the marker dry completely, then add a clear resin topcoat.
Do Paint Markers Need to Be Sealed on Resin?
Yes, sealing is strongly recommended. Paint marker can scratch, wear off, or react to moisture if left exposed. Seal with a thin resin layer, compatible spray clear coat, or brush-on clear coat. Always test the sealer first to check for smearing or cloudiness.
What Kind of Paint Marker Is Best for Resin Art?
Oil-based paint markers are best for opaque lettering, white highlights, black outlines, and metallic accents. Acrylic paint markers are good for colorful details and decorative designs. The best choice depends on your resin surface, design, and sealer, so test before committing.
Why Did My Paint Marker Smear Under Resin?
Smearing usually happens because the marker was not fully dry or the resin was pushed too firmly over the design. Let the marker dry longer, especially with thick or oil-based lines. When adding resin, pour gently and avoid scraping directly across the marker.