
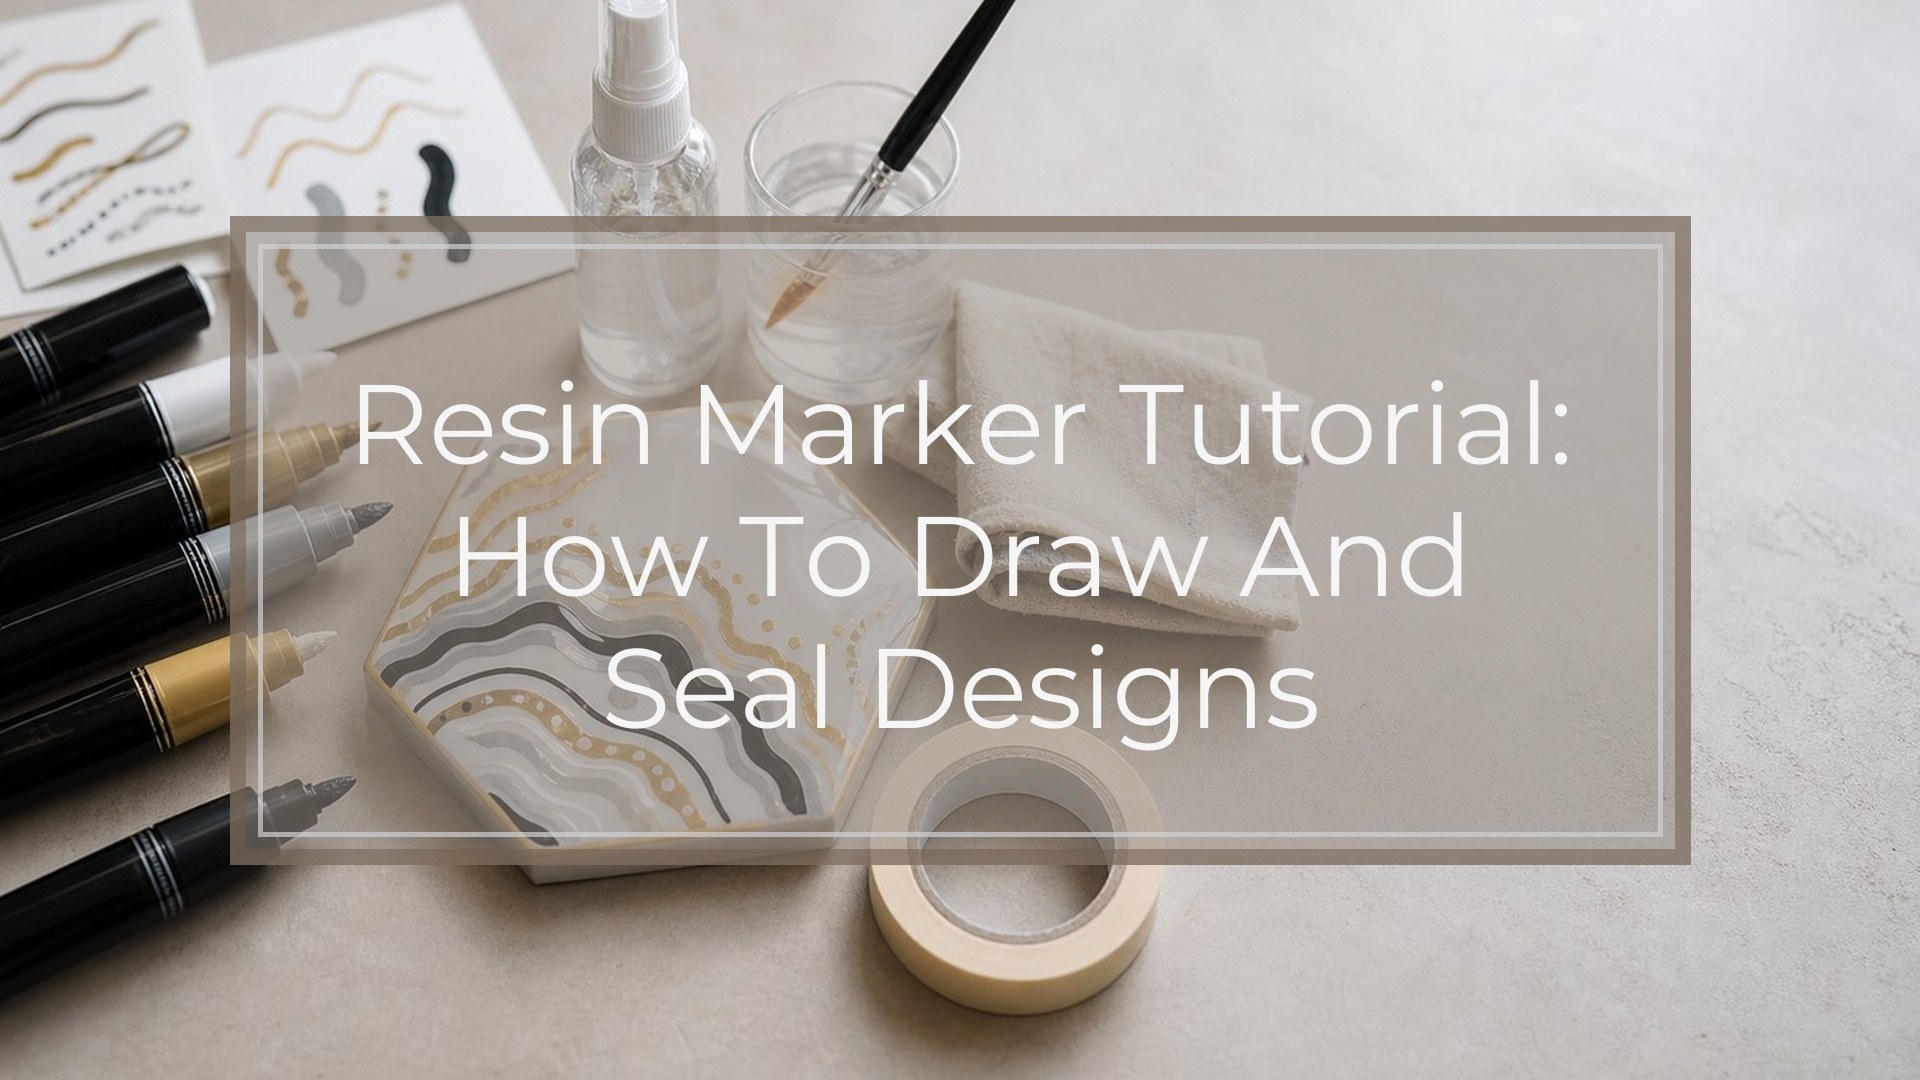
Resin markers work best on fully cured epoxy, not wet resin. For clean results, choose an oil-based paint marker, acrylic paint marker, or permanent marker based on the look you want, then clean and lightly prepare the surface before drawing. Always test the marker with your chosen sealer first, because some clear coats and fresh resin layers can smear or dissolve ink.
The basic process is simple: cure the resin, clean the surface, test the marker, apply the design, let it dry completely, then seal it with a careful clear coat or thin resin layer. The key is patience. Most marker failures come from drawing on a slick or contaminated surface, sealing too soon, or brushing directly over uncured ink.
Before You Start: What Resin Markers Can and Can’t Do
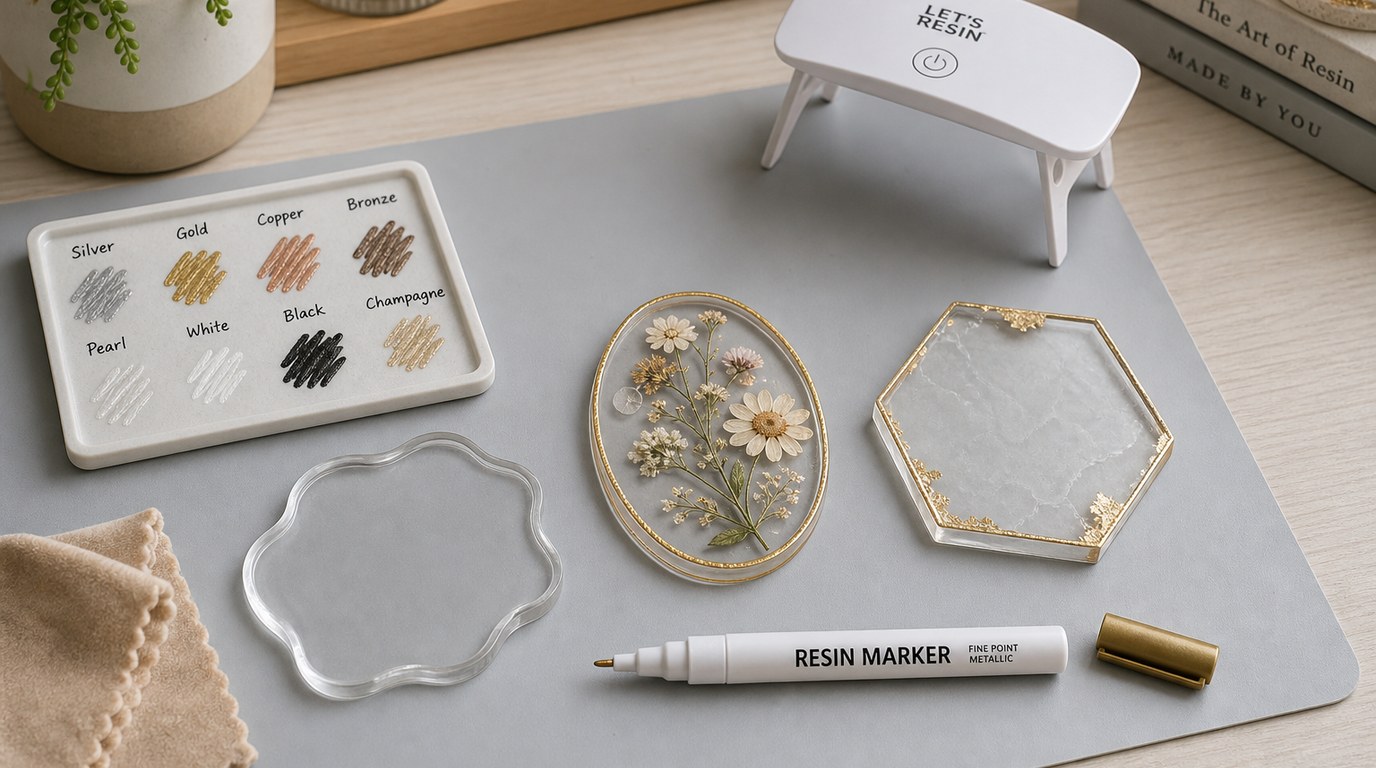
Resin markers are great for adding outlines, names, metallic accents, tiny illustrations, borders, and color details after a resin piece has cured. They give you more control than mixing color into resin because you can draw exactly where you want the detail.
They cannot fix uncured resin, hide major surface flaws, or bond well to oily, dusty, or silicone-contaminated pieces. Markers also sit on the surface, so unsealed designs can scratch or wear away over time. If the piece will be handled often, sealing is not optional.
Supplies You’ll Need
Gather everything before you start so you do not have to touch the project while the marker is drying.
- Fully cured epoxy resin piece
- Resin-safe marker: acrylic paint marker, oil-based paint marker, or permanent marker
- Isopropyl alcohol and lint-free cloth
- Fine-grit sandpaper or sanding pad, usually 800 to 1000 grit
- Gloves
- Scrap cured resin piece or test tile
- Clear sealer, doming epoxy, or UV resin
- Toothpick or small silicone tool for moving resin
- Dust cover
- Optional: painter’s tape, stencil, pencil guideline, or printed design template
Step 1: Choose the Right Marker for the Effect
Pick the marker based on the finish and durability you need.
Acrylic paint markers are beginner-friendly and come in many colors. They work well for opaque designs, lettering, and decorative details. Oil-based paint markers usually bond better to slick surfaces and are useful for metallic edges, signatures, and bold lines. Permanent markers are easy to use, but they can bleed or fade more easily, especially under some resin coatings.
For sharp writing, use a fine or extra-fine tip. For filling larger areas, use a medium bullet tip. Avoid washable markers, water-based school markers, and unknown craft pens unless you test them first.
Step 2: Prepare the Resin Surface
Only draw on resin that is fully cured according to the resin manufacturer’s cure time. A piece that feels slightly soft, bendy, or tacky is not ready.
Wash or wipe the surface to remove dust, fingerprints, mold release, and oils. Use a lint-free cloth with a small amount of isopropyl alcohol, then let it evaporate completely. If the surface is very glossy and the marker beads up, lightly scuff the area with 800 to 1000 grit sandpaper. You are not trying to gouge the resin; you only want a very slight tooth for the marker to grip.
After sanding, remove every bit of dust. Any residue left behind can cause skipping, uneven color, or poor adhesion under the final coat.
Step 3: Test the Marker and Sealer Combination
Do not skip the test, especially on an important project. Use a scrap cured resin piece and repeat the same surface prep you plan to use on the final item.
Draw a few lines, fill a small shape, and let the marker dry. Then apply your chosen sealer over part of the test. Look for smearing, feathering, color change, dull patches, bubbles, or lifting. If the marker reacts badly, switch marker type, use a different sealer, or add a very light mist-style clear coat before adding resin.
A ten-minute test can save a finished pendant, tray, coaster, or memorial piece.
Step 4: Apply the Marker Design
Shake paint markers well with the cap on. Press the tip on scrap paper until the paint flows evenly, not in a puddle. If the marker is too wet, it can flood across the resin surface.
Work slowly and keep your hand off the drawing area. For lettering, make light guide marks or use painter’s tape as a straight edge. For outlines, pull the pen toward you instead of pushing it away; this usually gives smoother lines. Let one color dry before adding another on top to avoid dragging or muddying.
If you make a mistake, wipe it immediately with a small amount of alcohol on a cotton swab. Once dry, some markers are much harder to remove. For dried mistakes, lightly sand the area, clean it, and redraw.
Step 5: Let the Marker Dry Completely
Dry time depends on the marker, line thickness, room temperature, and humidity. A thin permanent marker line may dry quickly, while acrylic or oil-based paint marker areas need longer.
As a rule, wait at least several hours before sealing. For heavy paint marker designs, overnight drying is safer. The surface should not feel tacky, dent under light touch, or transfer color to a clean cotton swab. If you seal too soon, the marker can smear, wrinkle, or create cloudy streaks.
Step 6: Seal the Marker Without Smearing It
Sealing protects the design from scratches, moisture, and handling. You can use a clear spray sealer, a thin layer of epoxy, or UV resin, depending on the project.
The safest method is to avoid brushing directly over the marker. Bristles can drag the ink and cause streaks. If using epoxy, mix slowly to reduce bubbles, pour a small amount beside the design, and guide it over the artwork with a toothpick or silicone tool. Let the resin flow rather than scrubbing it across the lines.
For UV resin, apply a very thin layer first and cure it fully, then add more if needed. For spray sealer, use light coats from the recommended distance. Heavy wet coats are more likely to reactivate marker.
Cover the piece while it cures so dust does not settle into the clear coat.
Step 7: Check the Finished Result
After the sealer or resin has cured, inspect the project under good light. The marker lines should look crisp, with no fuzzy edges, bleeding, or cloudy halos. Gently run a clean fingertip over the sealed area. It should feel smooth and protected, not raised, sticky, or soft.
Check edges and corners too, especially on keychains, charms, and coasters. If a spot looks unsealed, add another thin clear layer rather than leaving exposed marker where it can rub away.
Common Mistakes and How to Fix Them
The marker beads up on the resin. The surface is too slick or contaminated. Clean with alcohol, let it dry, then lightly sand and try again.
The design smears when sealed. The marker was not dry, the sealer was too wet, or the application disturbed the ink. Let future designs dry longer and use a light first coat or gentle resin flow.
The marker skips while drawing. The tip may be dry, clogged, or moving over dust. Prime the marker on scrap paper, clean the resin, and draw with steadier pressure.
The color looks transparent. Add another layer after the first one dries. For very opaque details, use acrylic or oil-based paint markers instead of standard permanent markers.
The sealed area turns cloudy. Moisture, dust, trapped bubbles, or incompatible products may be the cause. Test first, work in a clean dry area, and use thin coats.
Beginner Project Idea: Marker-detailed Resin Keychain
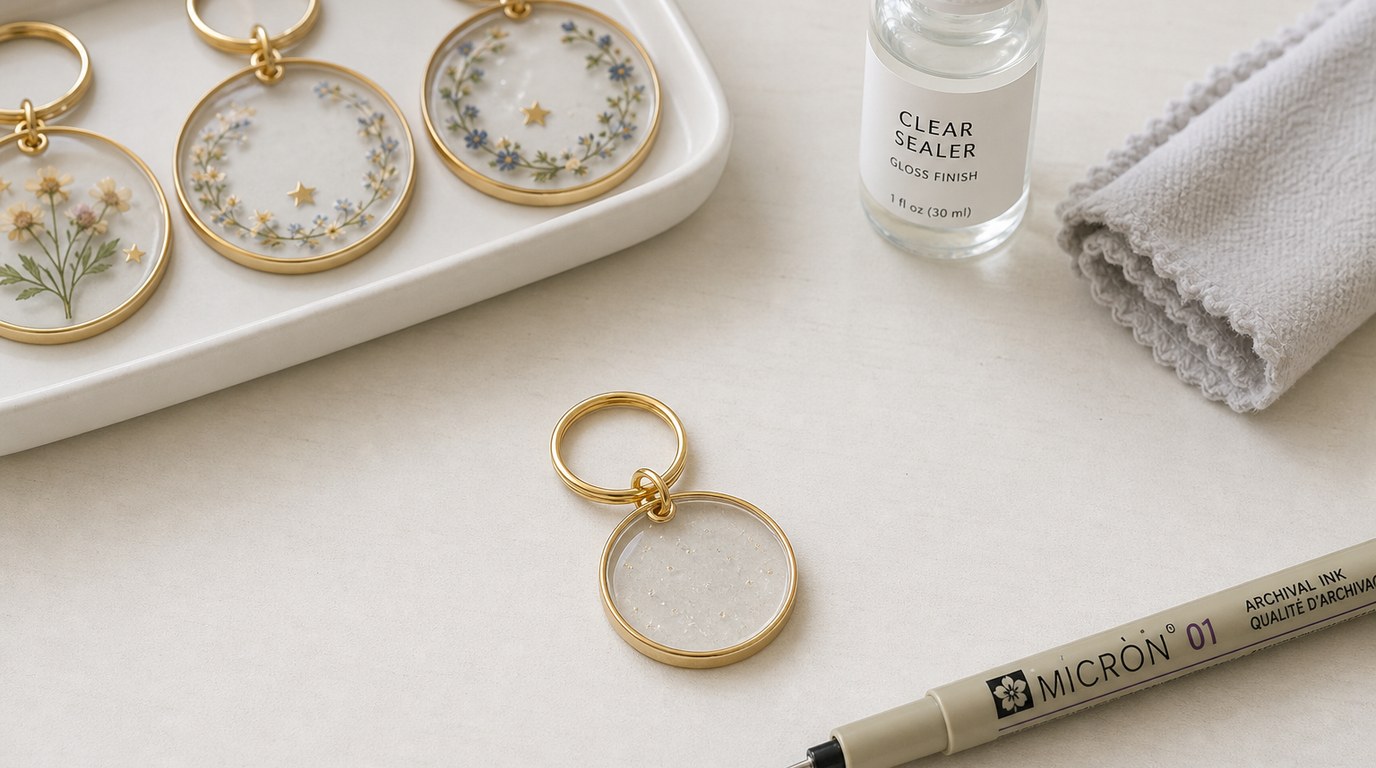
A keychain is a good first resin marker project because it is small, quick, and easy to test. Cast a simple resin blank and let it cure fully. Clean the surface, then add a name, tiny stars, flowers, a border, or metallic edge detail with a fine paint marker.
Let the design dry overnight, then seal the front with a thin doming layer of epoxy or UV resin. Check that the hole for the keyring stays clear. If resin flows into it, reopen it before the coating fully hardens.
FAQ
Can You Use Permanent Marker on Resin?
Yes, you can use permanent marker on cured resin, but it is not always the most durable option. Some permanent inks can bleed, fade, or smear under resin. Test first, let the ink dry completely, and seal it carefully if the piece will be handled.
Do You Put Resin Markers on Wet or Cured Resin?
Use resin markers on fully cured resin. Wet epoxy can swallow, distort, or chemically react with marker ink, leaving blurry lines or uneven color. Let the resin cure according to the product instructions, clean the surface, and then apply your marker design.
How Do You Stop Marker from Smearing Under Resin?
Let the marker dry much longer than you think it needs, ideally overnight for paint markers. Test the marker with your resin first. When sealing, do not brush back and forth over the design. Pour or place resin nearby and gently guide it across the artwork.
Are Acrylic Paint Markers Good for Epoxy Resin?
Yes, acrylic paint markers are a good choice for cured epoxy resin, especially for opaque designs and colorful details. They usually need a clean, lightly prepared surface and a protective clear coat. Always test your exact marker and sealer because formulas vary by brand.
Can You Seal Resin Marker Art with Uv Resin?
Yes, UV resin can seal marker art if the marker is fully dry and compatible. Apply a very thin first layer so it does not flood or smear the design, then cure it completely under the correct UV light. Add a second layer if more protection is needed.