
Combining resin and metal works best when the metal is clean, stable, and sealed against moisture or tarnish before you pour. The basic process is simple: choose a compatible resin, clean and prepare the metal, secure it in place, mix resin accurately, pour in controlled layers, remove bubbles, then cure and finish the piece. Metal can be embedded in resin, coated with resin, or used as a base for mixed media art, jewelry, trays, charms, ornaments, and decorative panels. The biggest success factors are surface preparation, accurate resin measurement, and keeping metal pieces from shifting while the resin cures.
Before You Start: Choose the Right Metal and Resin
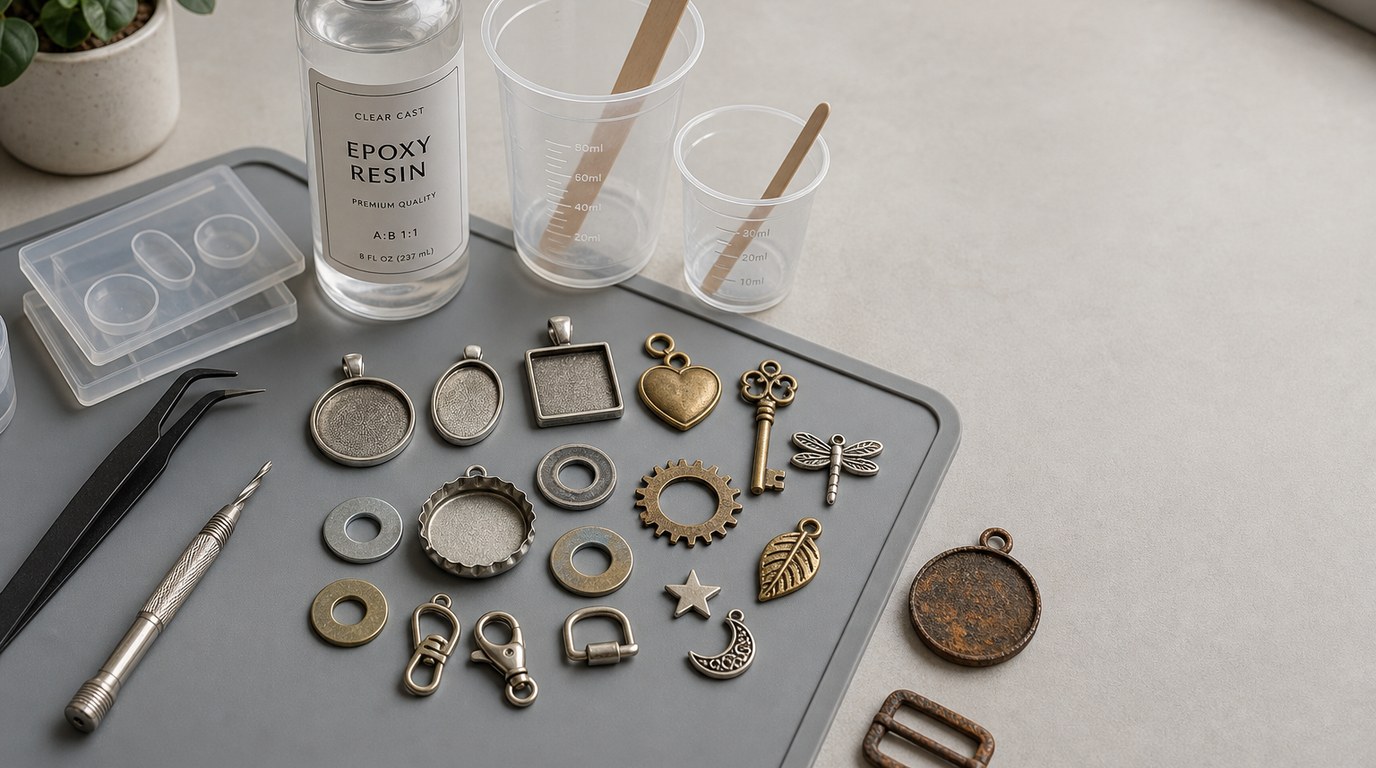
For beginner resin metal projects, start with small, clean metal pieces such as charms, bezels, washers, gears, foil shapes, jewelry blanks, bottle caps, or lightweight hardware. Avoid rusty, oily, heavily tarnished, or flaking metal unless you want that look and are prepared to seal it first.
Use epoxy resin for most mixed media projects because it self-levels, bonds well, and gives you enough working time. UV resin is useful for small jewelry bezels or quick surface doming, but it may not cure well around opaque metal if light cannot reach the resin. Deep-pour resin is only needed for thick castings.
Work on a level surface, wear gloves, and follow your resin’s safety directions for ventilation, cure time, and maximum pour depth.
Step 1: Clean the Metal Thoroughly
Metal often has oils, fingerprints, dust, polish residue, or manufacturing film on it. Resin may pull away from those areas or cure with cloudy spots if you skip cleaning.
Wash the metal with warm water and a small amount of dish soap. Scrub textured areas with a soft toothbrush, then rinse well. Dry completely with a lint-free cloth. For smooth metal, wipe with isopropyl alcohol after washing to remove remaining grease.
Do not pour resin over damp metal. Water trapped in grooves can cause cloudy resin, poor adhesion, or tiny bubbles that appear after pouring.
Step 2: Scuff, Seal, or Prime the Surface When Needed
Smooth, shiny metal can be difficult for resin to grip. If you are coating a flat metal surface, lightly scuff it with fine-grit sandpaper, around 320 to 600 grit. You are not trying to scratch it deeply; you only need a slightly dull surface that gives resin something to hold.
Seal porous, rusty, painted, or patinaed metal before embedding it. Use a clear acrylic sealer, metal primer, or a thin brushed coat of resin, depending on the project. Let sealers dry fully before pouring.
If the metal has a special finish, test first. Resin can darken patina, lift weak paint, or make tarnish look uneven. A small test piece prevents ruining your main design.
Step 3: Secure the Metal Before Pouring
Metal pieces can slide, tip, trap bubbles, or float if they are lightweight. Arrange the design before mixing resin so you are not rushing during the working time.
For bezels or shallow molds, place metal pieces exactly where you want them and press them flat. For larger items, use a tiny dot of clear-drying glue, UV resin, or a small dab of mixed epoxy to anchor them. Let the anchor set enough that the metal will not move.
Check that the surface is level. Even a slight tilt can make resin pool to one side and expose part of the metal.
Step 4: Mix the Resin Accurately
Measure resin and hardener exactly according to the manufacturer’s ratio. Do not guess, and do not add extra hardener to “make it cure faster.” Incorrect ratios are one of the most common reasons resin stays sticky or soft.
Mix slowly for the recommended time, scraping the sides and bottom of the cup. Fast whipping adds bubbles. If your resin instructions recommend a two-cup mix, pour the mixed resin into a second clean cup and stir again.
Only mix what you can pour within the working time. Metal projects often need careful placement, so smaller batches are easier to control.
Step 5: Pour a Thin First Layer
Pour a thin first layer of resin into the mold, bezel, or onto the metal base. This layer helps lock the design in place and reduces trapped air under the metal.
Use a stir stick, toothpick, or silicone tool to guide resin into corners and around raised details. If you are embedding metal, press it gently into the first layer instead of dropping it in. Dropping pieces can splash resin or trap large air pockets underneath.
Do not overfill yet. A thin layer gives you time to correct placement, remove bubbles, and check whether any metal pieces are shifting.
Step 6: Add Embellishments or Additional Resin Layers
Once the first layer is tacky or partially cured, add more resin, pigments, glitter, dried botanicals, mica, crushed glass, or additional metal pieces. Layering gives more depth and keeps heavy or detailed elements from sinking into one flat level.
Follow your resin’s recoat window. Some resins allow the next layer while the first is still tacky. If the first layer is fully cured, you may need to lightly sand it before adding more resin so the next layer bonds well.
Keep embellishments dry and sealed if needed. Damp flowers, paper, or oxidized metal can create cloudiness, bubbles, or discoloration.
Step 7: Remove Bubbles and Cover While Curing
After pouring, let the resin sit briefly so bubbles can rise. Pop surface bubbles with a toothpick, a quick pass from a heat gun, or careful use of a small torch if your resin allows it.
Use heat sparingly around metal. Metal can heat quickly, which may thin the resin too much, create waves, or disturb pigments. Avoid holding flame or hot air in one place.
Cover the project with a dust cover, box, or clean plastic container while it cures. Keep it level and away from pets, airflow, humidity, and direct sunlight unless your resin instructions say otherwise.
Step 8: Demold, Trim, Sand, and Finish
Demold only after the resin has cured long enough to hold its shape. A piece may feel firm before it is fully cured, so check the resin instructions before sanding or polishing.
Trim thin overflow with a craft knife while the resin is slightly flexible, or sand cured edges with wet/dry sandpaper. Start with a coarser grit only if needed, then move to finer grits for a smoother edge. Wear a dust mask when sanding cured resin.
For a glossy finish, polish with resin-safe polishing compound or add a thin flood coat of resin. If metal edges are exposed, clean and buff them gently.
Result Check: How to Know Your Resin Metal Project Worked
Your project worked if the resin is hard, clear or evenly colored, and firmly bonded around the metal. The metal should not rattle, lift, or slide inside the piece. The surface should be mostly bubble-free, not sticky, and free of cloudy patches caused by moisture or contamination. Edges should feel smooth after trimming or sanding. If the design stayed level and the metal finish looks intentional, the project is ready to use or display.
Common Mistakes and Troubleshooting
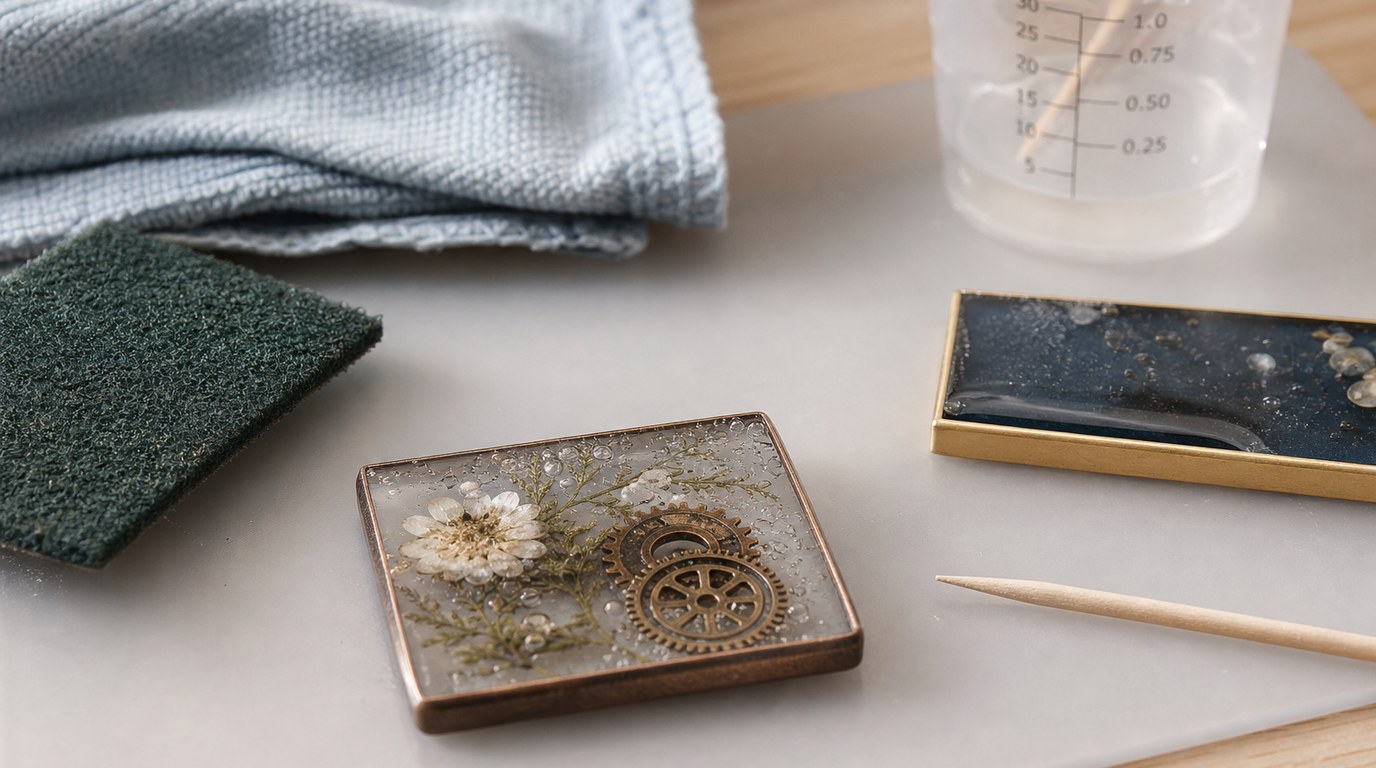
If resin pulls away from metal, the surface was likely oily, too smooth, or not sealed. Clean more thoroughly next time, scuff shiny surfaces, and use a test seal coat.
If bubbles collect around metal details, pour a thin first layer and use a toothpick to release trapped air before adding more resin. Warm the resin bottles slightly in a water bath if your product allows it, but never overheat them.
If the resin looks cloudy, check for moisture, uncured sealers, humidity, or damp inclusions. Dry and seal metal and embellishments before use.
If metal shifts during curing, anchor it first and pour in thinner layers. If resin stays sticky, the ratio, mixing time, or temperature was probably wrong. If tarnish appears later, seal reactive metals before embedding and store finished pieces away from moisture.
FAQ
What Is the First Step Someone Should Take with Resin Metal Tutorial?
Start by choosing clean, compatible metal and the right resin for the project size. Then wash and dry the metal thoroughly before any pouring. Good cleaning is the first practical step because resin may not bond well to oil, dust, moisture, or polish residue.
What Can Go Wrong When Following Resin Metal Tutorial Advice?
The most common problems are sticky resin from inaccurate measuring, bubbles around raised metal details, cloudy areas from moisture, metal pieces shifting during cure, and poor adhesion on slick surfaces. Most issues come from rushing preparation, pouring too thick, or not securing the metal first.
How Long Does It Usually Take to Work Through Resin Metal Tutorial?
Hands-on time is often 30 to 90 minutes for a small project, depending on cleaning, layout, mixing, and layering. Cure time is much longer. Many epoxy resins need 24 hours before handling and up to several days before sanding or heavy use.
How Can a Beginner Tell Whether Resin Metal Tutorial Worked?
The finished piece should be hard, smooth, and securely bonded around the metal. There should be no sticky patches, loose inclusions, major cloudiness, or unexpected movement. A few tiny bubbles are normal for beginners, but the resin should look clean, stable, and fully cured.