

The fastest way to make resin supplies last longer is to store them clean, sealed, upright, and protected from temperature swings. Keep epoxy resin and hardener in their original bottles with lids tightly closed. Store them in a cool, dry, indoor place away from sunlight, heaters, freezing temperatures, and moisture. Pigments should stay capped, separated by type, and wiped clean before storage. Silicone molds should be fully cleaned, dried, and stored flat in dust-free containers without heavy items pressing on them. Before each project, check for leaks, cloudiness, crystals, thickening, bad smells, dust, or warped molds. If anything looks questionable, test a small batch before pouring a full piece.
Why Resin Storage Matters More Than Most Beginners Think
Epoxy is sensitive. Even if you mix correctly, poorly stored resin can cure soft, look cloudy, trap bubbles, or leave sticky patches. Pigments can dry out, separate, leak, or contaminate each other. Silicone molds can collect dust, warp, or develop pressure marks that show up in every casting. Good storage is not just about keeping your craft space tidy. It protects your results, your supplies, and your budget.
What You Need Before You Organize Your Resin Supplies
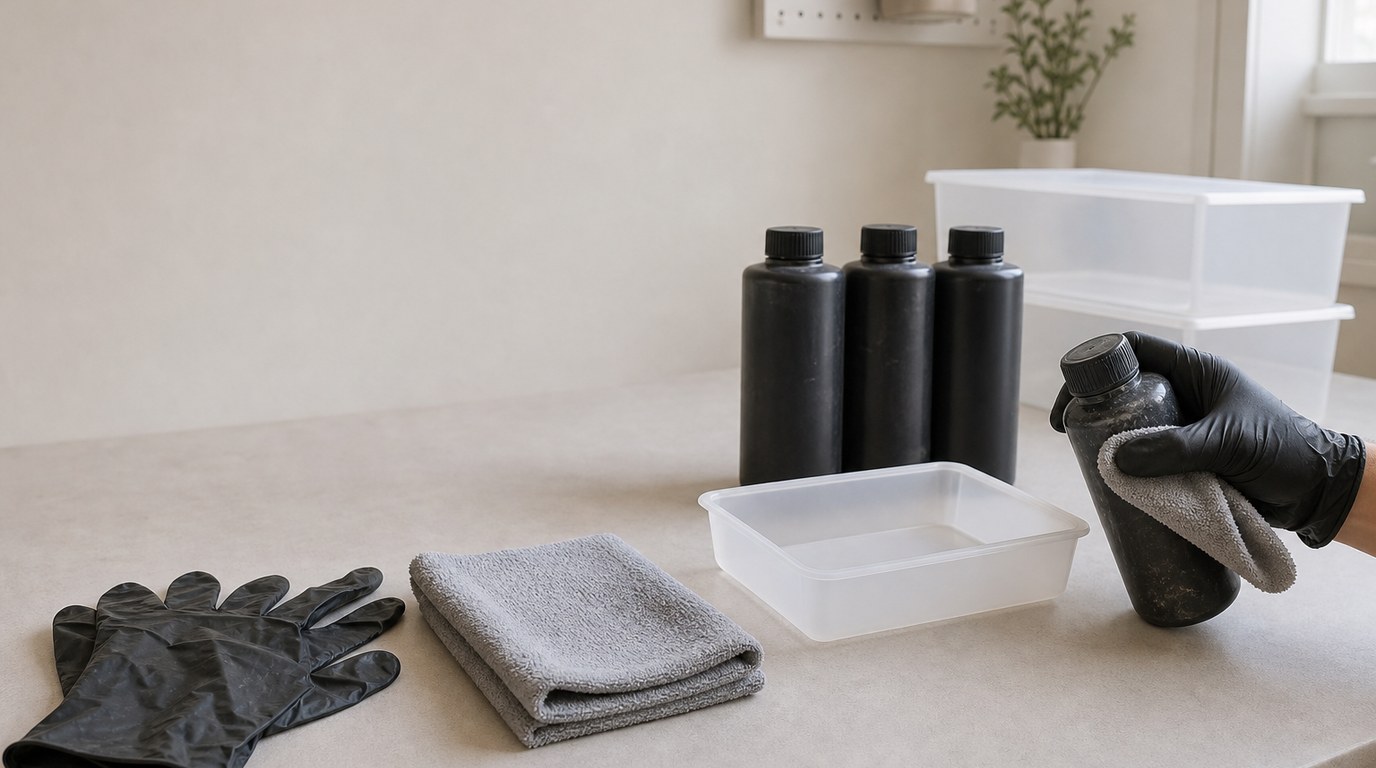
Before you start, gather a few basic storage tools:
- A cool, dry indoor shelf or cabinet
- Plastic bins with lids
- Zip bags or small containers for pigments
- Paper towels or lint-free cloths
- Isopropyl alcohol for wiping non-porous messes
- Labels and a permanent marker
- Nitrile gloves
- A shallow tray for resin bottles
- Dust covers or boxes for molds
Do not organize leaking bottles or sticky containers bare-handed. Put on gloves first, wipe the outside, and make sure everything is sealed before moving it.
Step 1: Choose the Right Storage Location
Pick an indoor location that stays steady in temperature. A closet, cabinet, pantry-style shelf, or dedicated craft storage unit is usually better than a garage or shed. The space should be dry, shaded, and away from children, pets, food, flames, and direct heat.
Avoid windowsills, laundry rooms, bathrooms, and uninsulated spaces. Moisture and temperature swings can shorten shelf life and make resin harder to use. If possible, keep all resin supplies in one zone so you are not hunting for pigments or molds mid-project.
Step 2: Store Epoxy Resin and Hardener Upright and Sealed
Keep resin and hardener in their original containers whenever possible. The original packaging is designed for chemical compatibility and usually includes batch information, safety directions, and shelf-life details.
Store bottles upright, not on their sides. This reduces leaks, sticky caps, and accidental mixing between Part A and Part B. After each use, wipe the bottle threads and cap area before closing. A thin ring of residue can glue the cap shut or let air sneak in.
Tighten lids firmly, but do not crack them by over-tightening. Place bottles in a tray or bin so any leak is contained. Never pour leftover mixed epoxy back into either bottle.
Step 3: Protect Resin from Heat, Cold, and Sunlight
Store epoxy at normal room temperature unless the manufacturer gives a different range. Heat can speed up aging, thin the product too much, or damage containers. Cold can make resin thick, cloudy, or crystallized.
Keep bottles away from radiators, sunny windows, hot cars, space heaters, and freezing garages. If resin arrives cold from shipping, let it return to room temperature before opening. Opening a cold bottle can invite condensation, and moisture is never helpful in resin work.
Step 4: Store Pigments, Dyes, Micas, and Alcohol Inks by Type
Pigments last longer when they are capped tightly and grouped by type. Store mica powders upright in jars or bags that close completely. Keep lids and jar rims clean so powder does not prevent a tight seal.
Liquid pigments and resin dyes should be stored upright in a small bin or divided box. Wipe the nozzle or dropper after use to prevent dried color from blocking the tip. Alcohol inks need tight caps because they evaporate quickly and can stain surrounding supplies.
Do not toss every color into one messy drawer. Separate powders from liquids, and keep white, clear, or light pigments away from leaky dark colors.
Step 5: Clean and Dry Silicone Molds Before Storage
Never store molds with resin crumbs, glitter, dust, oil, or uncured residue inside. Those bits can transfer directly into your next project. After demolding, inspect each mold under good light.
For dry dust or mica, use low-tack tape, a soft cloth, or gentle soap and water if the mold allows it. For sticky residue, follow your resin and mold manufacturer’s cleaning advice. Avoid sharp tools, abrasive scrubbers, and harsh solvents that can damage silicone.
Let molds air-dry completely before stacking or closing them in containers. Trapped moisture can attract dust and leave marks.
Step 6: Store Molds Flat, Dust-free, and Without Pressure Marks
Store silicone molds flat whenever possible, especially coaster molds, trays, bookmark molds, and thin detailed shapes. If a mold bends in storage, it may cure future pieces with a warped edge.
Place molds in lidded plastic bins, drawers, or clean boxes. Use parchment paper, clean plastic sheets, or dust covers between layers if needed. Do not pile heavy bottles, tools, or other molds on top of delicate shapes.
For deep molds, make sure the cavity is not crushed. For shiny molds, protect the inner surface from scratches because every scratch can show in the resin finish.
Step 7: Set up a Simple Labeling and Rotation System
Label resin bottles with the date opened. If the container already has a batch number or expiration date, keep it visible. For pigments, label mystery jars immediately; “blue powder” is not helpful six months later.
Use older resin and pigments first, as long as they still look and perform correctly. Keep a small “use next” bin for opened supplies. This prevents half-used bottles from disappearing behind newer purchases until they are past their best condition.
Step 8: Check Stored Resin Supplies Before Every Project
Before mixing, do a quick inspection. Resin should pour normally for its formula and should not have unusual cloudiness, chunks, crystals, severe yellowing, or a strange odor. Hardener may amber over time, but extreme darkening or contamination is a warning sign.
Check pigments for dried clumps, blocked nozzles, leaks, or moldy smells. Inspect silicone molds for dust, warping, tears, sticky residue, or pressure marks.
If something seems off, mix a small test batch first. A quick test is better than ruining a full mold, expensive pigments, and hours of work.
Common Storage Mistakes That Ruin Resin Projects
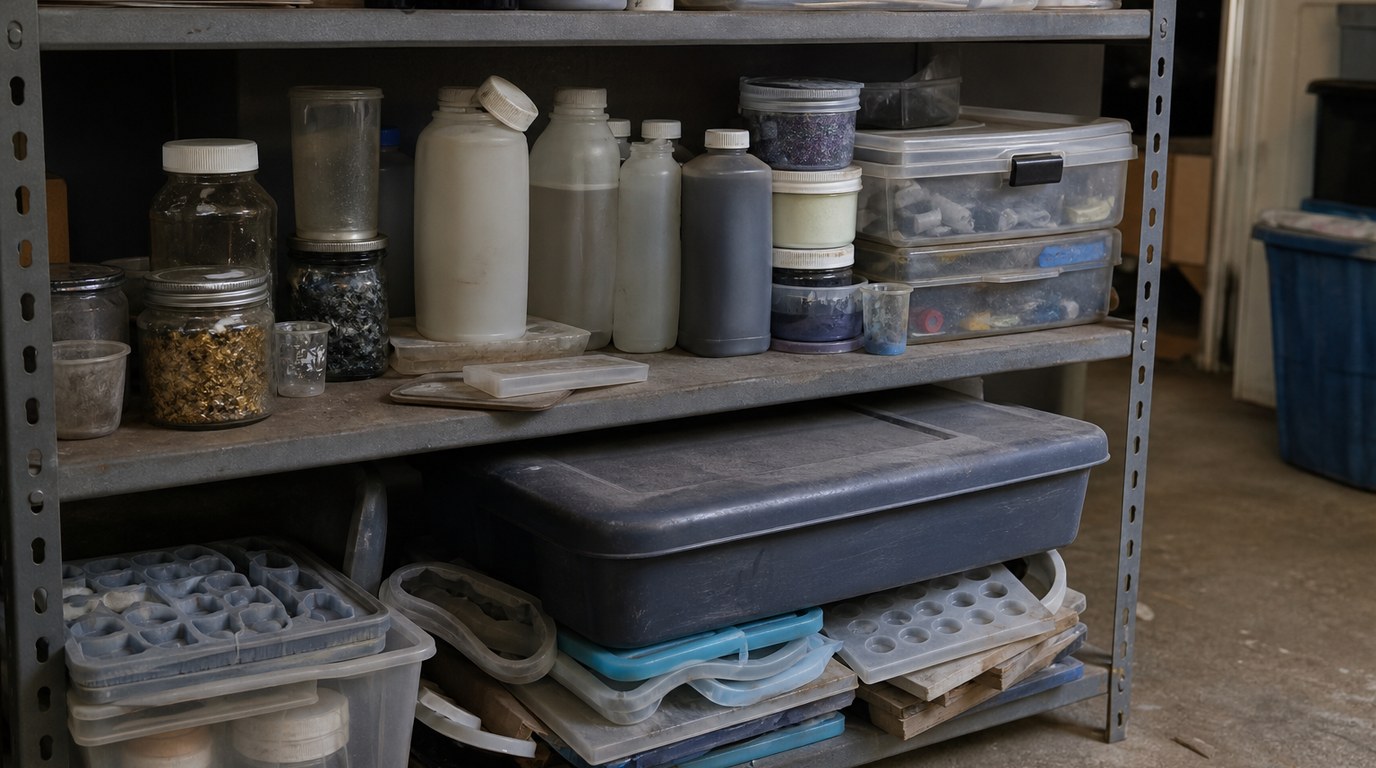
The most common mistake is leaving caps loose “just for a minute” and forgetting. Air, dust, and moisture can enter quickly. Another mistake is storing resin in a garage where it freezes at night and overheats during the day.
Beginners also ruin molds by stacking them under heavy supplies or putting them away dusty. Pigments get wasted when droppers are not wiped, mica lids are cross-threaded, or alcohol inks are left uncapped.
If a project suddenly fails, check storage conditions before blaming your mixing technique.
Final Storage Checklist
Use this checklist after every resin session:
- Wipe bottle rims before closing
- Store resin and hardener upright
- Keep supplies indoors, cool, dry, and shaded
- Cap pigments tightly
- Separate powders, dyes, and inks
- Clean and fully dry molds
- Store molds flat and dust-free
- Label opened dates
- Use older supplies first
- Inspect everything before the next pour
A five-minute cleanup routine can save entire projects later.
FAQ
Can I Store Epoxy Resin in the Garage?
Only if the garage stays clean, dry, and within the resin manufacturer’s recommended temperature range year-round. Most garages get too hot, cold, or humid. For better results, store epoxy indoors in a cabinet or closet away from sunlight, pets, children, and food.
How Long Does Epoxy Resin Last After Opening?
It depends on the brand, formula, and storage conditions. Many epoxy systems last several months to a year after opening when sealed tightly and stored correctly. Always check the manufacturer’s guidance. If resin looks crystallized, contaminated, unusually thick, or cures poorly in a test, replace it.
What Should I Do If My Resin Has Crystals in It?
Some epoxy resin can crystallize when stored cold. Check the manufacturer’s instructions before using it. Many formulas can be gently warmed in a sealed container in warm water until clear again. Do not overheat it, microwave it, or use resin that still looks grainy after treatment.
Should Silicone Molds Be Stored Flat or Upright?
Flat is usually best, especially for thin, wide, or shallow molds. Upright storage can bend molds over time and create warped castings. If you must store molds upright, support them evenly in a rigid folder or box so they do not slump, fold, or crease.
Can I Keep Resin Pigments in the Refrigerator?
Usually, no. Refrigerators add condensation risk, and moisture can cause problems with pigments and resin work. Most pigments do best tightly sealed at room temperature in a dry, dark place. Alcohol inks, dyes, and mica powders should be capped well and kept away from heat and sunlight.