Good resin results usually come down to process, not luck. If you want cleaner coasters, flatter bookmarks, clearer jewelry, or smoother trays, focus on a simple workflow: set up first, measure accurately, mix thoroughly, pour with control, decorate lightly, and let the piece cure undisturbed. Most beginner problems like sticky spots, trapped bubbles, cloudy finishes, and warped edges happen because one of those steps was rushed.
The best tips for resin DIY projects are practical ones you can repeat every time. Work in a level, dust-free area, follow the product’s exact ratio, scrape the cup while mixing, pour in controlled layers, and don’t overload the resin with glitter or add-ins. When you treat resin like a process instead of a quick craft, your projects become far more consistent.
Start with the Right Resin Project Setup
Before you open the bottles, set up for success. Resin rewards preparation more than rescue fixes later.
Choose a flat, stable surface and confirm it is level. If your table tilts even slightly, resin in coasters, trays, or letter molds will pool to one side. Cover the area with a silicone mat, plastic sheet, or other nonstick barrier so drips are easy to clean.
Keep your project in a warm room that matches the resin label’s recommended temperature. Cold resin is thicker, traps more bubbles, and can cure unpredictably. Also plan for dust control. A cardboard box, plastic bin, or simple cover helps protect fresh pours while they cure.
Lay out everything before mixing: gloves, cups, stir sticks, molds, colorants, paper towels, and a timer. Resin has a working time, so hunting for glitter after mixing wastes that window.
Finally, choose a project that fits your skill level. Coasters, bookmarks, and simple pendants are easier first projects than deep pours or large trays.
Measure and Mix Resin Correctly Every Time
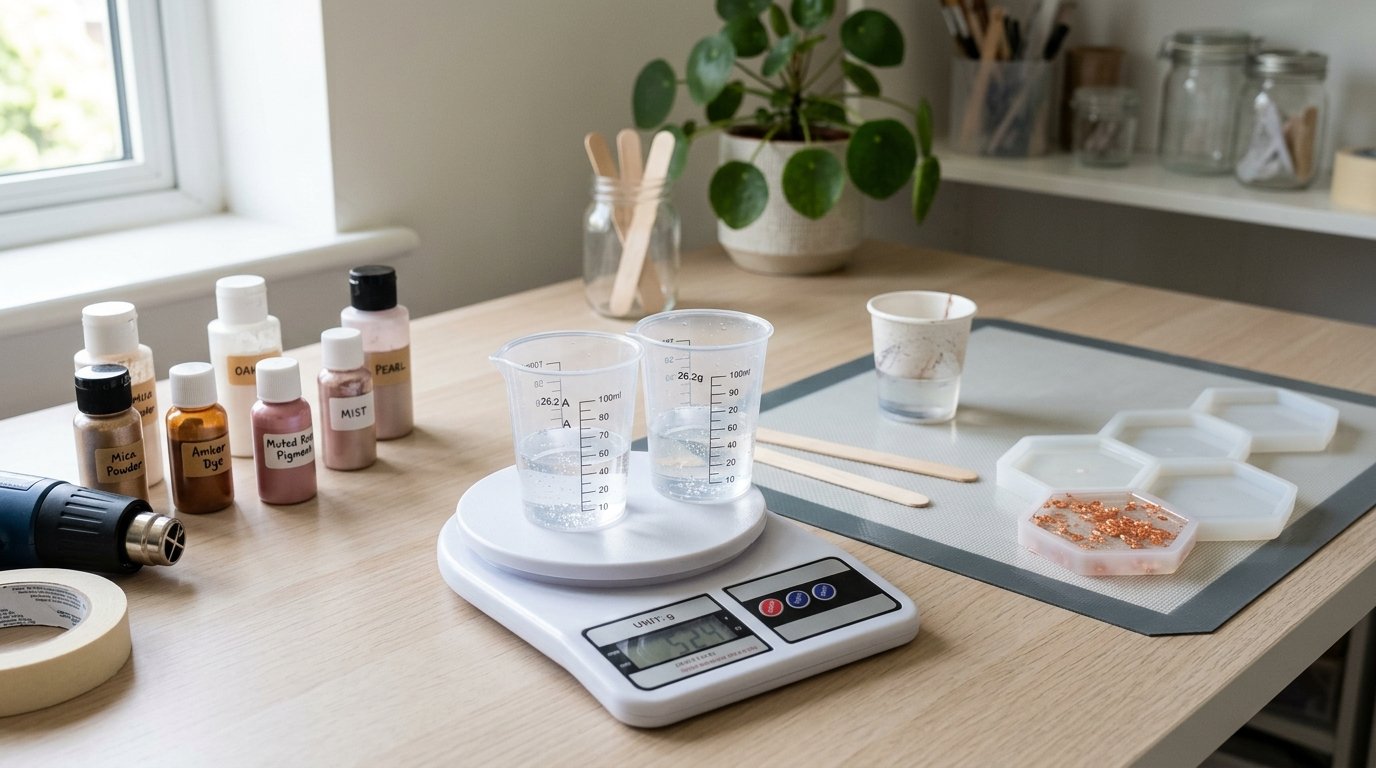
If there is one beginner skill that affects nearly everything, it is accurate measuring and complete mixing. Even beautiful molds and color choices cannot save resin that was prepared incorrectly.
First, read the product instructions every time. Some resins are measured by volume, others by weight. Those are not interchangeable unless the brand says they are. Use marked cups or a digital scale, and measure carefully. Guessing, eyeballing, or “adding a little extra hardener” often causes soft or sticky pieces.
Pour slowly and keep the ratio exact. Then mix longer than feels necessary. Stir steadily, scraping the sides, bottom, and stir stick as you go. Under-mixed resin often leaves uncured streaks that never fully harden.
Many crafters use a double-cup method: mix in one cup, then transfer to a second clean cup and stir again. This catches unmixed material clinging to the first cup’s walls.
Try not to whip the resin like batter. Fast stirring adds bubbles. A slow, deliberate mix gives you a clearer result. For small projects like jewelry or letter molds, careful mixing matters even more because errors show up quickly.
Use Smart Pouring Techniques for Cleaner Results
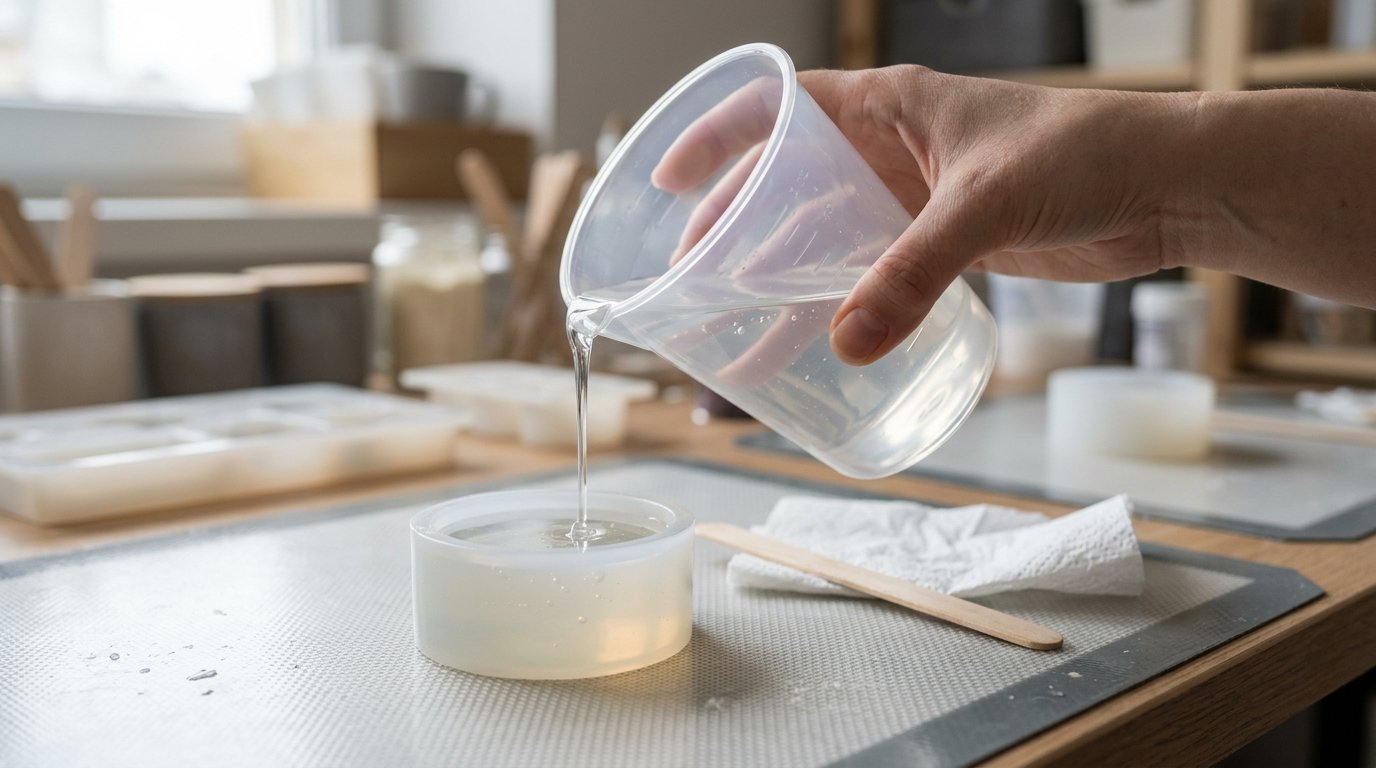
Once the resin is mixed, your goal is control. Good pouring habits reduce bubbles, overflows, leaks, and uneven surfaces.
Pour slowly in a thin stream rather than dumping the whole cup at once. A controlled pour helps bubbles rise and gives you time to spot issues. For molds, fill just below the rim first, then top off if needed. Overfilling is one of the fastest ways to create messy edges and thin flash that needs sanding later.
For deeper molds or layered looks, use multiple pours instead of one thick one if your resin supports that method. Thin layers usually cure more evenly and generate less heat. This is especially useful for trays or pieces with embedded items.
Watch corners and edges. Resin can trap air in sharp mold details, so use a stir stick or toothpick to guide resin into those spaces. If you see surface bubbles, pop them using the method recommended for your resin, such as a quick pass of gentle heat.
Leave freshly poured pieces alone. Moving the mold, checking it constantly, or carrying it across the room often creates ripples, spills, or uneven tops.
Make Color, Glitter, and Inclusions Work with Resin Instead of Against It
Decorative add-ins can improve a resin piece, but too much can interfere with clarity and curing.
Use colorants made for resin when possible. A small amount usually goes a long way. Overloading resin with pigment paste, alcohol ink, mica, or paint can change the cure and make the final piece look muddy or too dark.
Glitter works best in moderation. Fine glitter suspends more evenly than chunky glitter, which may sink or collect in one area. Mix thoroughly, then let the resin sit briefly if you want some bubbles to rise before pouring.
For inclusions like dried flowers, paper, photos, or charms, make sure they are completely dry and clean. Moisture can cause cloudiness, discoloration, or tiny bubbles around the item. Lightweight items may float, so place them carefully or add them in stages.
Short examples: pressed flowers suit bookmarks, small charms work well in jewelry, and sealed paper designs are better for coasters than loose paper scraps.
Prevent the Most Common Resin Diy Problems
Most resin mistakes are predictable, which means they are also preventable. Use this quick table during your project when something looks off.
| Problem | Likely cause | Quick fix or prevention |
|---|---|---|
| Sticky or soft spots | Wrong ratio or incomplete mixing | Measure exactly, scrape sides and bottom, use double-cup mixing |
| Lots of bubbles | Cold resin, fast stirring, thick pour | Warm bottles slightly, stir slowly, pour in thinner layers |
| Cloudy finish | Moisture, too much pigment, dirty mold | Keep add-ins dry, use less colorant, clean molds well |
| Resin leaks from mold | Damaged mold or poor sealing | Inspect molds first, tape seams on open bezels or frames |
| Uneven top surface | Unlevel table or moved mold | Level workspace before pouring and leave project undisturbed |
| Floating inclusions | Items too light or added too early | Place in partial layers or secure after first pour thickens |
It also helps to think in stages. If the resin looks wrong in the cup, the issue is usually measuring or mixing. If it looks wrong in the mold, the issue is usually pouring, temperature, or add-ins. That simple check can save time when troubleshooting.
Finish, Demold, and Cure Projects Without Ruining Them at the End
A project that looks great at hour six can still be damaged before full cure, so patience matters at the end.
Demold only when the resin has reached the firmness recommended by the brand. Pulling a piece too early can bend edges, leave fingerprints, or distort details, especially in bookmarks, letters, and jewelry molds. If the piece feels flexible when it should be rigid, give it more time.
After demolding, let the project complete its full cure on a flat surface. “Demold time” and “full cure time” are often different. A coaster may come out of the mold in a day but still need extra time before regular use.
Trim small drips or flash carefully, then sand only if needed. If you plan to apply a final glossy coat, make sure dust is removed first. Handle edges gently until the piece fully hardens.
Build Better Resin Habits as a Beginner
The fastest way to improve is to make your process repeatable. Use the same measuring method each time, mix with a timer, and write down what resin, room temperature, colorant amount, and cure time you used. Those notes help you repeat wins and spot patterns behind failures.
Start small when testing new pigments, flowers, or mold styles. A single pendant or bookmark teaches more than a full tray gone wrong. Clean molds after each use, replace warped cups, and do not switch steps just because a video made it look optional.
Good resin crafting is less about talent and more about consistent habits.
FAQ
What Is the Best Tip for Beginners Doing Resin Diy Projects?
Measure exactly and mix completely. Most failed resin projects trace back to incorrect ratios or under-mixing. If you pair accurate measuring with a level workspace and a dust cover, you will prevent many of the issues beginners struggle with most.
How Do I Keep Bubbles Out of Resin Projects?
Work in a warm room, stir slowly, and pour in a thin stream. Avoid whipping the resin, and do not make pours thicker than your product allows. For detailed molds, guide resin into corners with a stick so trapped air can escape.
Why Is My Resin Still Sticky After Curing?
Sticky resin is usually caused by the wrong resin-to-hardener ratio, incomplete mixing, or low curing temperature. Double-check the brand instructions, scrape the cup while mixing, and let the piece cure in the recommended environment before deciding it failed.
Can I Put Flowers, Paper, or Photos in Resin?
Yes, but they need preparation. Flowers must be fully dried, and paper or photos should be sealed if needed to prevent discoloration or bubbles. Test with a small sample first, especially for coasters, bookmarks, and keepsake pieces.
How Long Should I Wait Before Using a Resin Project?
Wait until full cure, not just demold time. Many pieces can come out of the mold within 12 to 24 hours, but they may need several more days to become fully hard and durable. Always follow the timeline on your specific resin label.