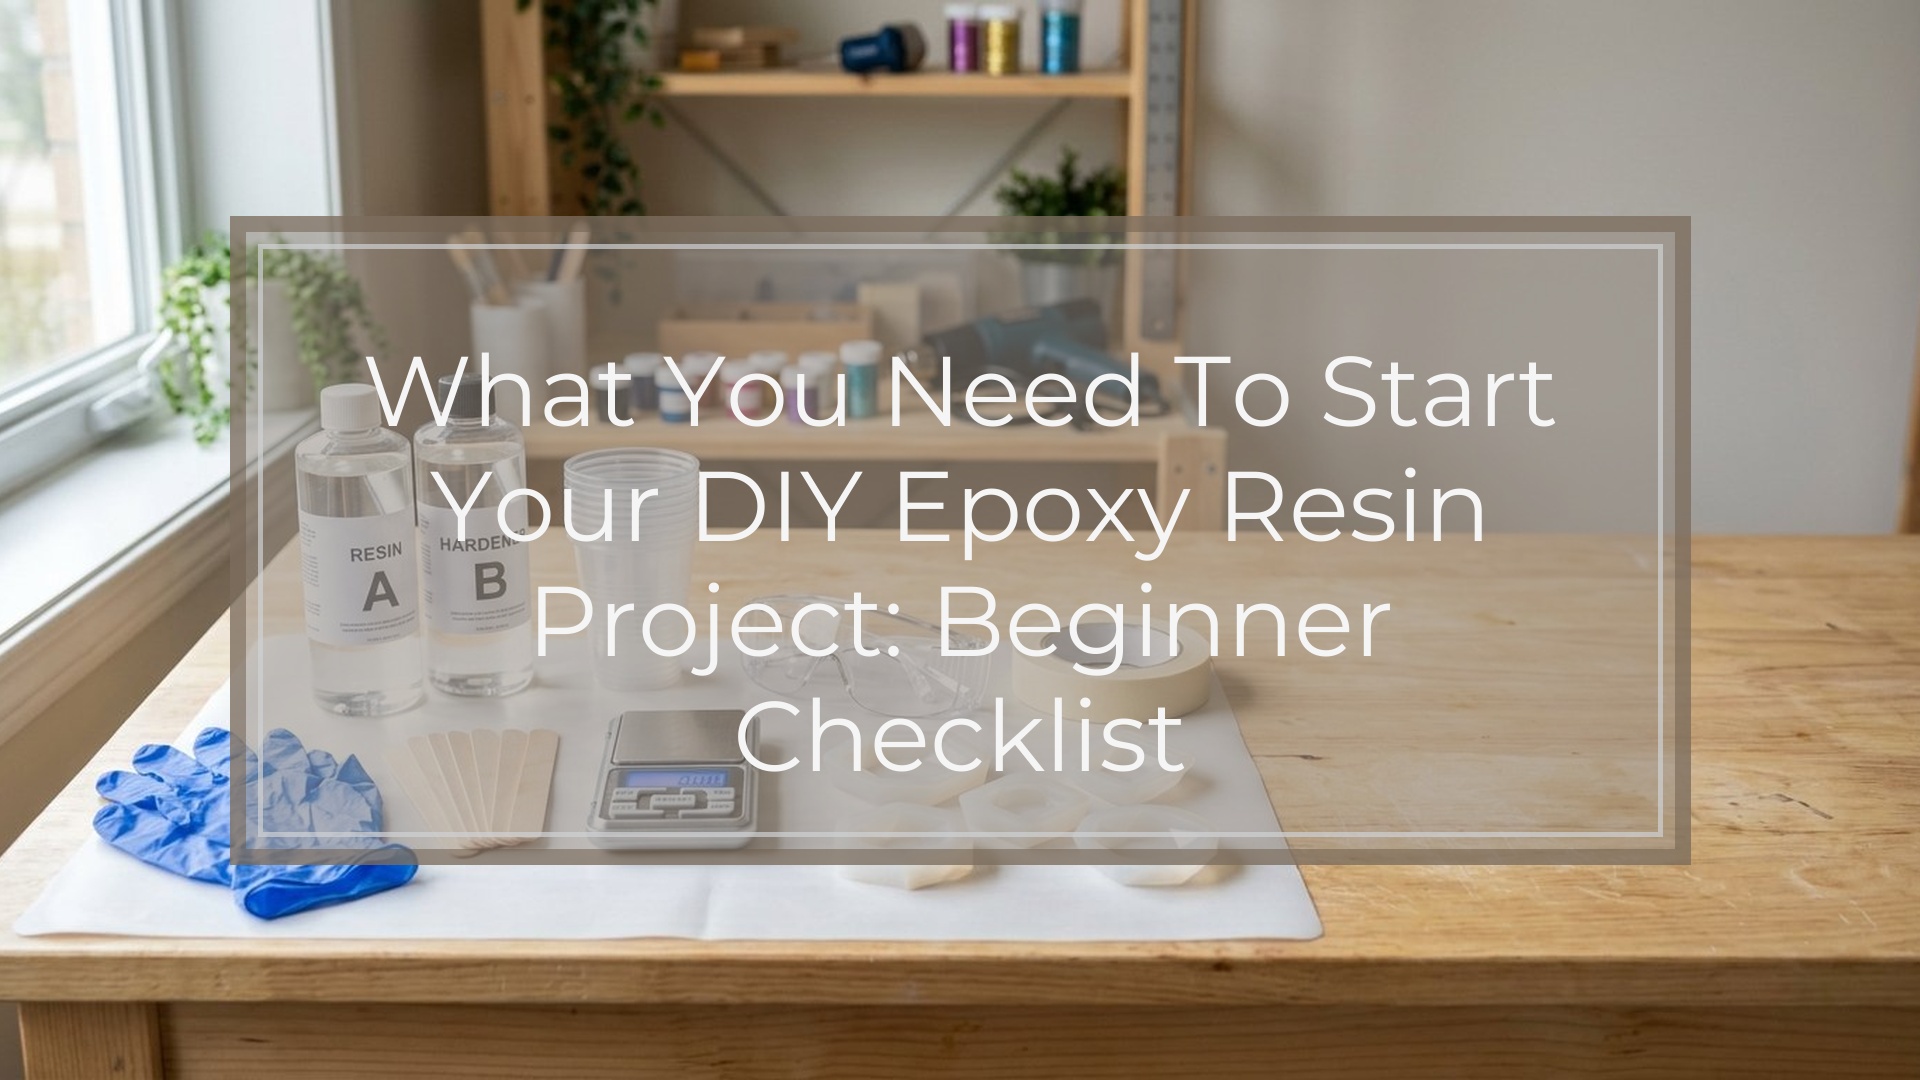
To start your DIY epoxy resin project, you need a beginner-friendly project idea, the right epoxy resin kit, accurate measuring tools, mixing cups, stir sticks, protective gear, a level dust-free workspace, molds or a prepared surface, colorants or decorations, and a plan for bubbles and curing time. Resin is not difficult, but it is precise: the best results come from measuring carefully, mixing thoroughly, and preparing everything before you pour.
A simple starter checklist includes:
| Category | What You Need |
|---|---|
| Resin | Epoxy resin and hardener matched to your project |
| Measuring | Graduated cups or a digital scale, depending on kit instructions |
| Mixing | Disposable cups, stir sticks, scraper, timer |
| Safety | Gloves, eye protection, ventilation, respirator if required |
| Project base | Silicone mold, coaster mold, tray, or sealed surface |
| Finishing | Bubble tool, cover, sandpaper, polish if needed |
Start with the Right Beginner Resin Project
Before buying supplies, choose a project that matches your skill level. Good first resin projects are small, shallow, and easy to control. Coasters, keychains, bookmarks, jewelry pendants, small trays, and simple silicone mold pieces are ideal because they use less resin and cure predictably.
Avoid large pours, river tables, countertops, thick castings, and furniture as a first project. These require more resin knowledge, temperature control, and often different resin types. A small project lets you practice the essentials: measuring, mixing, coloring, pouring, removing bubbles, and waiting for a full cure without wasting expensive materials.
Choose an Epoxy Resin Kit That Matches Your Project
The main supply you need is a two-part epoxy resin kit: resin and hardener. These two parts create a chemical cure when mixed in the correct ratio. For beginners, look for a craft epoxy labeled for your intended use, such as coating, casting, jewelry, coasters, or art.
Check three things before buying: mix ratio, working time, and maximum pour depth. A 1:1 resin is often easiest because you mix equal parts resin and hardener by volume. Working time tells you how long you have before the resin thickens. Pour depth matters because using coating resin in a deep mold can cause heat, bubbles, or failed curing.
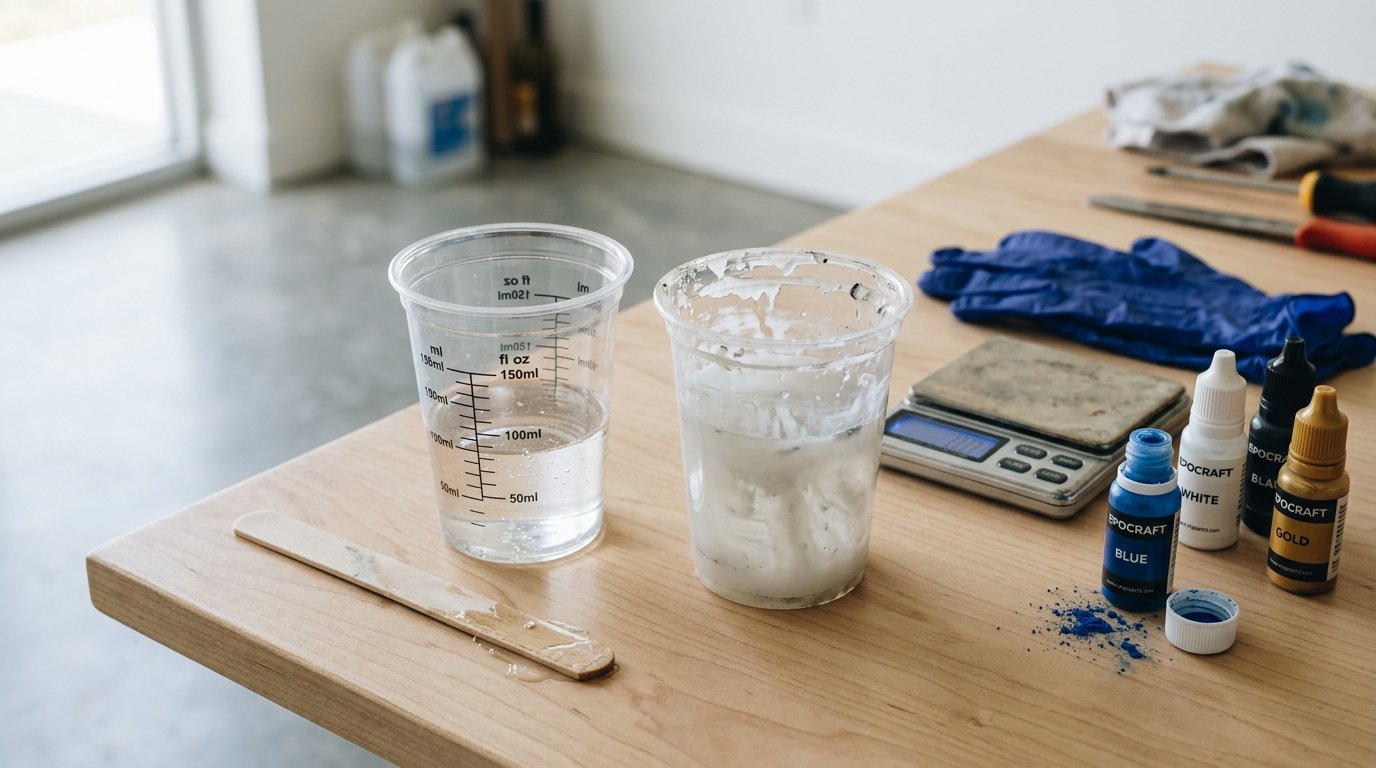
Gather Your Measuring and Mixing Supplies
Accurate measuring is one of the biggest factors in resin success. Use the measuring method your resin kit requires. Some resins must be measured by volume with graduated cups; others must be weighed on a digital scale. Do not guess the ratio.
You will also need disposable or reusable silicone mixing cups, flat stir sticks, a timer, and paper towels. A scraper is useful for pulling resin from the sides and bottom of the cup while mixing. Beginners should keep extra cups nearby in case they need to divide resin for colors. Mix slowly and thoroughly rather than quickly, which adds bubbles.
Set up a Safe Resin Workspace
Set up your resin area before opening the bottles. Work in a well-ventilated space and follow the safety directions on your resin kit. At minimum, wear nitrile gloves and protect your eyes from splashes. If your product instructions recommend a respirator, use one rated for organic vapors.
Cover your table with a silicone mat, plastic sheet, freezer paper, or another protective surface. Resin is sticky and difficult to remove once cured. Keep pets, children, food, and drinks away from the workspace. Your table should be level, because resin will flow toward the lowest side. Good lighting also helps you spot bubbles, dust, and unmixed streaks.
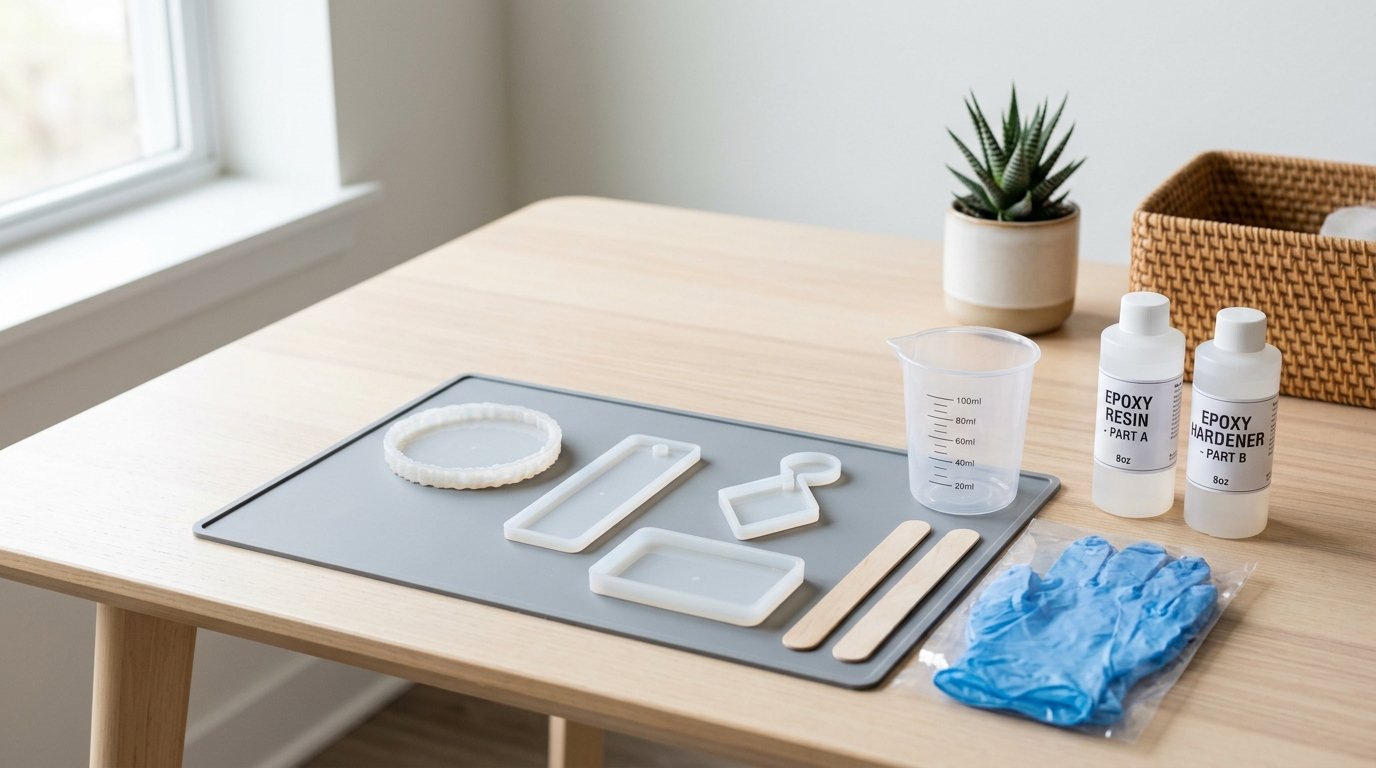
Pick Molds, Surfaces, and Release Tools
Resin needs somewhere to go: a mold, a bezel, or a prepared surface. Silicone molds are the easiest beginner choice because cured resin usually releases cleanly from flexible silicone. Coaster molds, keychain molds, and small tray molds are practical starter options.
If pouring resin onto wood, canvas, tile, or another surface, make sure it is clean, dry, level, and sealed if porous. Unsealed wood or paper can release bubbles into the resin. Mold release spray is optional for many silicone molds but can help extend mold life or release complex shapes. Always check whether your mold is made for resin, not only for food or soap.
Decide How You Want to Color or Decorate the Resin
Begin with a small number of colorants and inclusions. Resin pigments, mica powders, alcohol inks, and opaque pastes are common choices. Mica gives shimmer, pigment paste gives strong color, and alcohol ink creates flowing effects. Use products labeled as resin-compatible when possible.
Do not overload resin with color. Too much liquid colorant can interfere with curing and leave the piece soft or sticky. Add a small amount, mix, and increase gradually. For decorations, try dried flowers, glitter, gold flakes, stickers, small shells, or photos sealed first. Anything wet, oily, or unsealed can create bubbles, discoloration, or cure problems.
Plan for Bubbles, Dust, and Curing Time
Bubbles are normal in resin, especially after mixing. Reduce them by warming sealed resin bottles in lukewarm water if the manufacturer allows it, stirring slowly, and letting mixed resin sit briefly before pouring. After pouring, remove surface bubbles with a heat gun, torch, or alcohol spray only if your resin instructions allow it.
Dust is another common issue. Cover your project with a clean plastic bin, box, or dust cover while it cures. Leave enough space so the cover does not touch the resin. Curing time varies by product, temperature, humidity, and pour thickness. Many pieces feel firm within 24 hours but may need several days for a full cure.
Calculate How Much Resin You Need
To avoid wasting resin, estimate the amount before mixing. Many molds list their capacity. If not, fill the mold with water, pour the water into a measuring cup, and dry the mold completely before using resin. That water amount gives a close estimate of resin volume.
For flat coatings, measure length, width, and desired thickness. Online resin calculators can help convert those dimensions into ounces or milliliters. Mix a little extra for beginner projects, but not a large surplus. Resin has a limited working time, so unused mixed resin will harden in the cup.
Your First Resin Project Setup: Step-by-step Prep
Before you pour, arrange your workflow from start to finish.
- Choose a small project, such as a coaster or keychain.
- Read the resin instructions fully, including ratio, working time, cure time, and safety notes.
- Cover your table and check that it is level.
- Put on gloves and safety gear.
- Set out molds, colorants, inclusions, mixing cups, stir sticks, and bubble tools.
- Measure resin and hardener accurately.
- Mix slowly, scraping the sides and bottom of the cup.
- Divide into smaller cups if adding colors.
- Pour gradually into the mold or onto the surface.
- Remove bubbles, add final decorations, and cover while curing.
This preparation prevents the most stressful beginner problem: realizing you need something after the resin is already mixed.
Common Beginner Mistakes to Avoid
The most common mistake is inaccurate measuring. Resin and hardener must be mixed in the correct ratio, or the project may stay soft, sticky, or cloudy. Another mistake is under-mixing. Scrape the cup and stir long enough for the mixture to look uniform.
Beginners also often add too much pigment, pour too deeply for the resin type, or work in a cold room. Temperature affects flow, bubbles, and cure speed. Finally, avoid touching or demolding too early. A piece that feels firm may still bend, dent, or collect fingerprints before the full cure.
FAQ
What Should a Beginner Know First About What You Need to Start Your Diy Epoxy Resin Project?
A beginner should know that resin success depends more on preparation than artistic skill. Choose a small project, buy resin made for that project, measure exactly, mix thoroughly, and set up your workspace before pouring. Resin has a working time, so everything should be ready in advance.
What Matters Most When Evaluating What You Need to Start Your Diy Epoxy Resin Project?
The most important factors are the resin type, mix ratio, safety requirements, mold or surface choice, and curing conditions. A good beginner setup uses simple tools, compatible colorants, and a level dust-free area. Fancy decorations matter less than accurate measuring and proper curing.
What Mistakes Should Readers Avoid with What You Need to Start Your Diy Epoxy Resin Project?
Avoid guessing measurements, rushing the mixing step, using too much colorant, pouring deeper than the resin allows, and demolding early. Also avoid starting without gloves, ventilation, and a protected table. Most beginner failures come from skipping instructions or improvising after the resin is mixed.
What Is the Next Logical Step After Learning About What You Need to Start Your Diy Epoxy Resin Project?
The next step is to choose one simple project and make a focused shopping list. Start with a small silicone mold, a beginner epoxy kit, basic safety gear, measuring cups, stir sticks, and one or two colorants. Practice once before moving to larger or more detailed resin work.