
Did you finish your resin project, only to find that it feels sticky instead of smooth? The most common reasons for sticky resin are mistakes with measuring, not mixing well enough, or using the wrong conditions for curing. This can leave your piece tacky or soft, even after you’ve waited a long time.
You might notice your resin just won’t harden, or the surface feels slightly wet or gummy. This is a very common problem that can happen to both beginners and experienced crafters.
If you want to learn what went wrong and how to fix it, keep reading. You’ll find out the usual causes of sticky resin and what you can do to get the perfect finish next time.
Understanding Why Resin Remains Sticky After Drying
Sticky resin is a common problem, especially for people new to using it. Knowing what causes this issue can help you prevent it and fix it when it happens.
Common Causes of Sticky Resin
Sticky resin usually happens when the resin and hardener are not measured or mixed properly. If you do not use the right ratio, the resin will not cure. Mixing for too little time can also cause sticky spots because some of the resin does not react with the hardener.
Here are the main causes:
- Wrong ratio of resin to hardener
- Mixing too little or too lightly
- Using expired or contaminated ingredients
Inaccurate measurements are the most frequent reason for uncured or tacky projects. Always follow the instructions on your resin product.
If you need a refresher, this guide shows how to measure epoxy resin accurately.
Differences Between Sticky and Cured Resin
Cured resin is hard, clear, and dry to the touch. It should not feel sticky, tacky, or soft. Sticky resin, on the other hand, can feel wet, tacky, or even greasy. Sometimes, only some parts are sticky, which means curing was not even.
Here is a simple comparison:
| Resin Aspect | Cured Resin | Sticky Resin |
|---|---|---|
| Feel | Hard, smooth, dry | Wet, tacky, soft |
| Appearance | Clear or colored | Cloudy or uneven |
| Reaction | No mark when pressed | Leaves fingerprint |
Sticky resin means that the chemical reaction is incomplete, while cured resin means the reaction is finished, and the material is set.
Impact of Environmental Factors
Temperature and humidity play a big role in how your resin cures. If it is too cold or too humid, the resin may not set right. Most resins need a temperature of about 70–75°F (21–24°C) to cure correctly.
Large swings in temperature, such as drafts or direct sunlight, can also disrupt the curing resin. High humidity can cause a cloudy, sticky layer on the resin’s surface.
Make sure your work area stays at a stable temperature and low humidity during the cure time for the best results. Use a thermometer and a dehumidifier if you need to.
The Importance of Correct Resin and Hardener Ratios
Measuring resin and hardener the right way keeps your project from turning out sticky or soft. Even a small mistake can stop your epoxy from curing as it should.
How to Measure Resin Accurately
Always use a clean, dry measuring cup with clear markings. Pour the resin first, then the hardener, matching the amounts exactly to the ratio on your product’s label (usually 1:1 or 2:1).
Never guess amounts or “eyeball” it. Use a digital scale for best results, especially if you need precise ratios by weight. This is important because even a small extra amount of resin or hardener can cause problems like tacky surfaces, soft spots, or weak cures.
Avoid mixing different brands of resin or hardener. Each company may have a unique formula and ratio, so mixing brands often leads to curing issues. If you spill or over-pour, start over with fresh ingredients. This prevents errors that are hard to fix later.
Balancing Resin and Hardener
The right ratio means every resin molecule pairs with a hardener molecule, forming strong bonds. When you use too much resin or hardener, some molecules don’t link up, and your epoxy might stay sticky or never fully harden.
Check the package instructions every time. Formulas can differ between brands or types, such as art epoxy versus casting resin. If your mixture is not balanced, you can’t fix it after pouring—it will remain soft or sticky.
Mix both parts thoroughly for at least three minutes, scraping the sides and bottom of the mixing cup. If you don’t, some unmixed resin or hardener can leave wet spots or uneven curing, ruining your finish.
Temperature and Curing Conditions
Getting the right temperature and making sure your workspace stays steady are some of the most important parts of curing resin. The curing process depends on both the air temperature and how long your resin is left to set.
Optimal Temperature Ranges
Resin cures best when your workspace stays in a stable range, usually between 70°F and 75°F (21°C to 24°C). Temperatures lower than this can slow down the chemical reaction, making your resin stay sticky or tacky.
If your room is too cold, the resin may never cure all the way. Warm rooms help but make sure the temperature does not jump up or down by more than 10 degrees while your resin is hardening. Sudden changes can cause problems, like uneven curing or soft spots.
Humidity also matters a lot. High humidity can mess with curing and make the surface tacky. Try to work in a dry area for the best result.
Using Heat Lamps to Assist Curing
If you cannot keep your room warm enough, a heat lamp can help. Place the lamp a few feet from your piece—never too close, or you might overheat the resin.
A heat lamp speeds up cure time by giving a gentle, steady warmth. Leave the lamp on for as long as the resin instructions suggest. Always move the lamp if the resin or mold feels too hot to touch.
Check your resin’s surface every so often so it does not get too soft or warp. Using a heat lamp is helpful, but it will not fix problems from bad mixing or poor measurements. It can only assist if cold temperature is the main issue.
Types of Resin and Their Cure Properties
Resin comes in several types, and each type has unique curing needs. Knowing these differences helps you avoid sticky surfaces and get the best finish for your project.
Epoxy Resin Characteristics
Epoxy resin is one of the most popular choices for art, jewelry, and coating projects. It is sold in two parts: a resin and a hardener. You must mix these using a specific ratio (like 1:1 or 2:1) depending on the brand, such as West System. If you do not measure or mix them completely, your resin may stay sticky.
Epoxy resin takes hours or even a full day to cure. The temperature of your work area also matters—a range of 75-85°F (24-30°C) is best. If the room is too cold, the resin may not harden as expected.
Use a table for quick facts:
| Property | Epoxy Resin |
|---|---|
| Mixing | 2 parts (resin+hardener) |
| Curing Time | 8-24 hours |
| Ideal Temp | 75-85°F (24-30°C) |
| Most Common Brand | West System |
UV Resin Versus Epoxy Resin
UV resin is different from epoxy. Instead of mixing two parts, you use a single liquid that cures when exposed to UV light. Curing happens fast—in just a few minutes under a UV lamp. This makes UV resin great for small projects and repairs.
However, UV resin often feels tacky on the top after curing. This happens because oxygen can block a full cure at the surface. You can fix this by using a clear top coat or by placing the resin under the lamp for longer. Unlike epoxy, UV resin works best in thin layers, less than 1/4 inch thick.
If you skip UV light or use layers that are too thick, the inside may never harden, making the object sticky.
Considerations for Decorative Objects
When making decorative objects like coasters, jewelry, and art pieces, your choice of resin matters. Epoxy resin is great for thick pours and larger items because it cures evenly when used correctly. It’s less likely to be sticky if you follow the mix ratio and temperature tips.
UV resin is better for small charms or coating thin layers. It is not suited for big molds or thick decorations since it can’t cure deeply.
West System epoxy is often used for woodworking and hobby crafts, giving a strong, clear result. For any decorative project, follow the instructions closely—especially when measuring, mixing, and curing—to avoid the sticky, soft finish that can ruin your work.
Preventing Sticky Results in Future Projects
For the best resin results, your setup and safety steps matter before you even start mixing. Taking time to prepare your area and protect yourself can make your resin projects smoother and safer.
Preparing Your Work Surface
Start with a clean, flat table or workbench in a dry, dust-free room. Use a plastic or silicone mat, parchment paper, or a non-stick craft sheet to cover your work area. These protect surfaces from spills and prevent your resin item from sticking.
Check that the temperature is steady—most resins cure best between 70–75°F (21–24°C). Too much cold or humidity can stop resin from curing all the way, leading to sticky results.
Lay out all your tools—mixing cups, stir sticks, gloves, and molds—before you begin. Keep everything within easy reach to avoid searching while your resin is setting. Wipe surfaces down with a lint-free cloth to avoid dust or hair in your cured piece.
List of supplies to have ready:
- Clean, level work surface
- Protective plastic/silicone mat
- Mixing supplies (cups, sticks, molds)
- Lint-free cloth or paper towel
Protective Gear Recommendations
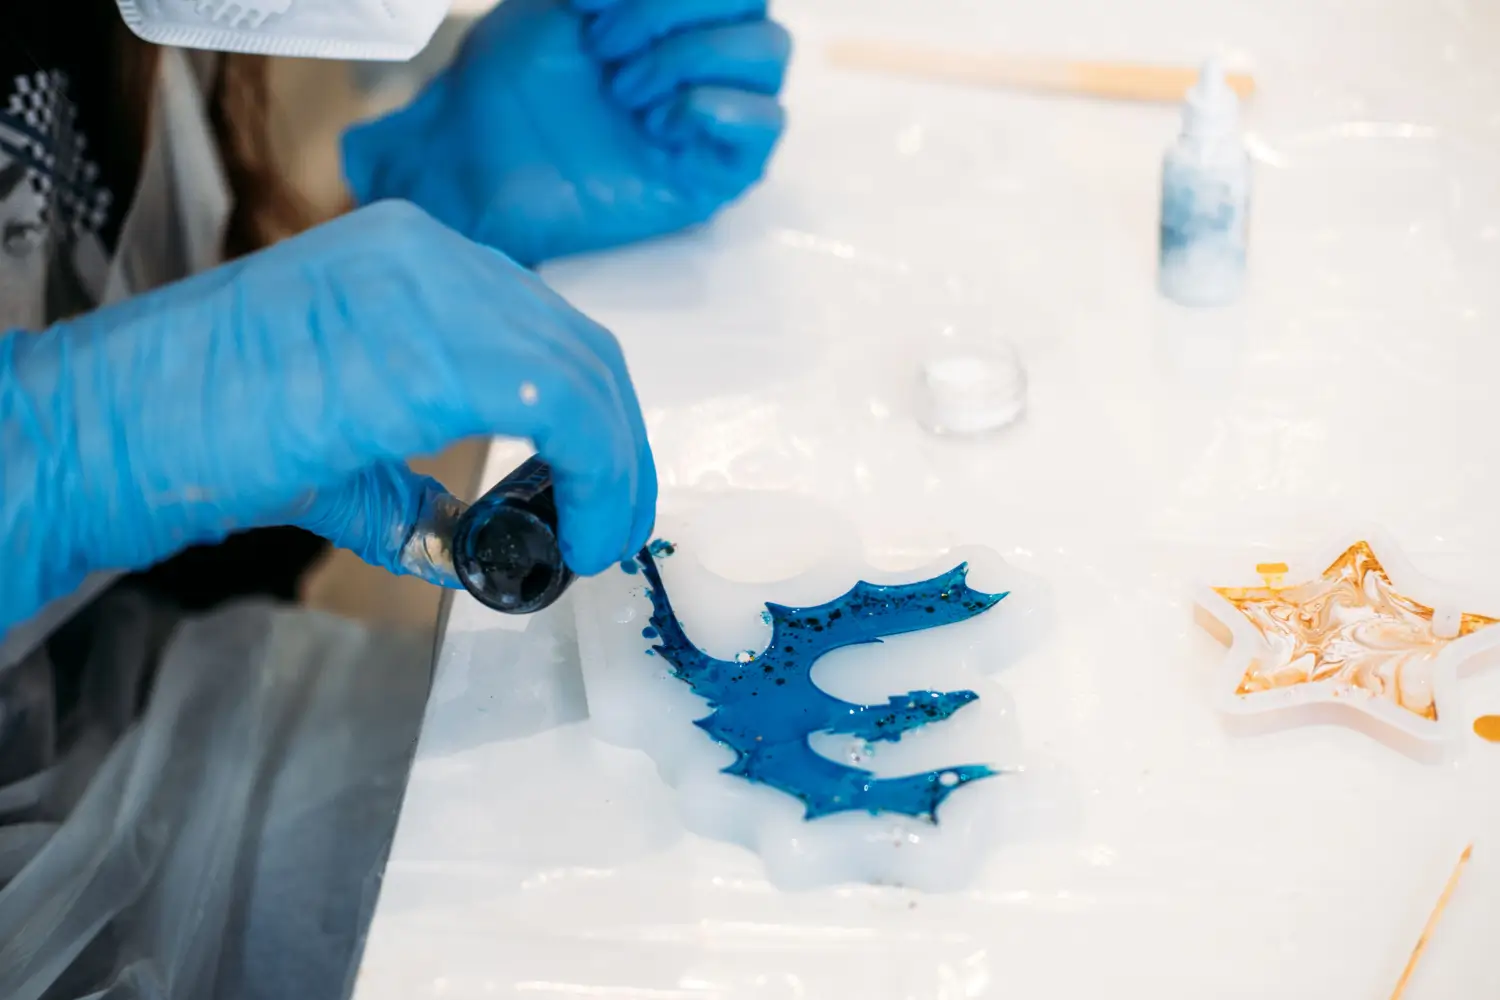
Always wear disposable nitrile gloves to keep resin off your skin. Epoxy and UV resins can cause irritation or skin allergies. Avoid latex gloves, as some can break down in contact with resin.
Use a respirator mask with filters if you’re working in a space with poor airflow. Uncured resin gives off fumes that can irritate your lungs and eyes. Open windows or use a fan to keep fresh air moving.
Wear old clothes, a lab coat, or an apron. Resin is very hard to remove from fabric. Safety glasses or goggles help protect your eyes from splashes.
Checklist for personal protection:
- Nitrile gloves
- Respirator mask (for poorly ventilated spaces)
- Old clothes or apron
- Safety glasses/goggles
Using the right gear not only keeps you safe but can help prevent accidents that lead to sticky results.
Solutions for Sticky Resin After Drying
Sticky resin can often be fixed with the right approach. You have a few different options for both fixing the tacky surface and cleaning up.
Simple Fixes and Add-Ons
If your resin feels sticky only on the top layer, try first to let it sit for another day or two in a warmer spot. Sometimes, a low temperature during curing can delay the process.
For small projects, a fresh layer of properly mixed resin often covers the tacky resin and helps it cure. Make sure you mix the resin and hardener in the right ratio and for the recommended time.
Adding a new coat after sanding the surface lightly will also help the new layer bond better. If the resin is very sticky, you may need to scrape off the unset part before applying another layer.
Cleaning Up Sticky Resin
When you need to clean up a sticky mess, start with a paper towel to wipe away as much uncured resin as possible. For smaller, tacky spots, use alcohol (such as a 91% isopropyl alcohol solution) on a clean cloth to remove the sticky layer.
Table: Common Cleaning Agents for Sticky Resin
| Cleaning Agent | Best For |
|---|---|
| Alcohol (91%+) | Sticky surface mess |
| Acetone | Removing tougher spots |
| Paper Towels | Wiping up excess resin |
Avoid using soap and water, as it may just spread the tackiness. Work in a ventilated space, and wear gloves to protect your skin from chemicals when you clean up resin with alcohol or acetone. Dispose of used towels or cloths safely after cleanup.