
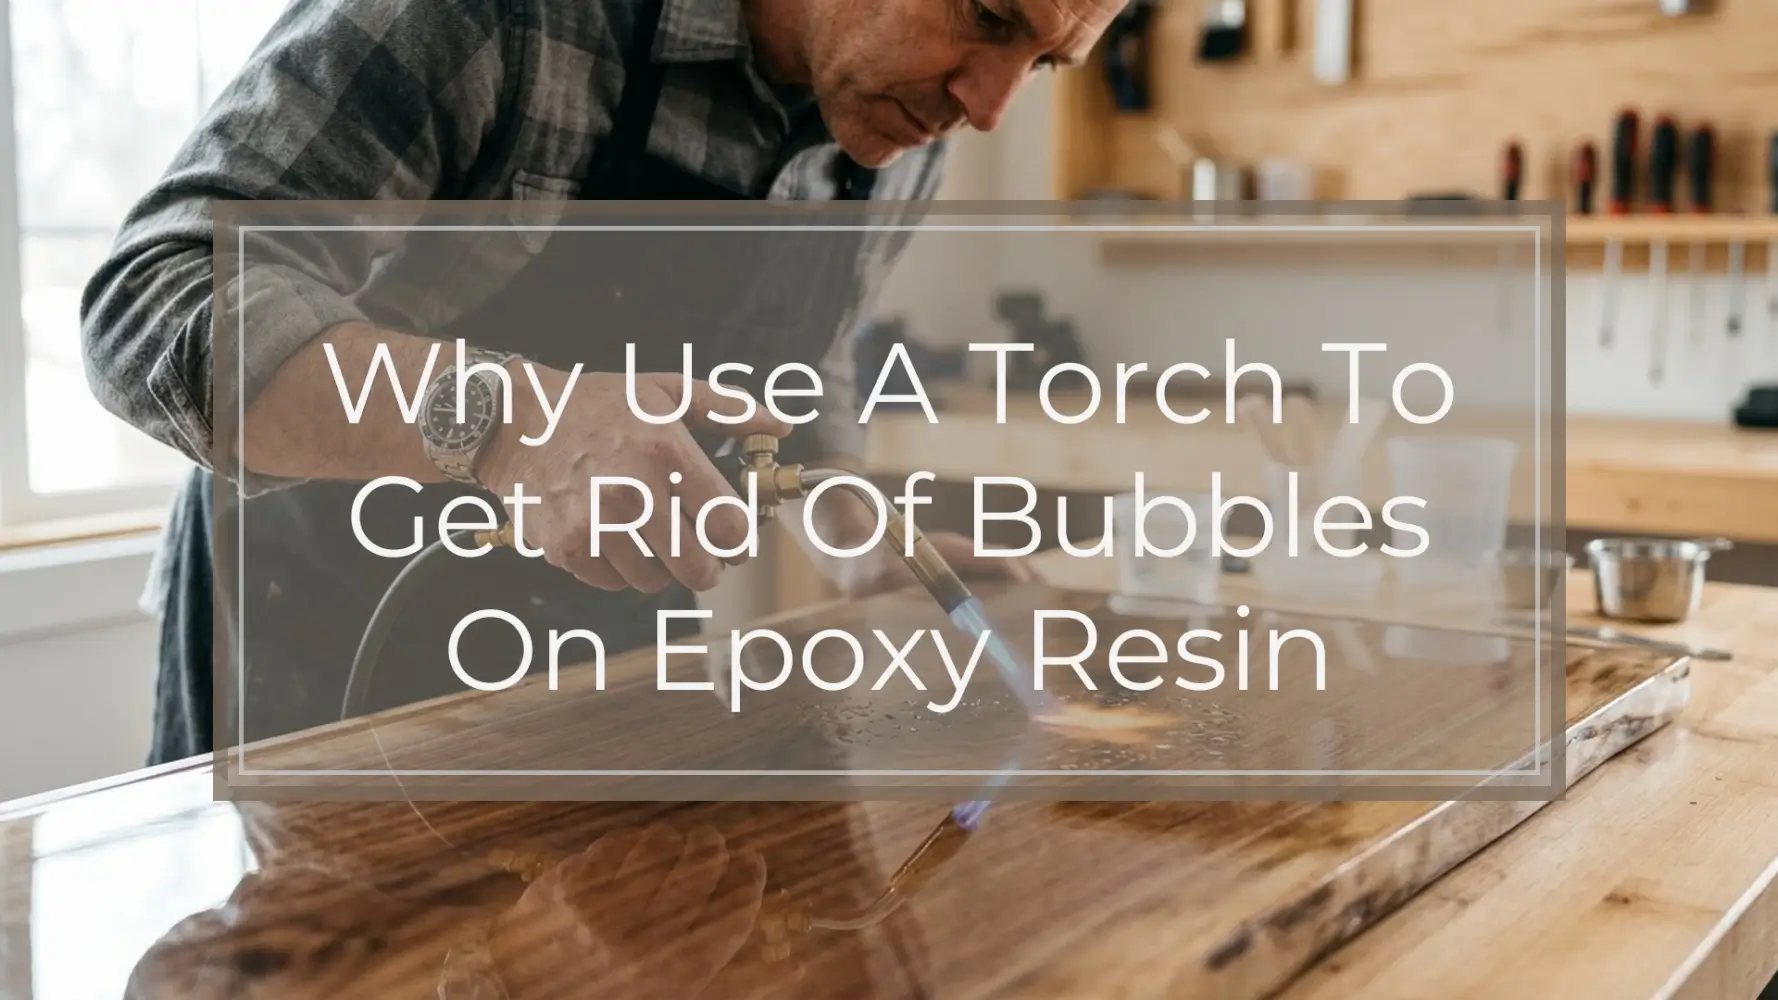
Quick answer: A torch helps remove bubbles from epoxy resin because brief heat lowers the resin’s surface tension and warms the top layer, allowing trapped air bubbles to rise, expand, and pop. It is most useful after mixing and pouring, especially for surface bubbles. The torch should be passed quickly above the resin, not held in one spot, because too much heat can scorch the resin, create waves, damage molds, or cause yellowing.
A torch is not magic, and it will not fix every bubble problem. Think of it as a finishing aid for open resin surfaces, like artwork, trays, tabletops, and shallow coating projects. For deep castings, detailed molds, or heat-sensitive add-ins, another bubble-removal method may be safer or more effective.
The Short Reason a Torch Works on Resin Bubbles
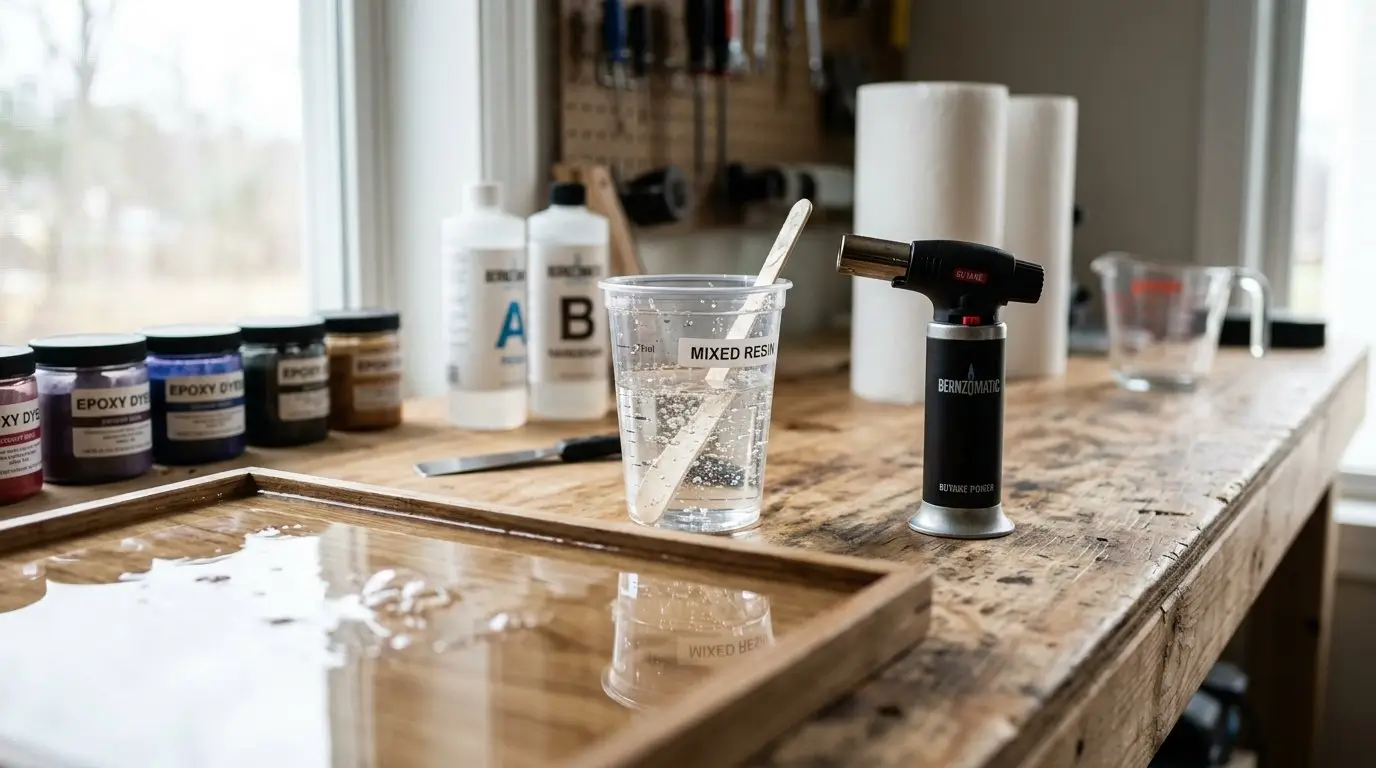
Bubbles in epoxy resin are usually trapped air. They can be introduced when you mix resin and hardener, pour too quickly, stir aggressively, spread resin with a tool, or coat porous materials that release air.
Epoxy resin is thick compared with water, so air bubbles do not always float out immediately. Some rise to the top on their own, but others sit just below the surface and need a little help breaking through.
That is where a torch helps. A quick pass of flame warms the surface of the resin. This brief heat can make the top layer slightly more fluid and reduce surface tension, which makes it easier for bubbles at or near the surface to expand and pop.
The important phrase is at or near the surface. A torch is best after the resin has been poured, spread, and allowed a moment for bubbles to rise. It is not usually the best tool for bubbles trapped deep inside a thick casting.
What Happens When Heat Touches Epoxy Resin
Epoxy resin has a syrupy consistency. Because it is viscous, air can become suspended inside it instead of escaping right away. That is why you may see tiny bubbles appear after mixing, even if the resin looked clear at first.
When brief, controlled heat passes over the surface, a few things happen:
- The top layer of resin becomes slightly thinner for a short time.
- Small bubbles expand as they warm.
- Bubbles near the surface can rise and break.
- The surface tension relaxes enough for tiny trapped pockets of air to pop.
This is why a torch can make bubbles disappear so quickly on a freshly poured resin surface. You are not “burning off” the bubbles. You are using short, gentle heat to help the air escape.
However, epoxy also creates heat as it cures. Adding too much extra heat can interfere with the finish. Overheating may cause ripples, smoke, dimples, discoloration, or uneven curing. The goal is not to cook the resin. The goal is to pass heat over the surface briefly enough to help bubbles release without stressing the resin.
A common misconception is that more torching equals a clearer finish. In reality, careful mixing, proper pouring, and patience usually matter more. The torch is the last touch, not the whole bubble-control plan.
Torch vs Heat Gun, Alcohol Spray, Toothpick, and Vacuum Chamber
A torch is popular because it works quickly on open surfaces, but it is not always the best choice. Different resin projects call for different bubble-removal methods.
| Method | Best For | Main Caution |
|---|---|---|
| Torch | Quick removal of surface bubbles on open resin surfaces, such as resin art, trays, and coated pieces | Can overheat resin, create fire risk, scorch surfaces, or damage molds if used too long |
| Heat gun | Warming larger areas, moving resin, spreading color effects, and encouraging surface bubbles to rise | Can blow dust into resin, push resin over edges, or move pigments more than intended |
| Alcohol spray | Sometimes used by crafters for surface bubbles | Too much can affect the finish; use only if compatible with your resin brand’s guidance |
| Toothpick or skewer | Isolated bubbles, edges, corners, letters, small molds, and around inclusions | Slower and may disturb glitter, flowers, pigments, or other embedded items |
| Vacuum chamber or pressure pot | Specific casting setups where bubbles are a major issue | More expensive, has a learning curve, and is not always needed for simple craft projects |
For example, a torch may be perfect for a flat resin coating on a canvas or serving tray. But if you are filling a small alphabet mold, a toothpick may give you more control. If you are working with a deep casting resin in a thick mold, pressure casting may be more useful than waving a torch over the top.
The best method depends on the resin type, the project shape, the depth of the pour, and what is inside the resin.
How to Use a Torch Without Damaging the Resin
Always read your epoxy resin manufacturer’s directions before using flame or heat. Some resin formulas tolerate torching better than others, and some molds or additives may be heat-sensitive.
The general approach is simple:
- Mix your resin and hardener according to the product instructions.
- Pour and spread the resin where you want it.
- Wait briefly so some bubbles can rise toward the surface.
- Pass the torch quickly above the resin.
- Pause and inspect before making another pass.
The most important habit is motion. Keep the torch moving. Do not hold the flame in one place, and do not touch the resin with the flame. Hover above the surface and move in smooth, quick passes.
Usually, one or two quick passes are better than repeatedly heating the same area. If bubbles remain, pause for a moment. More bubbles may rise naturally, or you may need to remove specific bubbles with a toothpick instead of adding more heat.
Basic safety matters whenever flame is involved:
- Work in a well-ventilated area.
- Keep flammable items away from your workspace.
- Tie back long hair and avoid loose sleeves.
- Do not torch near alcohol, paper towels, solvents, or solvent fumes.
- Keep the torch away from silicone molds, plastic cups, and anything that could melt or ignite.
A torch should feel like a light finishing step. If the resin starts smoking, rippling dramatically, or pulling away from areas, you are likely using too much heat.
When a Torch Is Not the Best Choice
A torch is helpful, but it has limits.
It may not remove bubbles trapped deep inside a thick pour. Heat mostly affects the surface layer, so bubbles buried in the center of a casting may stay there. For deeper projects, prevention, slower pouring, thinner layers, or pressure casting may be more effective.
A torch can also be risky around heat-sensitive materials. Use extra caution with:
- Silicone molds
- Plastic cups or containers
- Delicate dried flowers
- Paper inclusions
- Lightweight glitter
- Thin films or decals
- Small mold cavities with fine details
Detailed molds can trap bubbles in corners, letters, points, and edges. In those cases, a toothpick, skewer, or careful pouring technique may work better than flame. You can guide resin into tight spots and release bubbles before the mold is full.
Over-torching is another common problem. Too much heat can cause ripples, dimples, smoke, discoloration, or a tacky-looking surface. It can also move pigments in ways you did not intend.
In many resin projects, bubbles are easier to prevent than fix after the resin starts to cure. Once resin thickens, bubbles become harder to release, even with heat.
How to Prevent Bubbles Before You Need the Torch
A torch can help reduce surface bubbles, but it should not be your only bubble-control method. The clearest resin results usually come from good habits before and during the pour.
Start with mixing. Stir slowly and deliberately, scraping the sides and bottom of your cup as directed. Avoid whipping the resin like cake batter. Fast stirring folds extra air into the mixture, which creates more bubbles for you to deal with later.
If your resin instructions allow it, let the mixed resin rest briefly before pouring. This can give some bubbles time to rise on their own. Do not wait so long that the resin thickens beyond its working time.
Some crafters warm resin bottles in a warm-water bath before mixing, but only do this if it fits the resin manufacturer’s directions. If you use this method, dry the bottles completely before opening them so water does not get into the resin.
Porous materials are another bubble source. Wood, paper, fabric, dried flowers, and similar items can release air after being covered in resin. Sealing them first can reduce surprise bubbles.
Pouring in thinner layers can also help when your resin system and project allow it. A thinner layer gives bubbles a shorter path to the surface.
The best approach is a combination: mix slowly, pour carefully, seal porous objects, let bubbles rise when possible, and use the torch briefly as a final surface-bubble tool.
FAQ
Can I use a lighter instead of a torch for resin bubbles?
A lighter can sometimes pop a few tiny surface bubbles, but it is harder to control and may require your hand to get too close to the resin. A small craft torch is usually more even and practical. Always follow your resin’s heat guidance.
Will a torch remove bubbles inside a deep resin pour?
Usually not. A torch mainly affects bubbles near the surface. Deep bubbles may remain trapped inside thick resin. For deep pours, focus on slow mixing, careful pouring, suitable layer depth, and casting methods designed for bubble control.
Why did my resin ripple or get dimples after torching?
Ripples or dimples often happen when the resin gets too much heat, the flame is held too close, or the same spot is torched repeatedly. Heat can move resin, disturb the surface, or affect curing, especially once resin starts to thicken.
Is a heat gun better than a torch for epoxy resin bubbles?
Not always. A torch is often better for quickly popping surface bubbles. A heat gun is useful for warming larger areas and moving resin, but it can blow dust, shift pigments, or push resin around. The better tool depends on the project.
Should I torch resin before or after it starts curing?
Torch soon after pouring and spreading, while the resin is still fluid and bubbles can rise. Avoid torching once the resin has thickened significantly or started setting, because heat may create texture, waves, or surface flaws.