You need to seal coat your epoxy surface before pouring the resin flood coat because the seal coat locks down porous material, fills tiny surface gaps, and prevents trapped air from rising into your final layer. Without it, wood, paper, fabric, concrete, and many decorated surfaces can release bubbles, absorb resin unevenly, or create dull spots in the flood coat.
Think of the seal coat as surface preparation, not the finish. It is a thin, brushed-on layer that stabilizes the project before the thicker, self-leveling flood coat goes on top. When done correctly, it helps the final pour stay clearer, smoother, glossier, and more predictable.
What Is a Seal Coat in Epoxy Resin Work?
A seal coat is a thin layer of epoxy resin applied to the surface before the main flood coat. Instead of building depth, its job is to seal pores, cracks, edges, seams, paper fibers, wood grain, and other areas that might release air or absorb resin.
You usually apply a seal coat with a brush, foam brush, gloved hand, or spreader, working it into the surface rather than pouring it thickly. Once it has cured or reached the right recoat stage, you can add the flood coat over it.
The flood coat is the visible finishing layer. The seal coat prepares the surface so that finish can look clean.
Why the Seal Coat Matters Before a Resin Flood Coat
The main reason to seal coat first is bubble prevention. Porous surfaces hold air. When resin sits on top, that air warms, expands, and escapes upward into the fresh epoxy. Those bubbles can harden in place if you cannot pop them quickly enough.
A seal coat also reduces uneven absorption. Bare wood, for example, can drink in resin at different rates across end grain, knots, cracks, and soft areas. That can leave dry-looking patches or low spots under the flood coat.
It also helps protect embedded items. Photos, labels, paper, dried flowers, glitter layers, and painted details can shift, bleed, or release air if the flood coat hits them directly. A thin seal layer locks them down.
Most importantly, a seal coat gives you control. It turns an unpredictable surface into a more stable base for the final glossy pour.
Seal Coat Vs. Flood Coat: What Each Layer Does
A seal coat and flood coat use similar epoxy, but they have different jobs. Confusing them can lead to applying the first layer too thick or expecting the final coat to fix preparation problems.
| Layer | Main purpose | Typical application | What it prevents or improves |
|---|---|---|---|
| Seal coat | Prepare and stabilize the surface | Thin, brushed or spread over the surface | Bubbles, resin absorption, loose fibers, uneven sealing |
| Flood coat | Create the final glossy surface | Thicker pour, spread to edges, self-leveling | Depth, shine, smooth finish, visual clarity |
The easiest mental model: the seal coat handles the surface problems; the flood coat creates the finished look.
Surfaces That Usually Need a Seal Coat
A seal coat is especially important on porous, textured, or layered surfaces. If the surface can absorb liquid, trap air, or move under resin, it probably needs sealing first.
Common examples include:
- Raw wood, especially slabs, tabletops, coasters, and end grain
- MDF, plywood, cork, bamboo, and particleboard
- Concrete, stone, unglazed ceramic, and plaster
- Paper, cardboard, maps, photos, labels, and book pages
- Fabric, canvas, pressed flowers, and natural fibers
- Painted surfaces with texture, cracks, or brush marks
- Glitter, mica, sand, shells, and collage-style designs
Even if a surface looks smooth, test a small area if you are unsure. If resin or water darkens it quickly, it is likely absorbent enough to benefit from a seal coat.
What Happens If You Skip the Seal Coat?
Skipping the seal coat does not always ruin a project, but it raises the risk of finish problems. The most common issue is trapped bubbles rising through the flood coat after you have already spread it. These may appear from wood grain, cracks, knots, corners, seams, or embedded objects.
You may also see dull patches where the surface absorbed resin from underneath the flood coat. In some projects, the epoxy pulls away from edges or sinks into low areas, leaving an uneven surface.
Decorative materials can create additional trouble. Paper may wrinkle, ink may bleed, flowers may release air, and glitter or lightweight objects may float. A flood coat is not meant to solve all of those problems by itself.
A seal coat gives those hidden issues a chance to show up before the final layer.
How to Apply a Seal Coat Before the Flood Coat
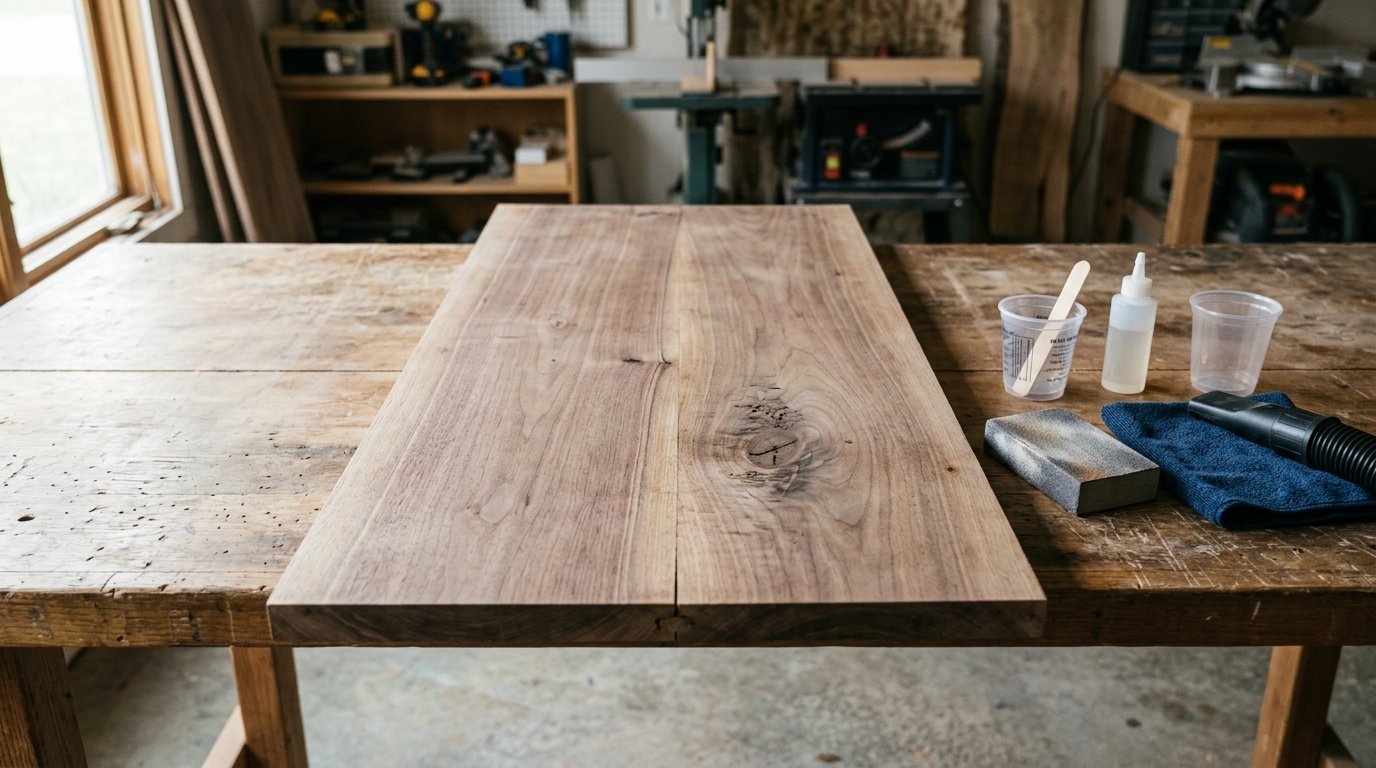
Start with a clean, dry, level surface. Remove dust, oil, loose paint, sanding residue, lint, and debris. If the project is wood, sand it smooth and wipe it clean. If there are cracks, knots, or seams, expect those areas to need extra attention.
Mix your epoxy according to the product instructions. Measure accurately, scrape the sides and bottom of the mixing cup, and mix slowly to avoid whipping in excess air.
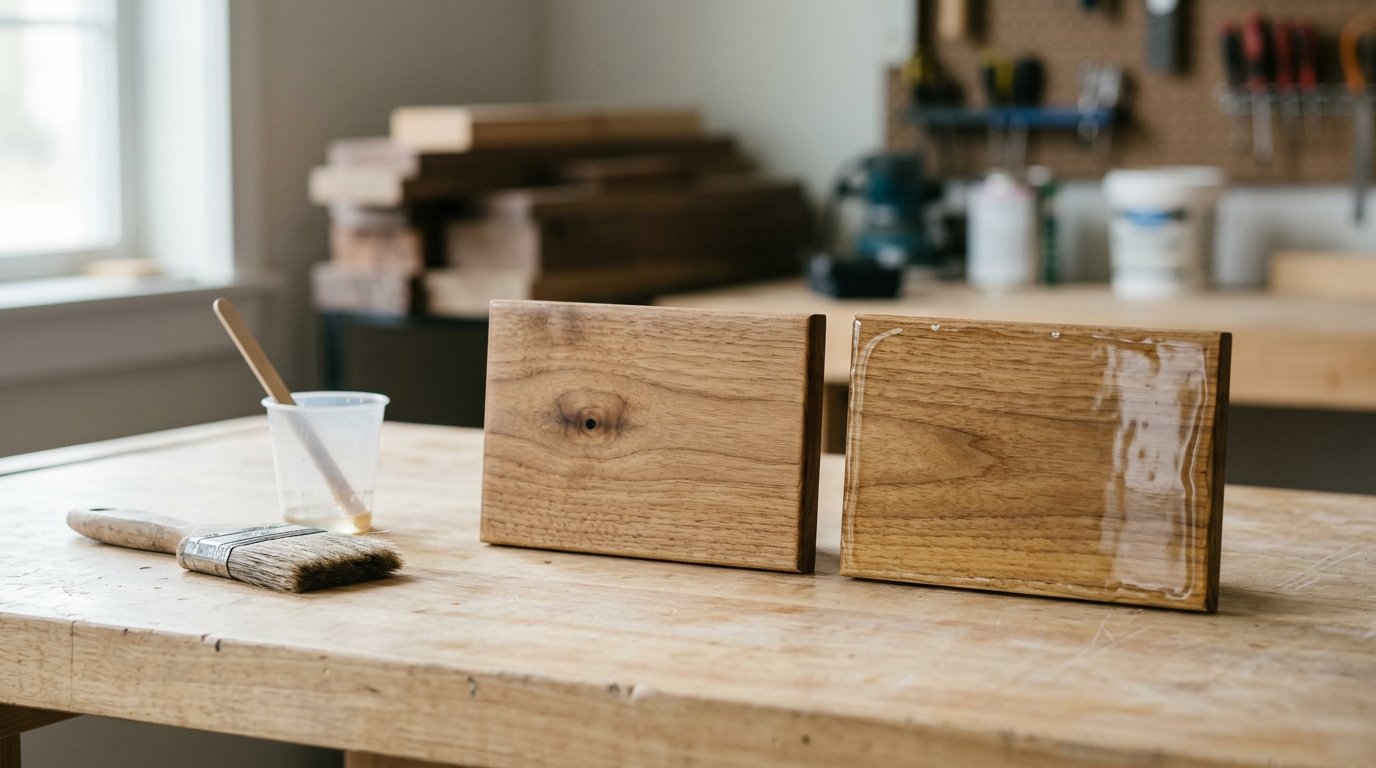
Pour a small amount onto the surface or dip your brush into the mixed resin. Spread a thin layer across the entire area. The goal is not a thick glossy pour; it is a wet, even film that penetrates and seals the surface.
Work resin into edges, corners, cracks, knots, and any embedded details. These are the places most likely to release bubbles later. Use a heat gun or torch carefully, if your resin allows it, to pop surface bubbles. Do not overheat the resin or scorch the surface.
Check the piece for several minutes after application. If dry areas appear, lightly brush more resin into them. Let the seal coat cure or reach the recoat stage recommended by your epoxy before applying the flood coat.
How Long to Wait Between the Seal Coat and Flood Coat
The right wait time depends on your epoxy brand, room temperature, humidity, layer thickness, and project surface. Always follow the manufacturer’s recoat window first.
Many makers pour the flood coat when the seal coat is firm but still slightly tacky, because this can create a chemical bond between layers. If the seal coat has fully cured hard and slick, you may need to scuff sand it lightly before recoating.
Avoid pouring too soon if the seal coat is still moving, soft, or uneven. The flood coat should go over a stable surface, not a wet layer that can mix unpredictably.
Common Seal Coat Mistakes to Avoid
The biggest mistake is applying the seal coat too thick. A heavy seal coat can run, pool, overheat, or create uneven ridges. Keep it thin and purposeful.
Another mistake is missing edges and porous spots. End grain, cracks, knots, paper edges, and raised embellishments often release the most air. Brush resin into them deliberately.
Do not rush mixing or curing. Poorly mixed epoxy can stay sticky, and an under-cured seal coat can interfere with the flood coat.
Also avoid assuming heat will fix everything. A torch can pop surface bubbles, but it cannot remove air continuously escaping from an unsealed surface.
When You Might Not Need a Separate Seal Coat
You may not need a separate seal coat when pouring over a non-porous, already sealed, clean surface that has good adhesion. Examples may include properly prepared cured epoxy, sealed acrylic paint, glass-like coated surfaces, or a previous resin layer.
Even then, preparation still matters. The surface may need cleaning, sanding, or compatibility testing. If the project includes raw wood, paper, fabric, cracks, or natural materials, a seal coat is usually the safer choice.
FAQ
Is a Seal Coat the Same as a Flood Coat?
No. A seal coat is a thin preparation layer that seals pores, edges, and embedded materials before the final pour. A flood coat is the thicker finishing layer that creates the smooth, glossy surface. They may use the same epoxy, but they serve different purposes.
Can I Pour the Flood Coat While the Seal Coat Is Still Tacky?
Often, yes, if your epoxy instructions allow recoating during the tacky stage. This can help the layers bond chemically. The seal coat should be stable, not runny or shifting. If it has fully cured, you may need to scuff sand before pouring the flood coat.
Do I Need to Sand the Seal Coat Before the Flood Coat?
You usually do not need to sand if you pour within the resin’s recommended recoat window. If the seal coat has cured hard, glossy, or slick, light sanding helps the next layer grip. Remove all sanding dust before applying the flood coat.
How Thick Should an Epoxy Seal Coat Be?
A seal coat should be thin—just enough to wet out and seal the surface. You are not trying to build depth or create the final shine. Brush or spread it evenly, paying extra attention to porous areas, cracks, edges, and embedded objects.
Will a Seal Coat Stop All Bubbles in Epoxy?
A seal coat greatly reduces bubbles, but it cannot guarantee a bubble-free finish. Bubbles can still come from mixing too aggressively, pouring too thick, overheating, dusty surfaces, or trapped air in decorations. Good mixing, surface prep, timing, and careful heat use still matter.