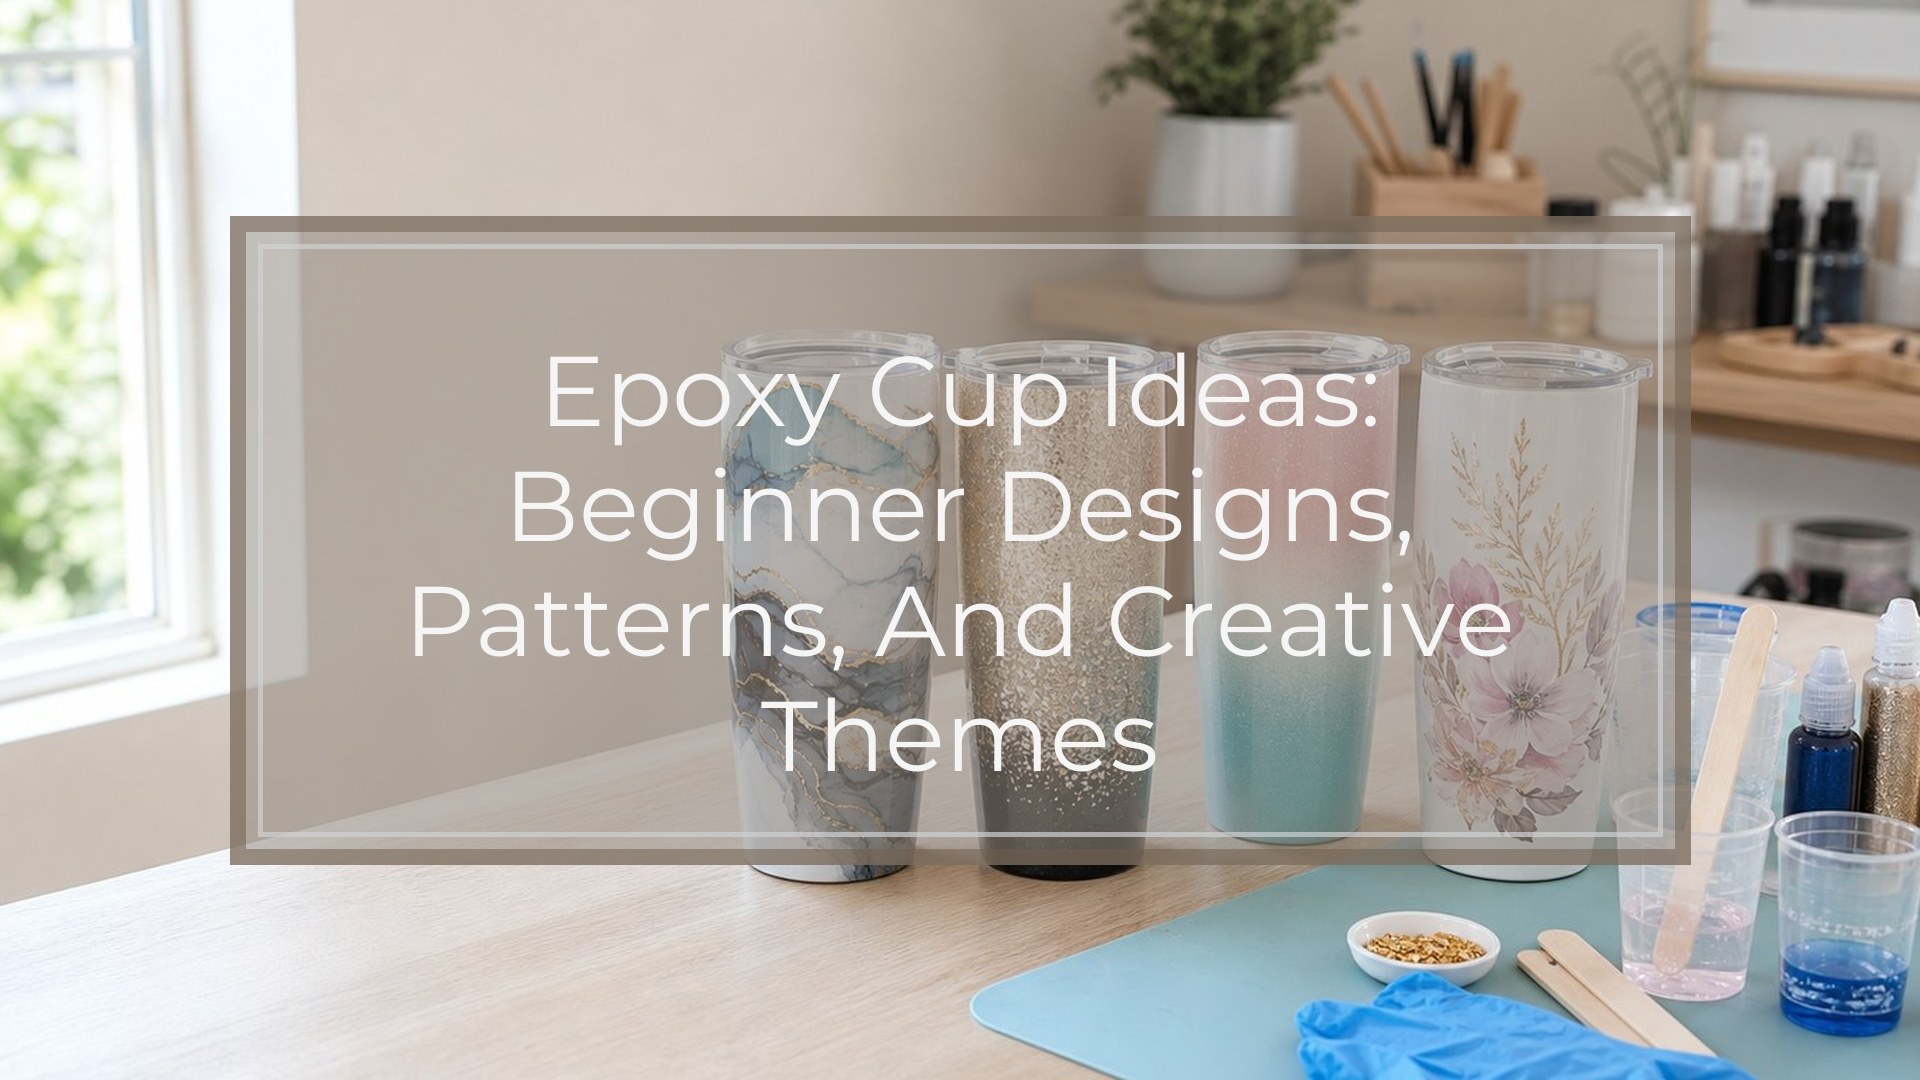
Good epoxy cup ideas balance three things: the look you want, the tools you have, and how many layers you are willing to finish. A beginner-friendly cup usually uses one or two colors, simple glitter, or a clean decal sealed under resin. More advanced designs use alcohol inks, mica swirls, split patterns, chunky glitter, fabric, or layered decals. Start by choosing the cup’s purpose: everyday tumbler, gift, holiday design, school spirit cup, or a bold statement piece. Then match the idea to your patience level and workspace.
When the cup is meant as a gift, epoxy projects for gift giving keep the same focus on simple resin ideas that feel personal.
What to Know Before Choosing an Epoxy Cup Idea
Before picking a design, think of an epoxy cup as layers: base color, decoration, resin seal, and final finish. Simple cups may need one painted base and one or two resin coats. Detailed cups may need sanding, decals, glitter layers, and multiple clear coats.
Use stainless steel tumblers or cups designed for crafting. Avoid coating the inside, rim, or any area that touches drinks unless the product is specifically rated for that use. Most epoxy cup designs are decorative exterior coatings.
Also consider your setup. A tumbler turner makes smooth coats easier, especially for full-wrap epoxy designs. If you do not have one, choose partial designs, vinyl-only accents sealed carefully, or practice pieces before making a gift.
Easy Epoxy Cup Ideas for Beginners
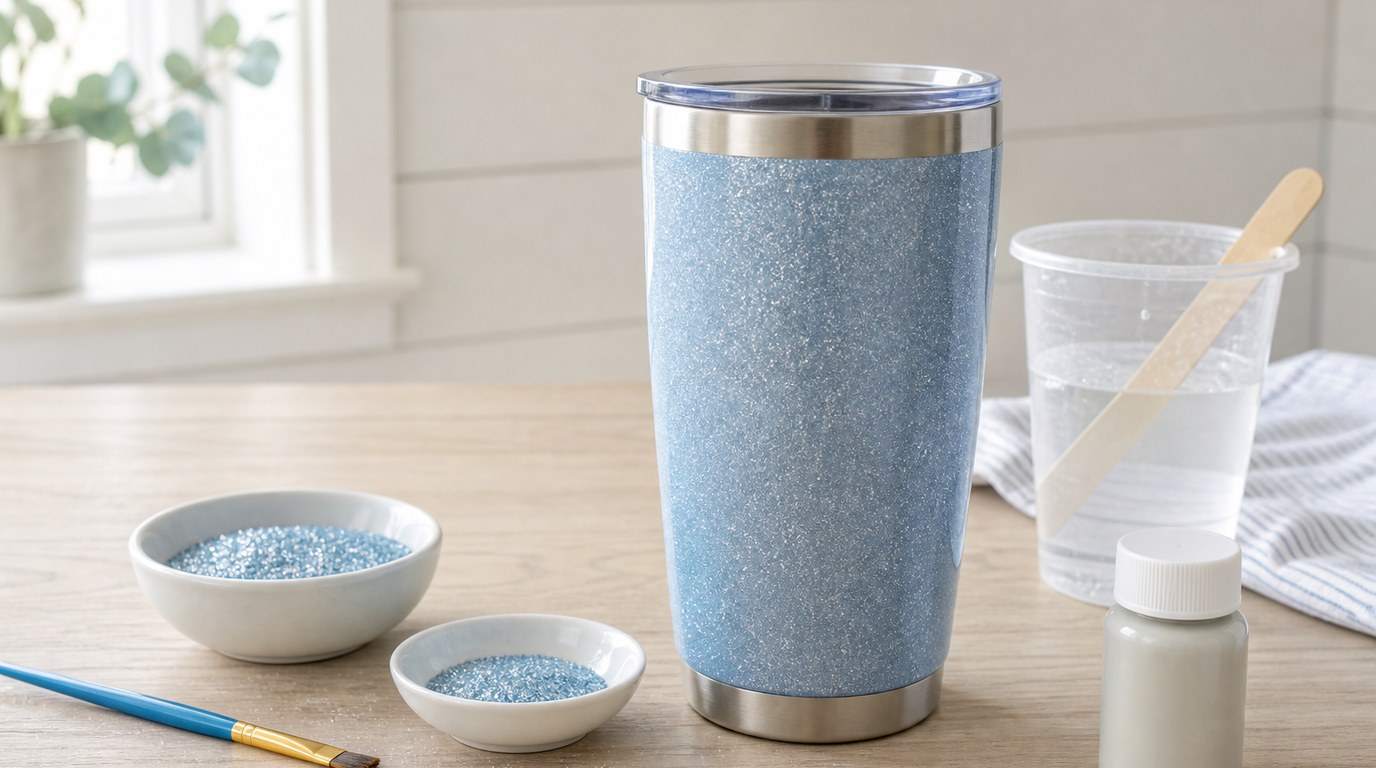
A solid glitter tumbler is one of the easiest epoxy cup ideas because it hides small imperfections. Paint the cup a matching base color, add fine glitter, then seal with clear epoxy. Fine glitter is easier to smooth than chunky glitter and usually needs fewer coats.
Once the glitter layer is smooth, the next helpful step is understanding how to make epoxy tumblers from prep through final sealing.
A single-color mica shimmer cup is another simple option. Mix a small amount of mica powder into clear epoxy and apply it over a painted base. Pearl white, rose gold, navy, and emerald all look polished without complicated placement.
Try a vinyl name cup if you want something personalized but manageable. Paint or glitter the cup, seal it with a thin epoxy layer, apply the vinyl name or monogram, then add a final clear coat. This keeps the decal protected and gives the cup a finished look.
A confetti dot cup is playful and forgiving. Use small vinyl circles, holographic dots, or shaped glitter over a plain base. Keep the colors limited so the design looks intentional instead of crowded.
For a soft handmade look, make a pastel ombré cup with spray paint or alcohol ink-style blending, then seal it with epoxy. Pink-to-peach, blue-to-lavender, and mint-to-white are easy combinations.
Color and Pattern Ideas That Look More Advanced
A geode-inspired epoxy cup creates a dramatic crystal look without needing perfect symmetry. Use a dark or white base, draw irregular geode lines, then add metallic paint, glitter, crushed glass-style craft glitter, or mica accents. Keep the “crystal” area to one side of the cup so the design has a focal point.
A marble epoxy cup works well with white, black, gray, and metallic gold. Apply a white base, then use thin black or gray veining. Gold accents make the cup look more finished. The key is restraint: too many veins can turn marble into scribbles.
A beach wave cup is popular for summer gifts. Use sand-colored glitter or paint at the bottom, turquoise and blue resin for water, and white resin or paint for foam lines. Work in thin layers so the waves stay crisp.
A woodgrain tumbler is a good choice for rustic styles. Start with a tan or brown base and drag darker brown lines vertically while the coating is workable. Add a small name decal or outdoor-themed graphic to complete the look.
A split-color cup gives a clean, modern effect. Tape the cup diagonally or vertically, decorate each side differently, then remove the tape before sealing. Popular combinations include matte black with gold glitter, leopard print with blush pink, or navy with silver shimmer.
A peekaboo glitter cup uses a glitter base covered by paint, with shapes or words revealed by removing vinyl before epoxy. It takes planning, but the result looks much more advanced than the actual steps.
Theme-based Epoxy Cup Ideas
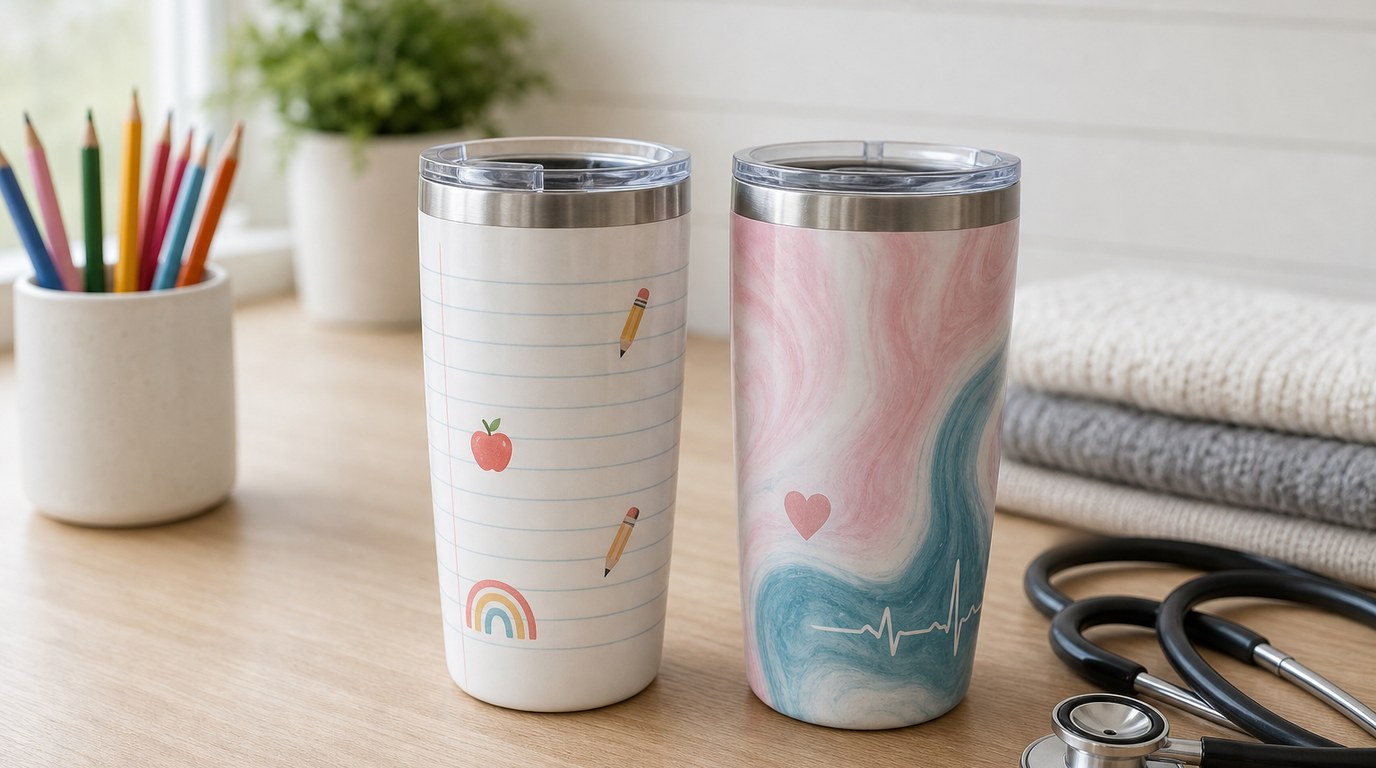
A teacher cup makes a practical gift. Use pencil colors, notebook paper lines, apples, rainbows, or a simple “teach, love, inspire” decal. Keep the design washable-looking and not overly bulky, since it may be used often.
A nurse or healthcare cup can feature soft pink, teal, red, or white with heartbeat lines, stethoscope graphics, or a name badge-style decal. A clean glitter fade at the bottom keeps it professional but personal.
A sports team cup is easy to customize with school colors, jersey numbers, mascots, or player names. Use two-color glitter fades, stripes, or a split design. If using logos, make sure you have permission for anything you sell.
A holiday epoxy cup can be simple and festive. For Christmas, try red glitter with white snowflakes, green buffalo plaid, or a “hot cocoa crew” theme. For Halloween, use black, orange, purple, ghosts, bats, or glow-style vinyl. For Valentine’s Day, use pink ombré, tiny hearts, and rose gold accents.
A wedding party cup is a strong choice for matching sets. Use the wedding colors, each person’s name, and a small role decal such as “bridesmaid” or “maid of honor.” Keep the design consistent so the set feels coordinated.
A mom, grandma, or family cup can include children’s names, birth month flowers, handprint-style decals, or a simple quote. These are often best with softer backgrounds so the names remain readable.
Statement Epoxy Cup Ideas for Experienced Crafters
A 3D floral epoxy cup uses dried flowers, pressed petals, or raised floral decals sealed under clear resin. Placement matters because bulky pieces can create uneven areas. Use thin flowers and expect extra sanding and clear coats.
A chunky glitter ombré cup creates strong sparkle but requires patience. Chunky glitter can leave texture, so plan for multiple sealing coats. Blend chunky glitter near the bottom into fine glitter toward the top for a smoother transition.
A fabric-wrapped epoxy cup can look boutique-level. Popular fabrics include leopard print, florals, cowhide, plaid, and designer-inspired patterns. The fabric must be smooth, sealed well, and trimmed cleanly before epoxy.
A full-scene tumbler tells a story around the whole cup, such as mountains, ocean sunsets, bookshelves, florals, or a night sky. These cups need careful layout so the design lines up as the tumbler turns.
How to Pick the Right Epoxy Cup Idea
Choose your project by skill level first, then style. If you are new, pick a design that still looks good with minor flaws, such as fine glitter, mica shimmer, or a name decal. If you have made a few cups, try marble, beach waves, peekaboo glitter, or split designs. Save fabric, chunky glitter, and full-scene cups for when you are comfortable sanding and layering.
| Goal | Best epoxy cup idea | Skill level |
|---|---|---|
| First project | Fine glitter tumbler | Beginner |
| Personalized gift | Name or monogram cup | Beginner |
| Trendy look | Marble or geode cup | Intermediate |
| Seasonal gift | Holiday theme cup | Beginner to intermediate |
| Bold custom design | Fabric or full-scene cup | Advanced |
Quick Tips for Better Epoxy Cup Results
Prep matters more than the design. Clean the cup well, scuff the surface lightly if needed, and use a base color that supports your design. A white base brightens pastels and inks, while a black base makes metallics and holographic glitter stand out.
Use thin, even epoxy coats instead of trying to fix everything with one heavy layer. Heavy coats can sag, ripple, or pool near the bottom. Let each layer cure as directed before sanding or adding decals.
Keep decals flat and burnished before sealing. Raised edges can trap bubbles or create ridges. For glitter cups, seal loose glitter before the final coat so it does not shift.
Work safely with gloves, ventilation, and the resin manufacturer’s instructions. Keep epoxy away from drinking surfaces, and let the cup fully cure before use.
FAQ
What Is the Easiest Epoxy Cup Idea for Beginners?
A fine glitter tumbler is usually the easiest epoxy cup idea. Glitter hides small texture issues, and the design does not require precise lines or advanced blending. Start with a matching painted base, add fine glitter, seal it, and finish with a clear epoxy coat.
Can You Put Epoxy on Any Cup?
No. Stainless steel tumblers are the most common choice for epoxy cup projects. Avoid coating plastic cups that flex, surfaces that cannot handle prep, or any area that touches the mouth or drink unless the resin is specifically approved for that use.
Do Epoxy Cups Need a Tumbler Turner?
A tumbler turner is strongly recommended for full epoxy cup coatings because it helps resin level evenly while curing. Without one, epoxy can drip or sag. For best results, use a turner, especially when making glitter, mica, marble, or full-wrap designs.
What Can I Put Under Epoxy on a Cup?
You can put glitter, mica, alcohol ink effects, vinyl decals, waterslide decals, fabric, paint, pressed flowers, or decorative paper under epoxy. Make sure the material is dry, flat, sealed if needed, and firmly attached before adding the final resin coat.