Layering resin means pouring epoxy or craft resin in separate stages instead of filling the mold or surface all at once. To do it well, choose a resin that matches your project depth, measure and mix accurately, pour thin layers, then add the next layer during the product’s recoat window or after sanding a fully cured surface. Work slowly, remove bubbles between layers, and let each stage firm up enough to support inclusions or color effects. The goal is clean depth, strong adhesion, and a fully cured piece with no sticky spots, cloudiness, or separation.
When the plan only needs a bottom layer and a top layer, two-stage resin pours keep the process simple while still building depth.
What Layering Resin Means and When to Use It
Layering resin is the process of building a project with multiple pours. Each layer can be clear, tinted, embedded with objects, or used to create visual depth.
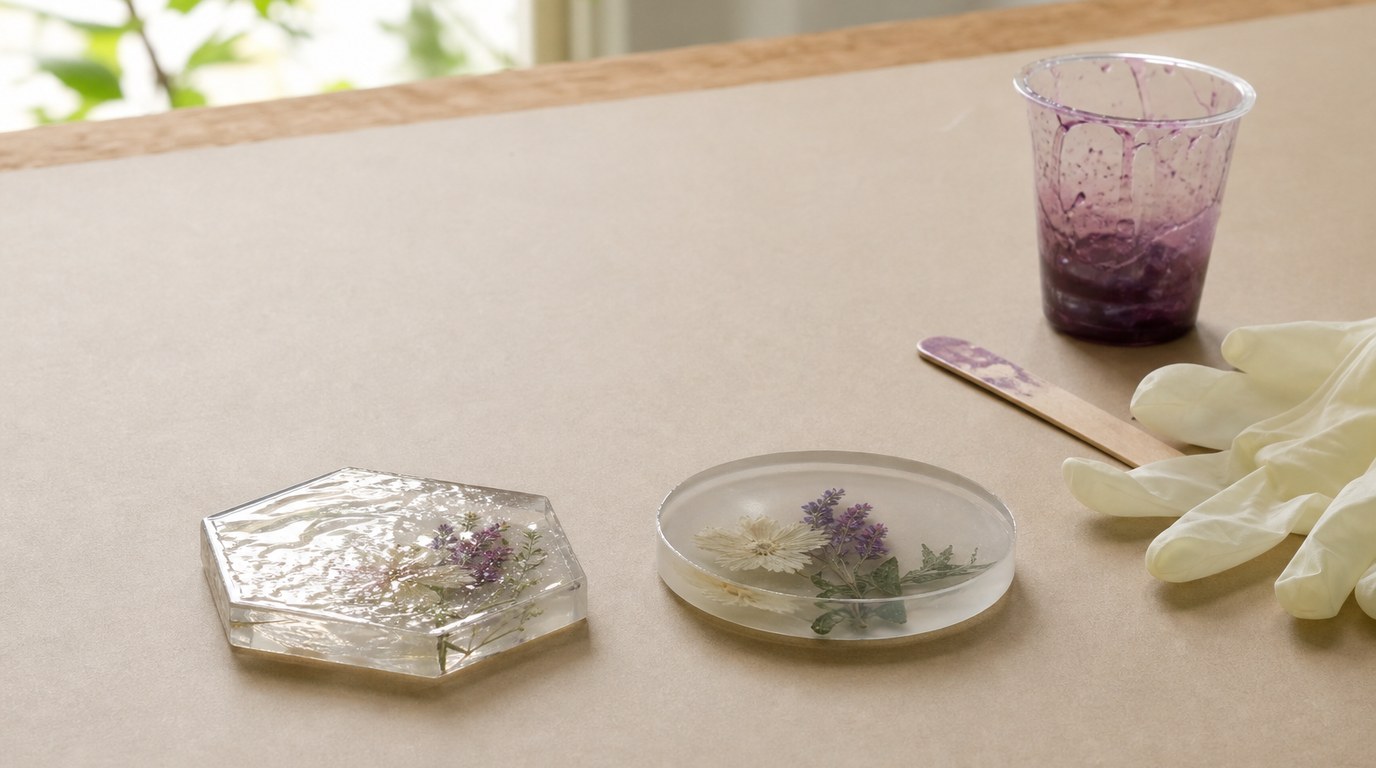
Use layering for deep molds, ocean art, petri effects, flower preservation, coasters, trays, jewelry, and projects where one thick pour would overheat, trap bubbles, or distort the design. It also lets you place objects at different heights instead of letting everything sink to the bottom.
Prerequisites: Supplies, Workspace, and Resin Choice
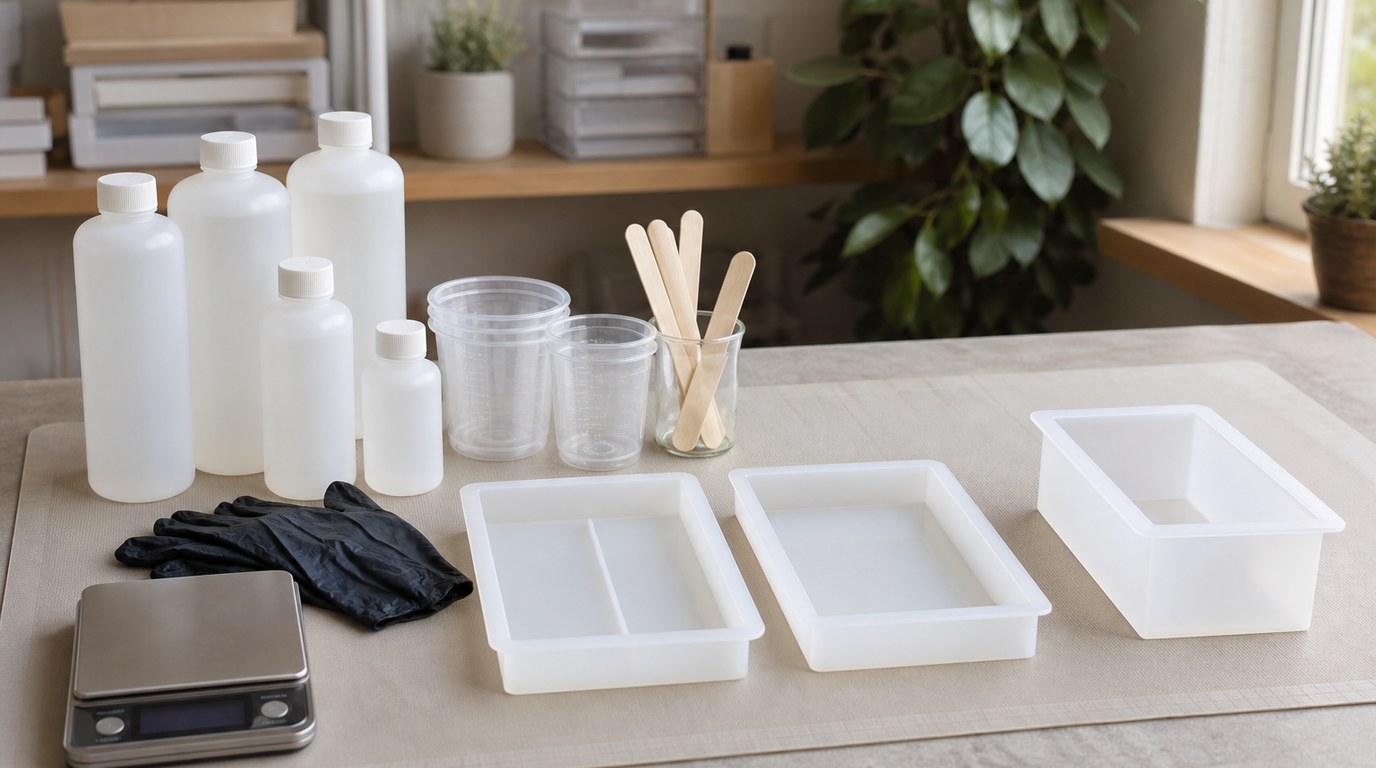
Before mixing, gather everything you need:
- Epoxy resin and hardener suitable for your project
- Mixing cups, stir sticks, and measuring tools
- Gloves, eye protection, and a respirator if required by the product label
- A level work surface
- Silicone mold, panel, tray, or prepared surface
- Heat gun, torch, or alcohol spray if approved for your resin
- Toothpicks or a detail tool for bubbles and placement
- Pigments, dyes, glitter, dried flowers, photos, shells, or other inclusions
- Dust cover
- Sandpaper for fully cured layers if needed
Check two product details before you start: the maximum pour depth and the recoat window. Do not exceed the recommended layer thickness, especially with deep molds. Thick resin can overheat, crack, yellow, or cure unevenly.
Work in a clean, dry, ventilated space at the temperature recommended by the resin manufacturer.
Before You Pour: Plan the Layer Order
Plan the project from bottom to top before opening the bottles. Decide which parts should appear deepest, which elements should float in the middle, and what should sit near the surface.
Sketch a quick layer map if the design is complex. Note the approximate thickness of each layer, when you will add inclusions, and which layers need color. Seal porous items such as paper, wood, fabric, or dried botanicals before embedding them, or they may release bubbles and create cloudy patches.
Also check that your mold or surface is level. Uneven setup becomes more obvious with every layer.
Step 1: Measure and Mix the First Resin Batch
Measure resin and hardener exactly according to the product ratio. Do not estimate by eye unless the product specifically allows it. Too much resin or hardener can leave sticky, soft, or brittle areas.
Mix slowly but thoroughly, scraping the sides and bottom of the cup. Fold the material together instead of whipping it, which adds bubbles. If the instructions recommend a two-cup mix, pour the mixed resin into a clean cup and stir again.
Only mix enough for the first layer. Large batches can heat up quickly in the cup and shorten your working time.
Step 2: Pour a Thin, Even Base Layer
Pour the first layer slowly into the mold or across the surface. Keep it within the resin’s maximum pour depth. For many craft projects, a thin base layer is easier to control and gives you time to remove bubbles.
Use a stir stick to guide resin into corners or edges. Do not scrape unmixed residue from the mixing cup into the project.
After pouring, let bubbles rise for a few minutes. Pop them with a heat tool used lightly and briefly, or with a toothpick near delicate inclusions. Avoid overheating the resin or silicone mold.
Step 3: Wait for the Right Recoat Stage
The best time to add the next layer is usually during the resin’s recoat window, when the first layer is firm but still chemically able to bond with the next pour. This stage may feel tacky, gel-like, or firm enough that additions do not sink immediately.
Always follow your resin’s instructions because timing changes with brand, layer thickness, room temperature, and humidity. A warm room may speed curing; a cool room may slow it down.
If the layer has fully cured past the recoat window, lightly sand the surface to create tooth, then wipe away dust before pouring again. Never pour onto a dirty, oily, or wet surface.
Step 4: Add Inclusions, Color, or Design Elements
Add inclusions when the layer can support them at the height you want. If you add flowers, shells, beads, charms, or photos too early, they may sink or drift. If you add them too late, they may not settle smoothly into the surface.
Pre-seal porous inclusions and make sure all items are completely dry. Moisture can cause cloudiness, bubbles, or poor curing.
For color, mix pigment into a separate small batch before pouring, or add tinted resin as its own layer. Use resin-safe pigments and avoid overloading with colorant, which can interfere with cure.
Step 5: Pour the Next Resin Layer
Mix a fresh batch for the next layer using the same careful measuring and stirring process. Pour slowly over the previous layer or around inclusions so you do not dislodge them.
For clear layers, pour in a thin stream and let the resin self-level. For designs, guide the resin with a stick, skewer, or gloved hand. Remove bubbles before the layer thickens. Check edges, corners, and the underside of objects, where bubbles often hide.
Repeat the wait-and-pour process until you reach the planned depth. Keep every pour within the manufacturer’s depth limit, even if the mold can hold more.
Step 6: Finish with a Clear Top Coat or Dome Coat
Use the final layer to create a smooth, polished surface. A clear top coat can sharpen the design and add depth. On small pieces such as jewelry or keychains, a dome coat can create a rounded, glossy finish.
Make sure the previous layer is clean and ready to bond. Pour a controlled amount and push it toward the edges without flooding over unless that is part of the project. Pop surface bubbles carefully, then cover the piece to protect it from dust.
Step 7: Cure, Demold, and Check the Result
Let the project cure for the full time listed by the resin manufacturer. Do not demold early just because the surface feels hard. Resin can be firm on top while still soft inside.
After curing, check the result:
- The surface should be hard, not tacky.
- Layers should look bonded, with no peeling or separation.
- Clear areas should not be cloudy from moisture or trapped bubbles.
- Inclusions should be secure and fully sealed.
- The piece should not feel hot, bendy, or oily.
If edges are sharp, sand and polish them only after the resin is fully cured. Wear a mask when sanding cured resin dust.
Common Resin Layering Mistakes and How to Fix Them
Sticky or soft resin: This usually comes from inaccurate measuring, incomplete mixing, too much pigment, or cold curing conditions. If only the surface is tacky, you may be able to seal it with a correctly mixed top coat after it stabilizes. If the layer is wet or gummy throughout, it may need removal.
Layer separation: Pouring after the recoat window without sanding can cause poor adhesion. Sand fully cured resin lightly, clean off dust, and then recoat.
Too many bubbles: Mix slowly, warm resin bottles slightly if the manufacturer allows it, and seal porous inclusions. Remove bubbles between every layer, not just at the end.
Sinking inclusions: Wait until the resin thickens enough to hold them, or place them in stages.
Cloudiness: Moisture, unsealed items, or incompatible colorants can cause haze. Dry and seal materials first.
Uneven surfaces: Level the workspace before pouring. A final clear coat can correct minor unevenness.
Cracking or overheating: Layers were likely too thick or the batch too large. Follow maximum pour depth and mix smaller batches.
Quick Layering Checklist
- Choose resin with the right pour depth and recoat window.
- Prepare a level, clean, ventilated workspace.
- Plan layer order, colors, and inclusions.
- Measure resin and hardener accurately.
- Mix thoroughly without whipping in air.
- Pour a thin first layer.
- Remove bubbles before the resin thickens.
- Add the next layer during the recoat window, or sand first if fully cured.
- Repeat in controlled layers.
- Cure fully before demolding, sanding, or using the piece.
FAQ
What Is the First Step Someone Should Take with Guide to Layering Resin?
Start by reading your resin’s instructions for mix ratio, maximum pour depth, working time, cure time, and recoat window. Those details control the whole process. Then plan your layer order before mixing, so you know when to add colors, inclusions, and the final top coat.
What Can Go Wrong When Following Guide to Layering Resin Advice?
Common problems include sticky resin from poor measuring or mixing, bubbles trapped between layers, inclusions sinking, cloudy areas from moisture, and layer separation from waiting too long without sanding. Most issues come from rushing, pouring too thick, or ignoring the product’s timing instructions.
How Long Does It Usually Take to Work Through Guide to Layering Resin?
The hands-on work may take less than an hour for a simple project, but the full process often takes a day or more because each layer needs time to reach the right recoat stage. Deep or detailed projects can take several days, depending on the resin.
How Can a Beginner Tell Whether Guide to Layering Resin Worked?
The project should cure hard, clear, and smooth, with no tacky areas, peeling layers, trapped cloudy patches, or loose inclusions. The layers should look intentional and bonded together. If the piece demolds cleanly and holds its shape, your layering process worked well.